For those who are interested, I publish my Z motor holder. It consists of two parts, is stable and self aligning within the alu profile. The end switch has more space and is attached with two srews. The threaded z-rod is now perfectly aligned with the original upper bearing holder.
Screws:
To assemble the two parts: wood countersunk bolts (Spanplatten Senkschrauben) 3x16 (6x), 3x12 (1x)
Schwitch: could probably be the same, I took tapping screws (Blechschrauben) 2.9x13 (2x)
So no thread tapping required. Of course you can tapp the thread and use M3.
Motor: M3x10 (4x) + spring washer (Federscheibe)
To frame: M5 (4x)
Thank you edirol, this looks really good!
I finished my printer yesterday and did some first test prints which were quite successful. My only 2 issues right now are the wobbling z motor and sometimes insufficient PLA flow. So I’m working on fixing these problems now and guess your parts could solve the z motor problem quite nicely :-).
[quote=“skyreacher”]Thank you edirol, this looks really good!
I finished my printer yesterday and did some first test prints which were quite successful. My only 2 issues right now are the wobbling z motor and sometimes insufficient PLA flow. So I’m working on fixing these problems now and guess your parts could solve the z motor problem quite nicely :-).[/quote]
Youre wellcome
My suggestion, even if this motor holder is quite stable, i recommend you to line up the bent rod as good as possible because when the motor is stable anchored, it will else emit forces to the whole construction.
A combination of this improved Z-motor holder with the replacement of the threaded spindle described here by motoritz [forum.vellemanprojects.eu/t/my-printer-build/7256/1) seems to be quite interesting.
By the way: Wouldn’t it improve things further to have the Z-motor on top and the threaded spindle (or the trapezoidal spindle used by motoritz) with a decent fixed spindle holder sitting at it’s bottom?
Thus the motor’s bearings wouldn’t have to carry the spindle’s and the whole Z traverse assembly’s weight, and given a reasonably precise “decent fixed spindle holder” the wobble thingy should be decreased futher.
I didn’t have time to disassemble and investigate on the topic yet, but before building the z axis I checked the rod because I already read that it is often bent. Mine was actually quite straight. What seemed to be much worse was this connection part between motor and rod, which is not straight at all. But I guess I can’t fix this part easily… or is it some kind of standard part that can be purchased somewhere?
This part is easy to make for a mechanic. You probably know one?
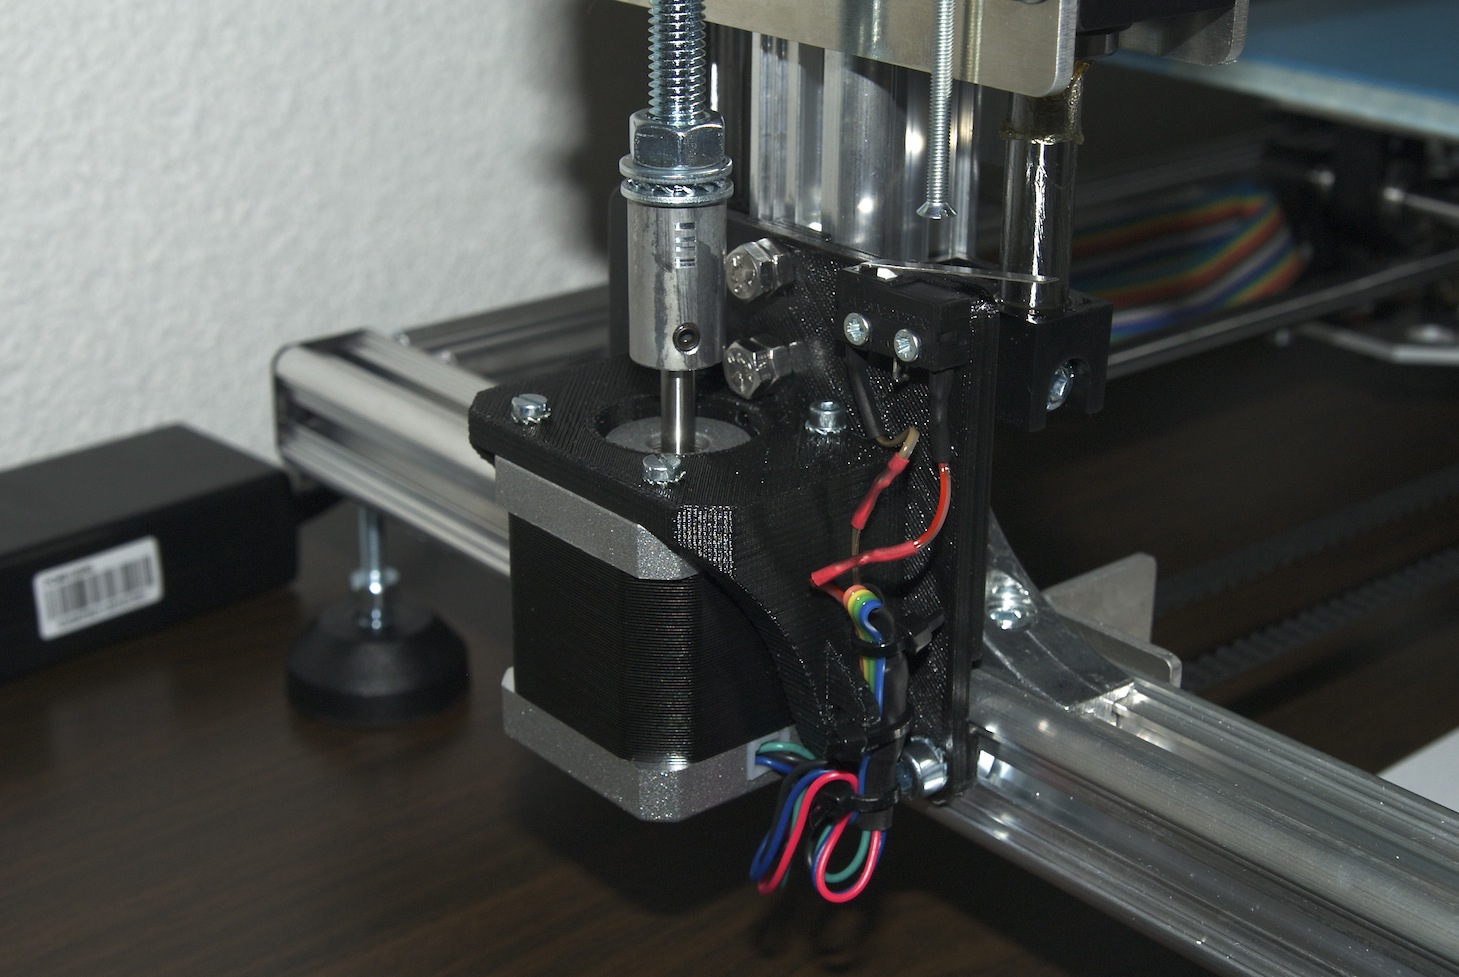
I also build my self with a slightly different design to remove the wobbling forces as you can see in the picture above.
[quote=“clm”]
By the way: Wouldn’t it improve things further to have the Z-motor on top and the threaded spindle (or the trapezoidal spindle used by motoritz) with a decent fixed spindle holder sitting at it’s bottom?
Thus the motor’s bearings wouldn’t have to carry the spindle’s and the whole Z traverse assembly’s weight, and given a reasonably precise “decent fixed spindle holder” the wobble thingy should be decreased futher.[/quote]
I don’t think that make much sense. You can also let a more stable designed upper bearing holder let carry the weight. You just swap the problem upside down, since the hole frame is more stable at the buttom. And the bearings of the motor should be able to carry the z support with ease, thats not what I worry about.
@ edirol
Really great holder for the z-stepper. Thanks for sharing!!
Question: What is your recommendation? Printing the infill solid or only some percentage (how much) of infill?
After replacing only the original coupler with the flexible coupler the quality increased very much.
I hope the more stable z-stepper holder could also help to improve further.
[quote=“mr_cg”]@ edirol
Really great holder for the z-stepper. Thanks for sharing!!
Question: What is your recommendation? Printing the infill solid or only some percentage (how much) of infill?[/quote]
You’re wellcome. I printet default settings infill density 0.25. May be it becomes even stronger with solid infill? Why not just try out…
[quote=“mr_cg”]
After replacing only the original coupler with the flexible coupler the quality increased very much.
I hope the more stable z-stepper holder could also help to improve further. :-)[/quote]
Dont forget to straighten the rod as well
[quote=“mr_cg”]
After replacing only the original coupler with the flexible coupler the quality increased very much.
I hope the more stable z-stepper holder could also help to improve further. :-)[/quote]
Which flexible coupler are you referring to? I would be interested in this since I’m trying to improve my K8200 as well. I have completed my build a few days ago and after some test prints everything already comes out quite nicely (only very slight wobble!). But the whole z-axis construction and the constant need to adjust its level is really bugging me.
The one i have bought on ebay you can find if you search for “Kupplung Nema17 RepRap”.
This coupler fixes the M8 rod with the 5mm drive shaft from the stepper.
I printed your motor mount in black and installed it today (also got a new coupler from Velleman). Your mount is very stable and I have better print quality now. Thanks again for sharing! I add a pic so you can see what my new assembly looks like.