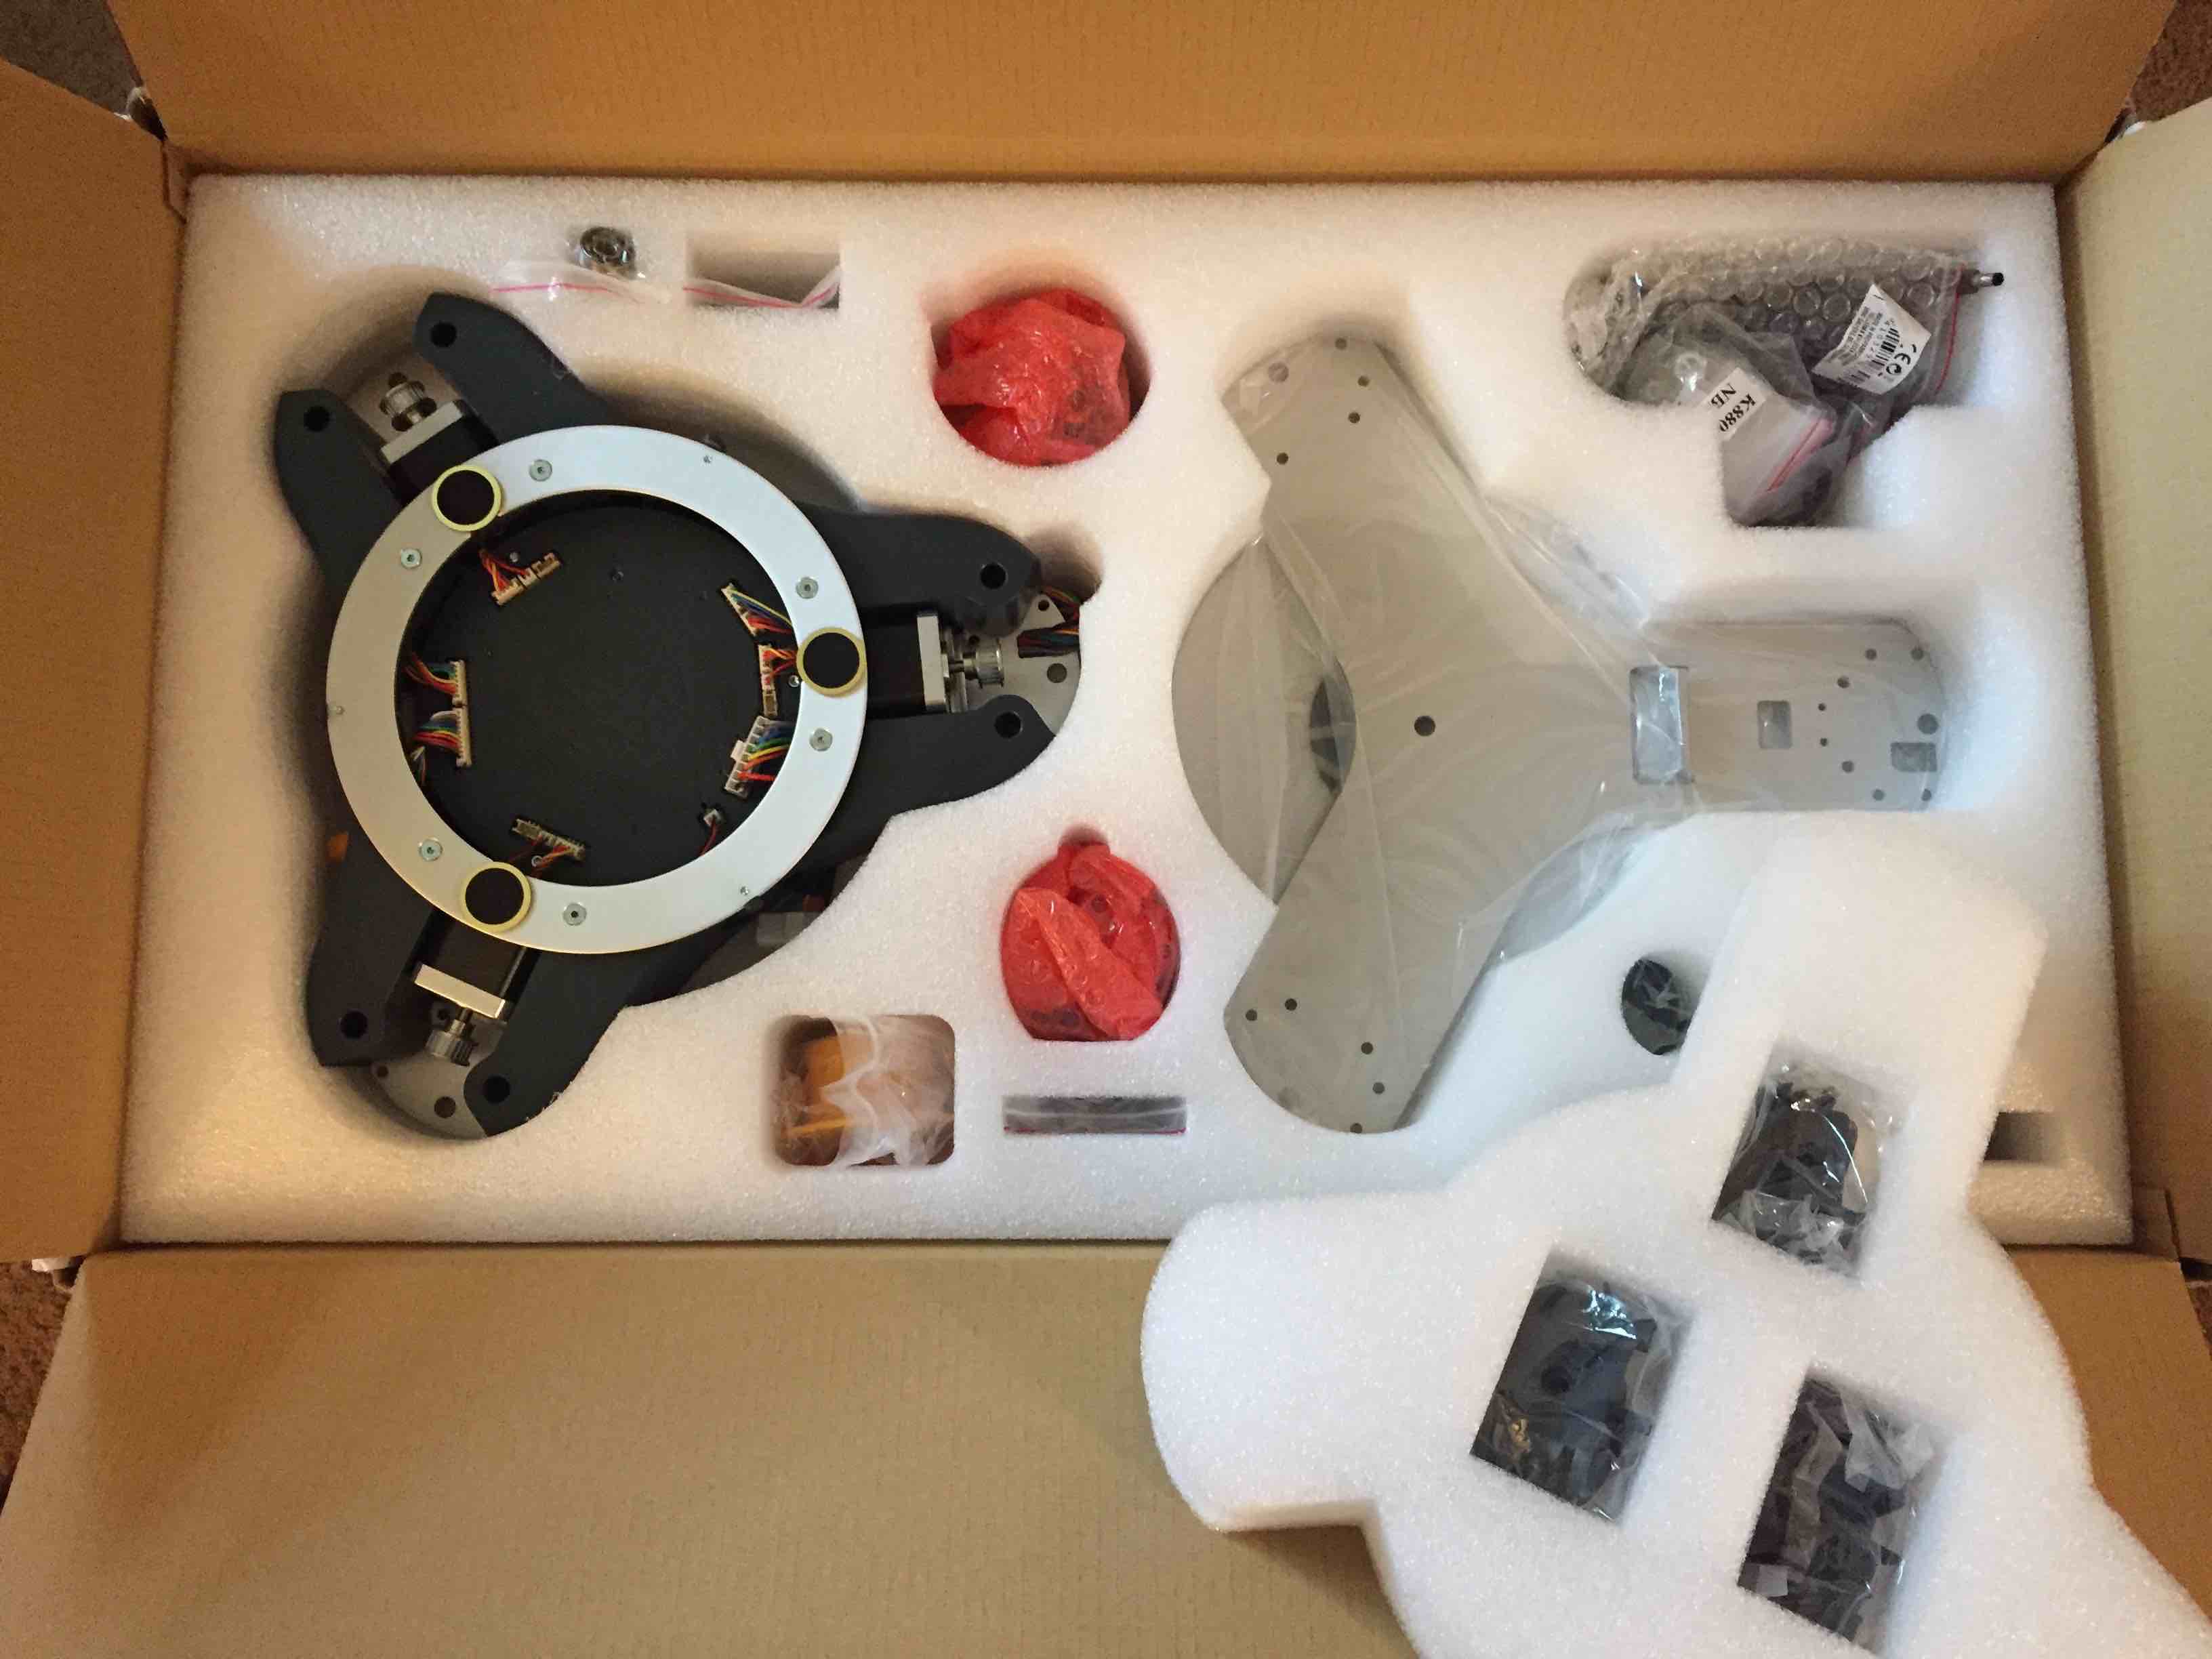
I have been curious about delta 3D printers ever since I first found out about them, so I jumped at the opportunity to own one when I saw the K8800 kit at my local distributor.
The “hybrid” kit is 90% built right out-of-the-box, with no soldering required. Most of the tools needed are included in the kit in the form of a set of allen wrenches.
The instructions were very clear and complete. The parts in the kit are very high quality, and everything fit together perfectly.
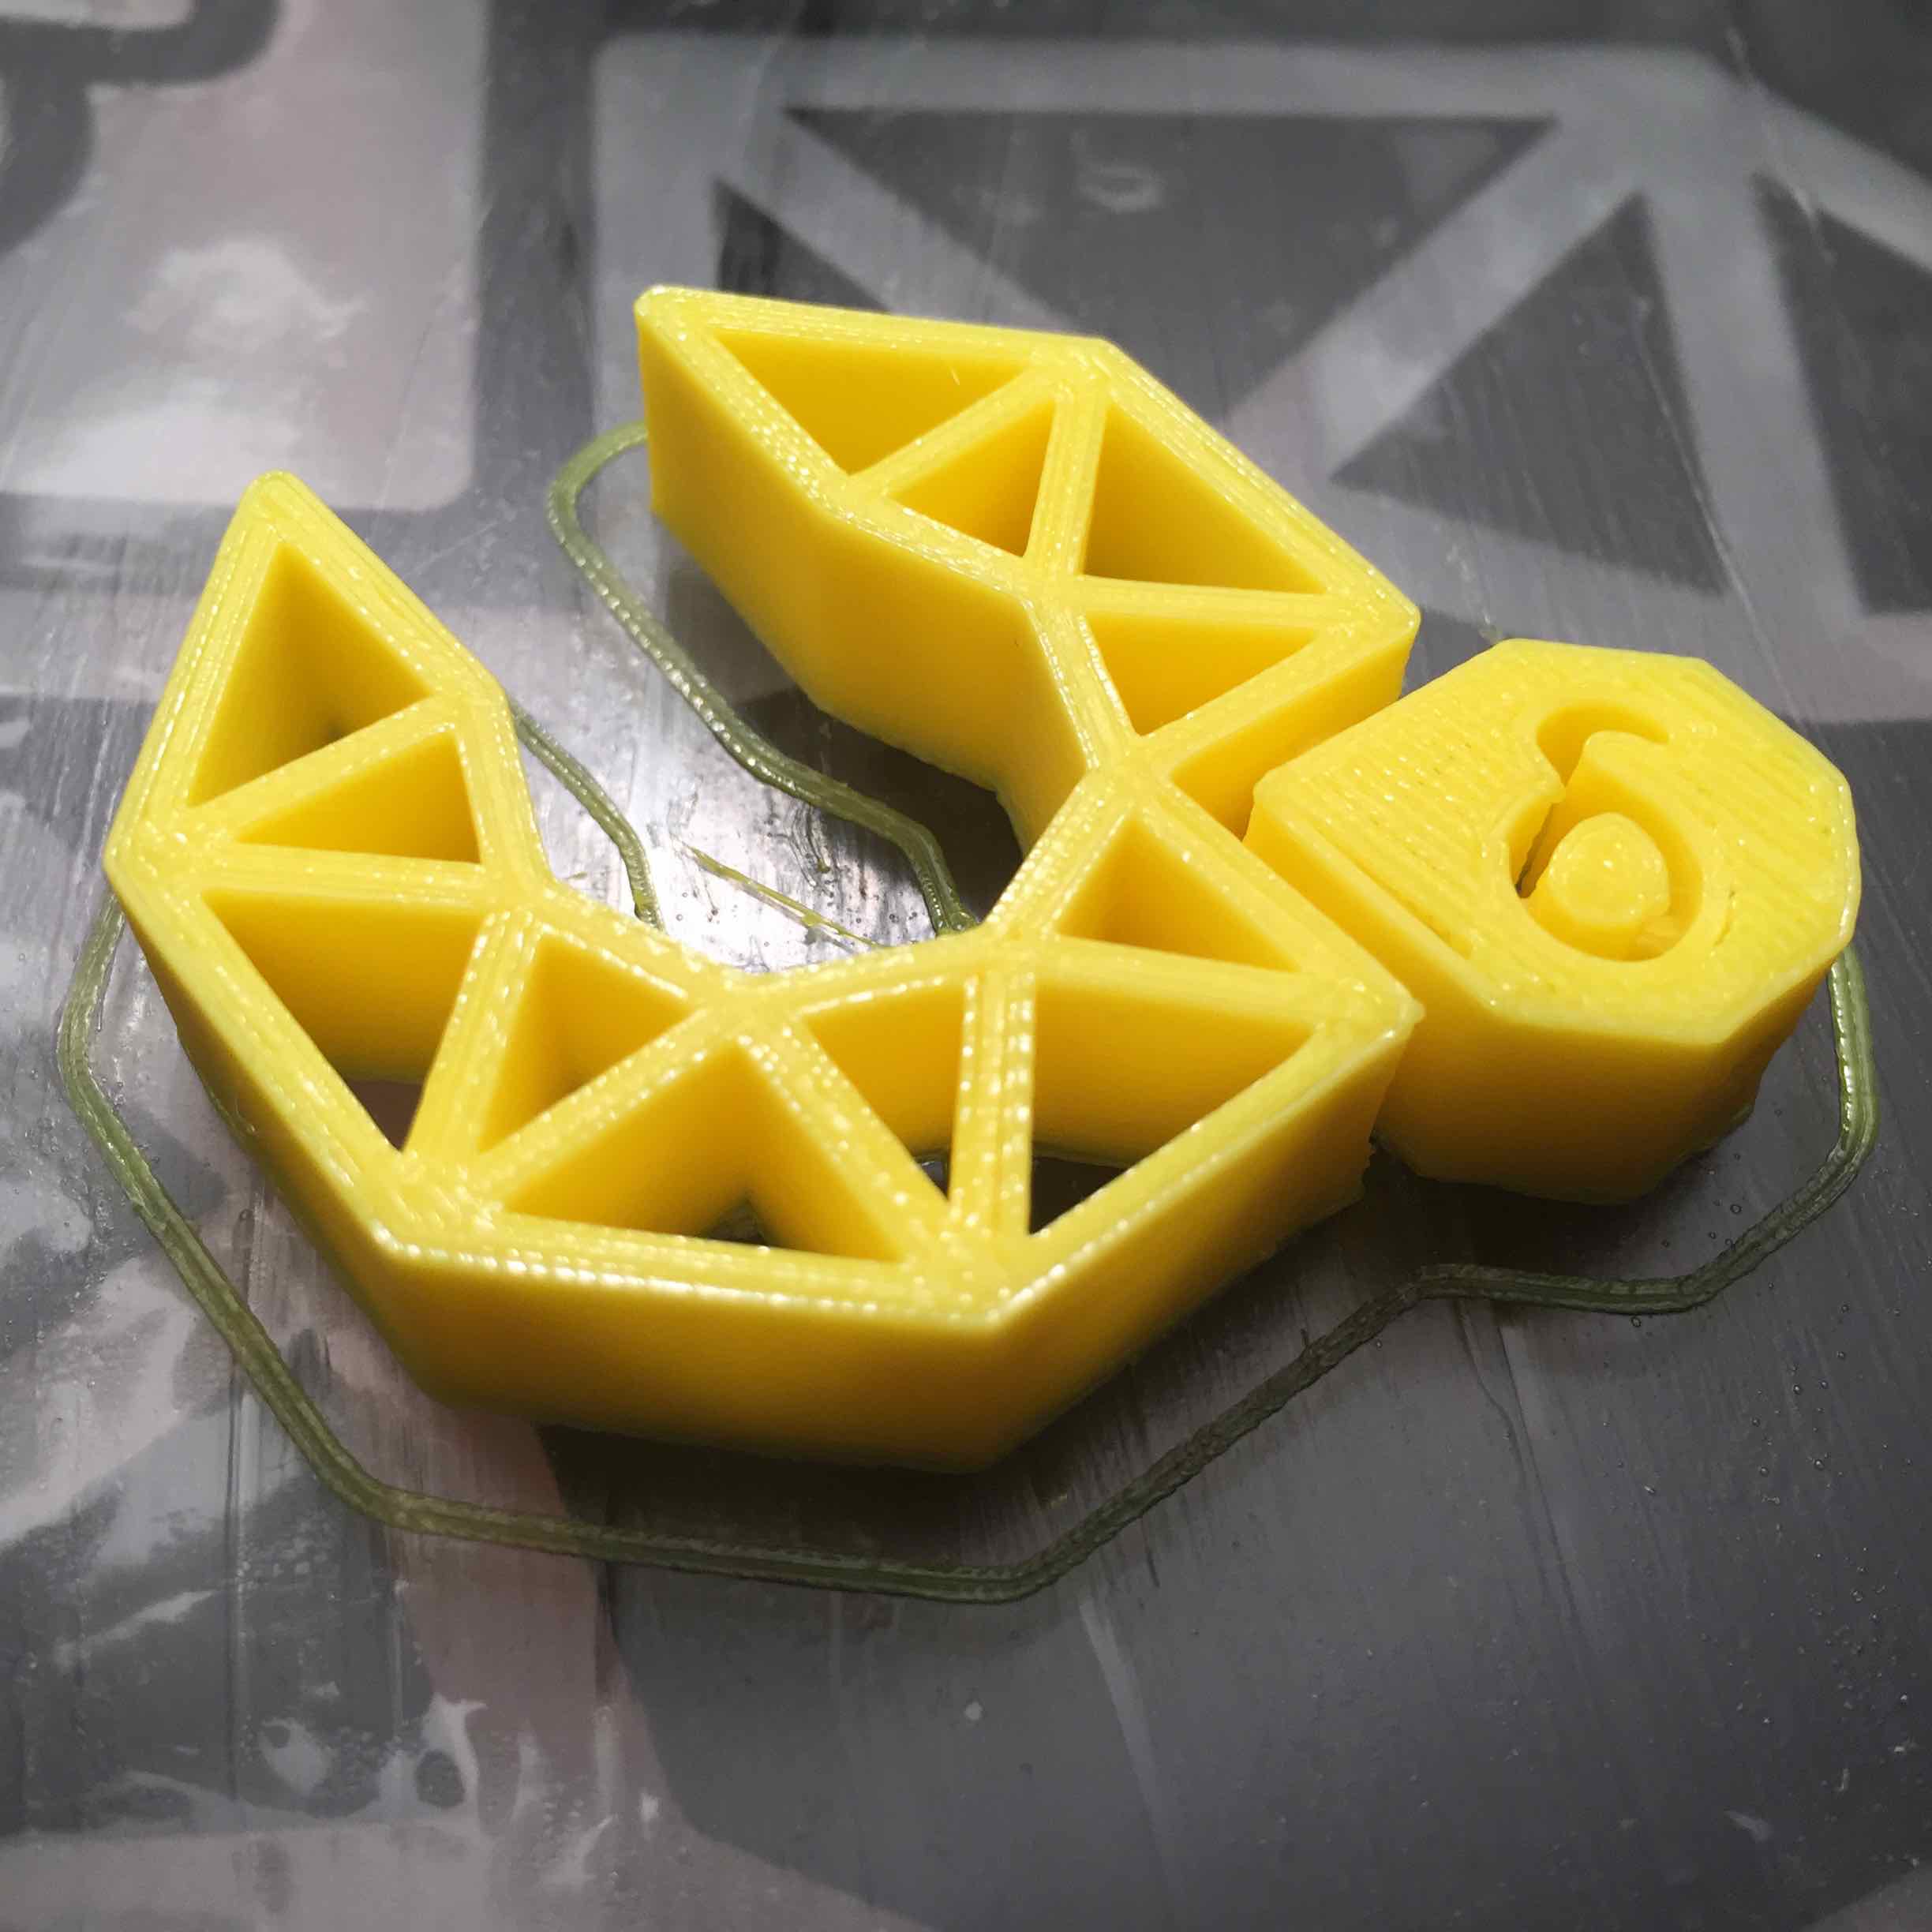
I was able to assemble the printer in under 3 hours. Then it took me at least as long to get my first “successful” test print, mainly due to avoidable errors.
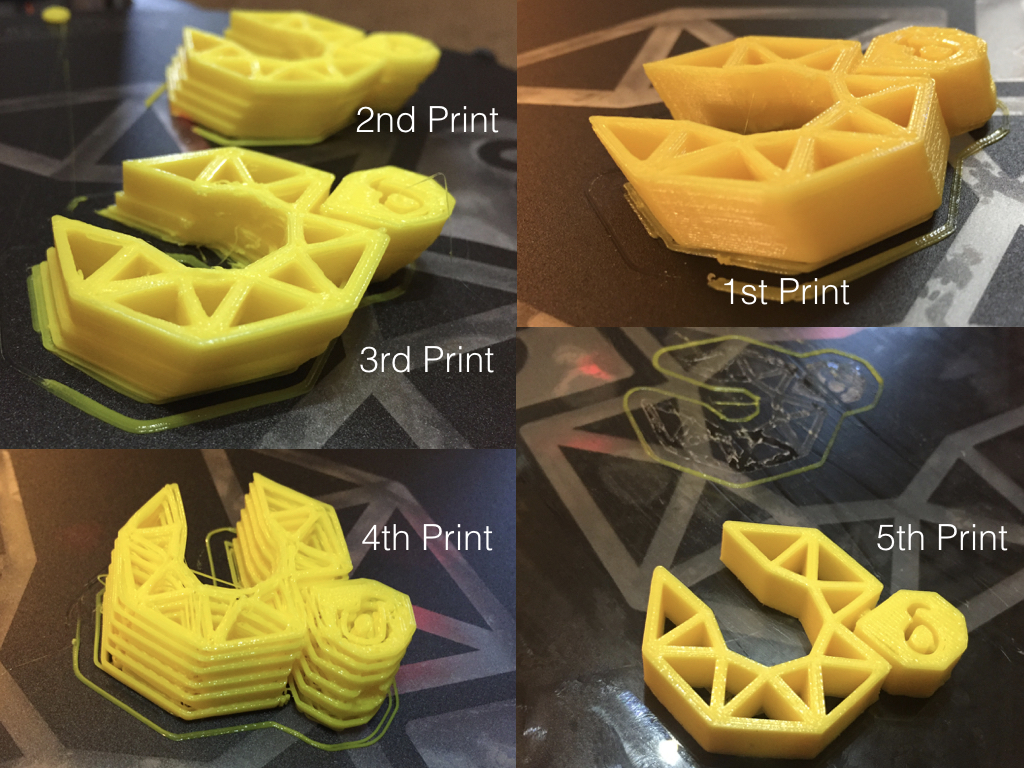
I had not used a delta printer before, so it took some time to understand what was causing different types of print errors. I had a few problems with my first prints:
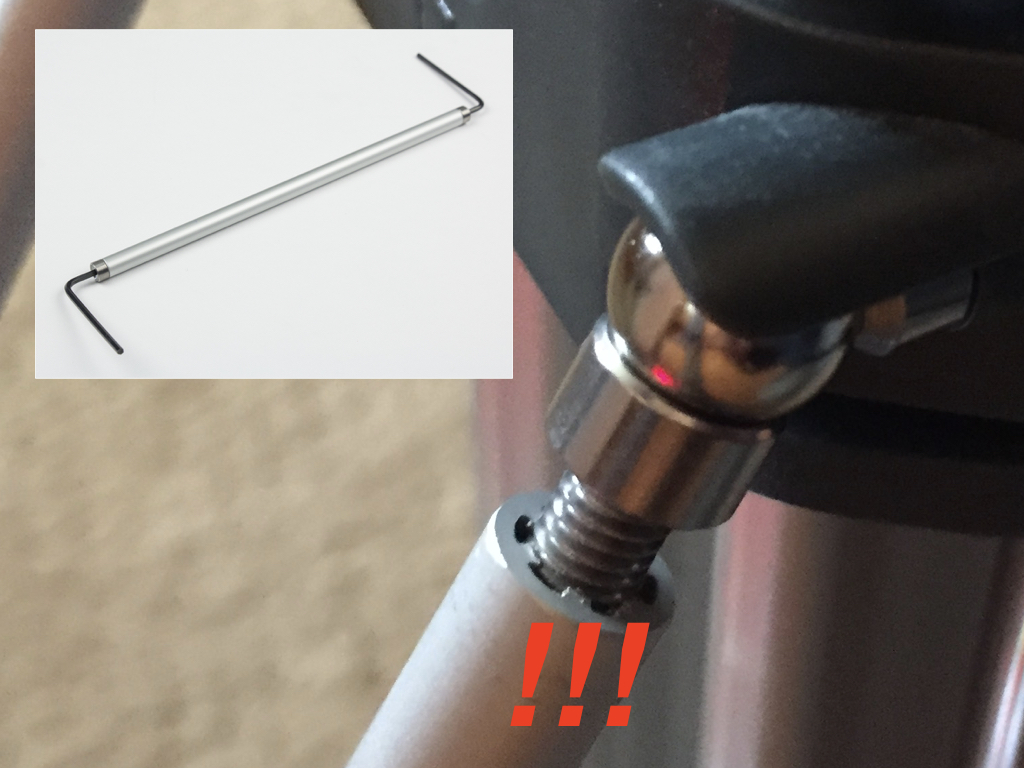
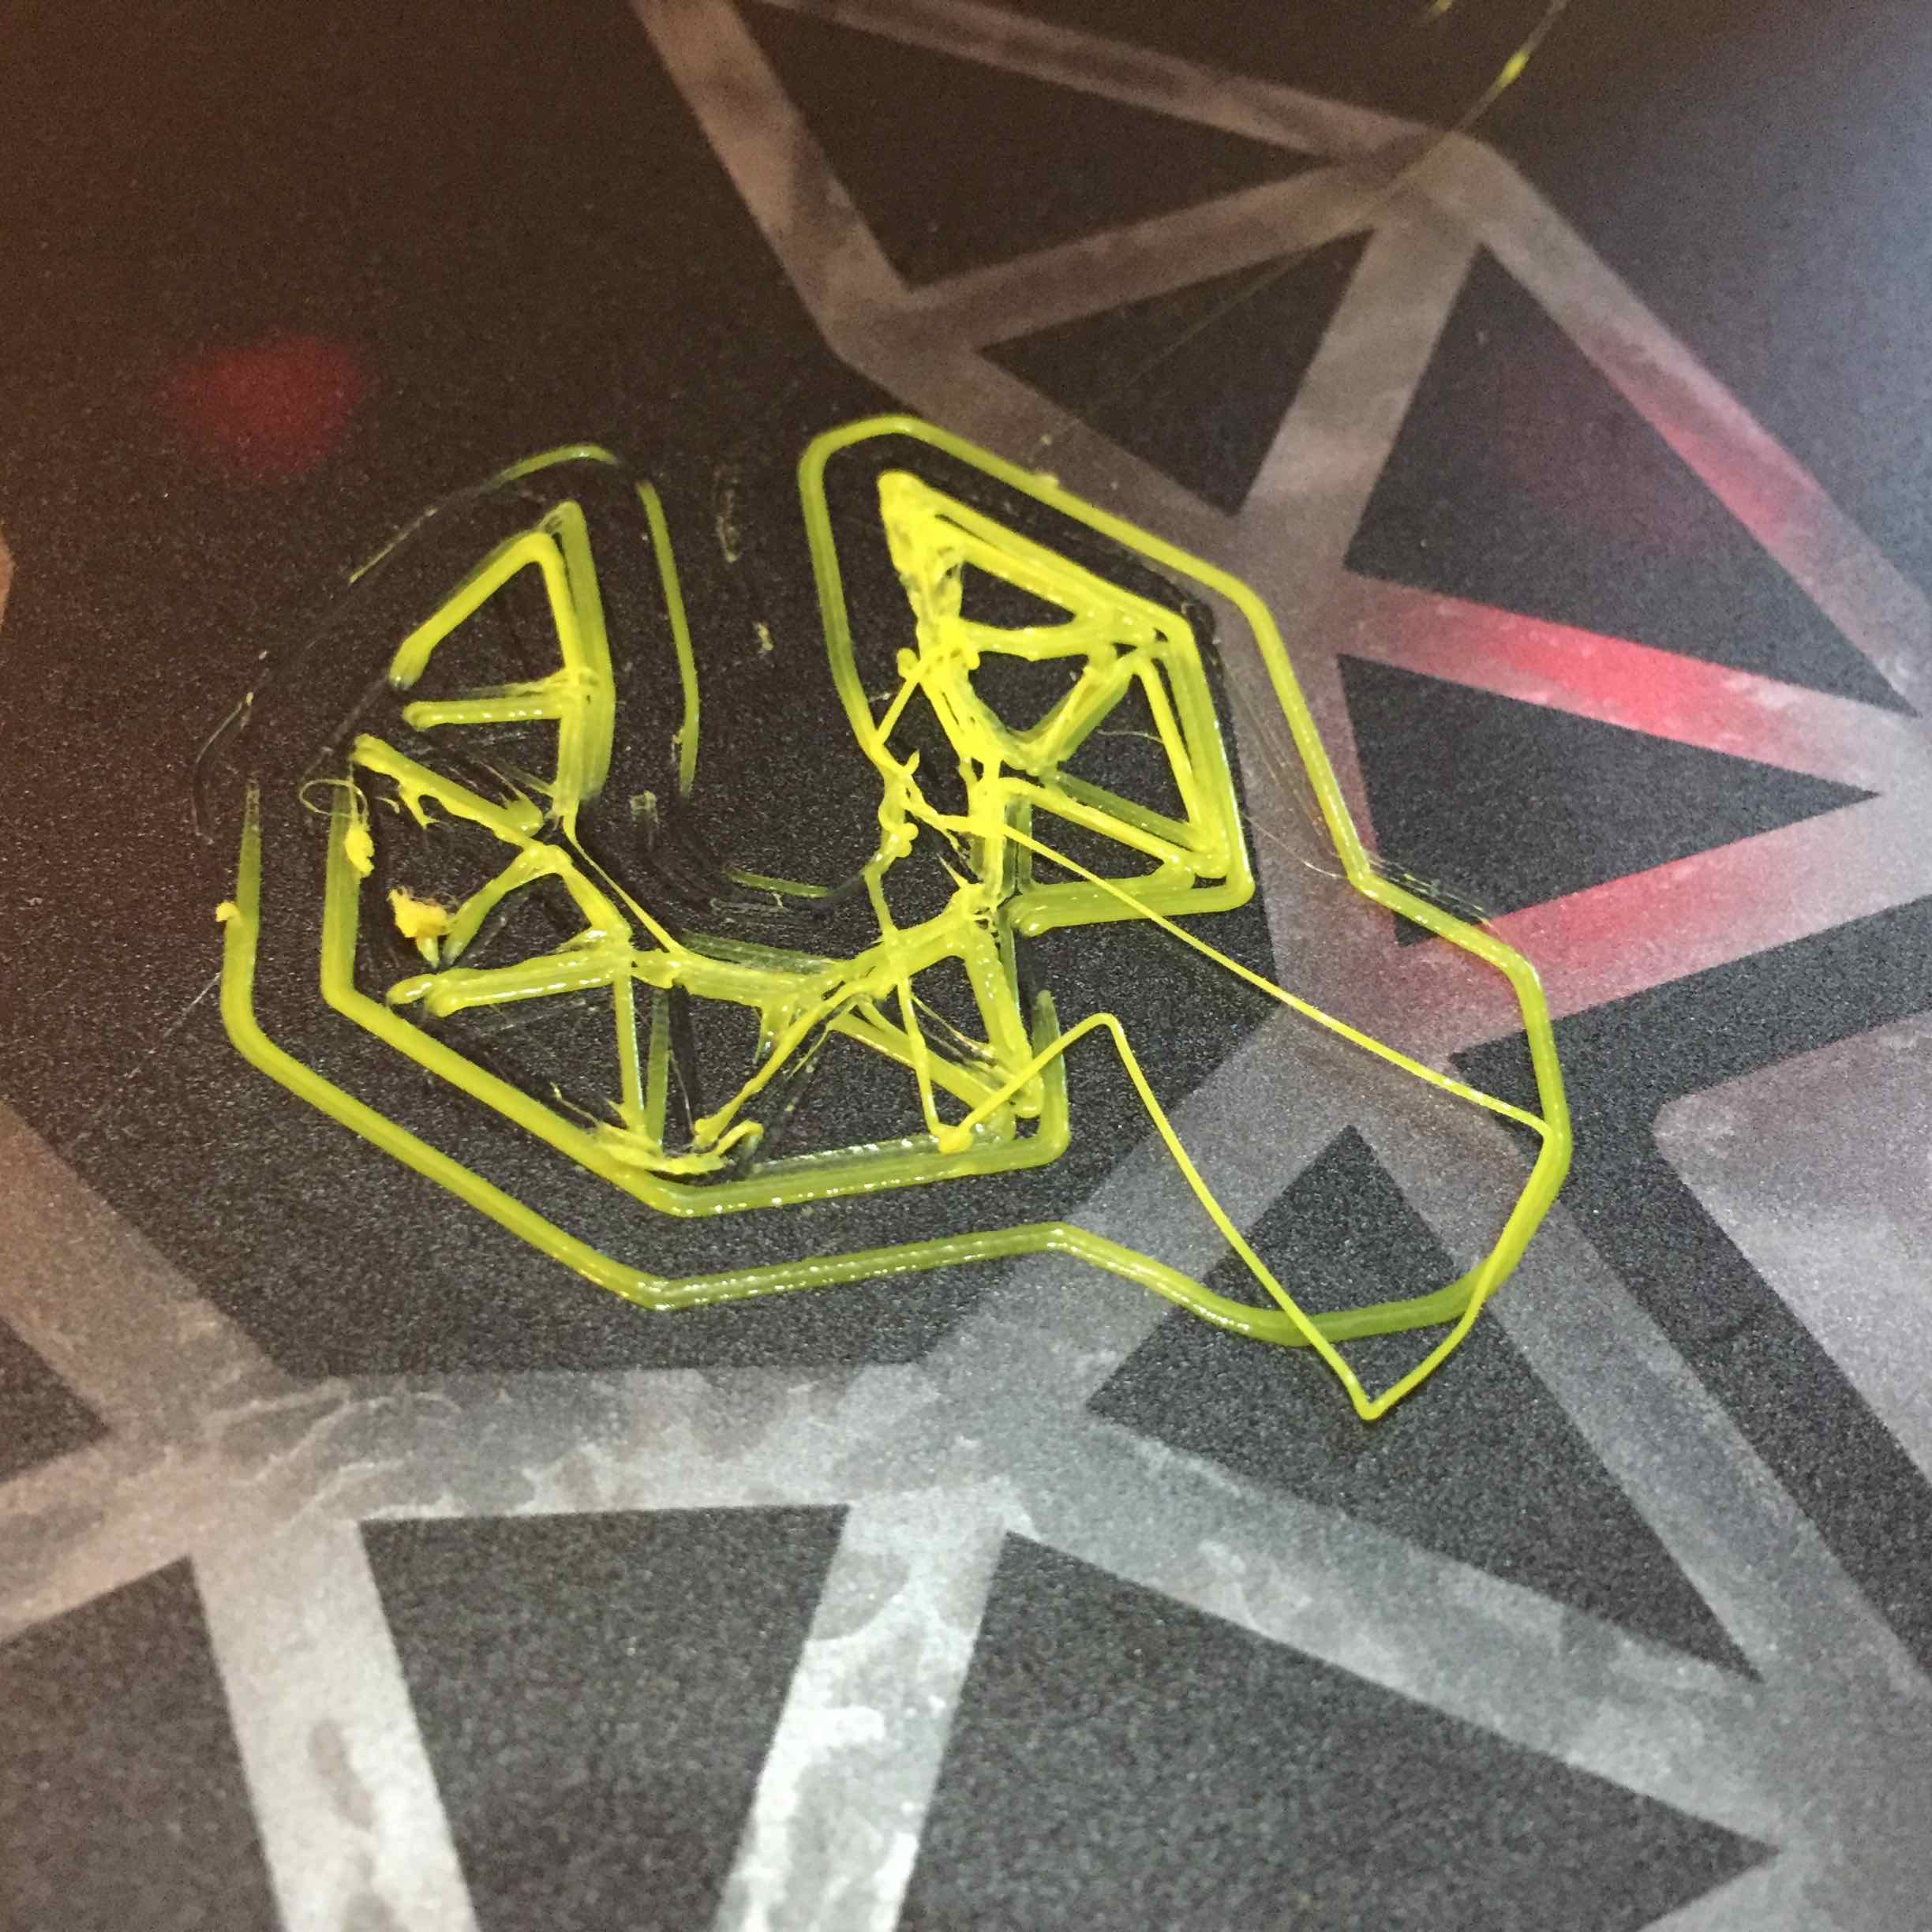
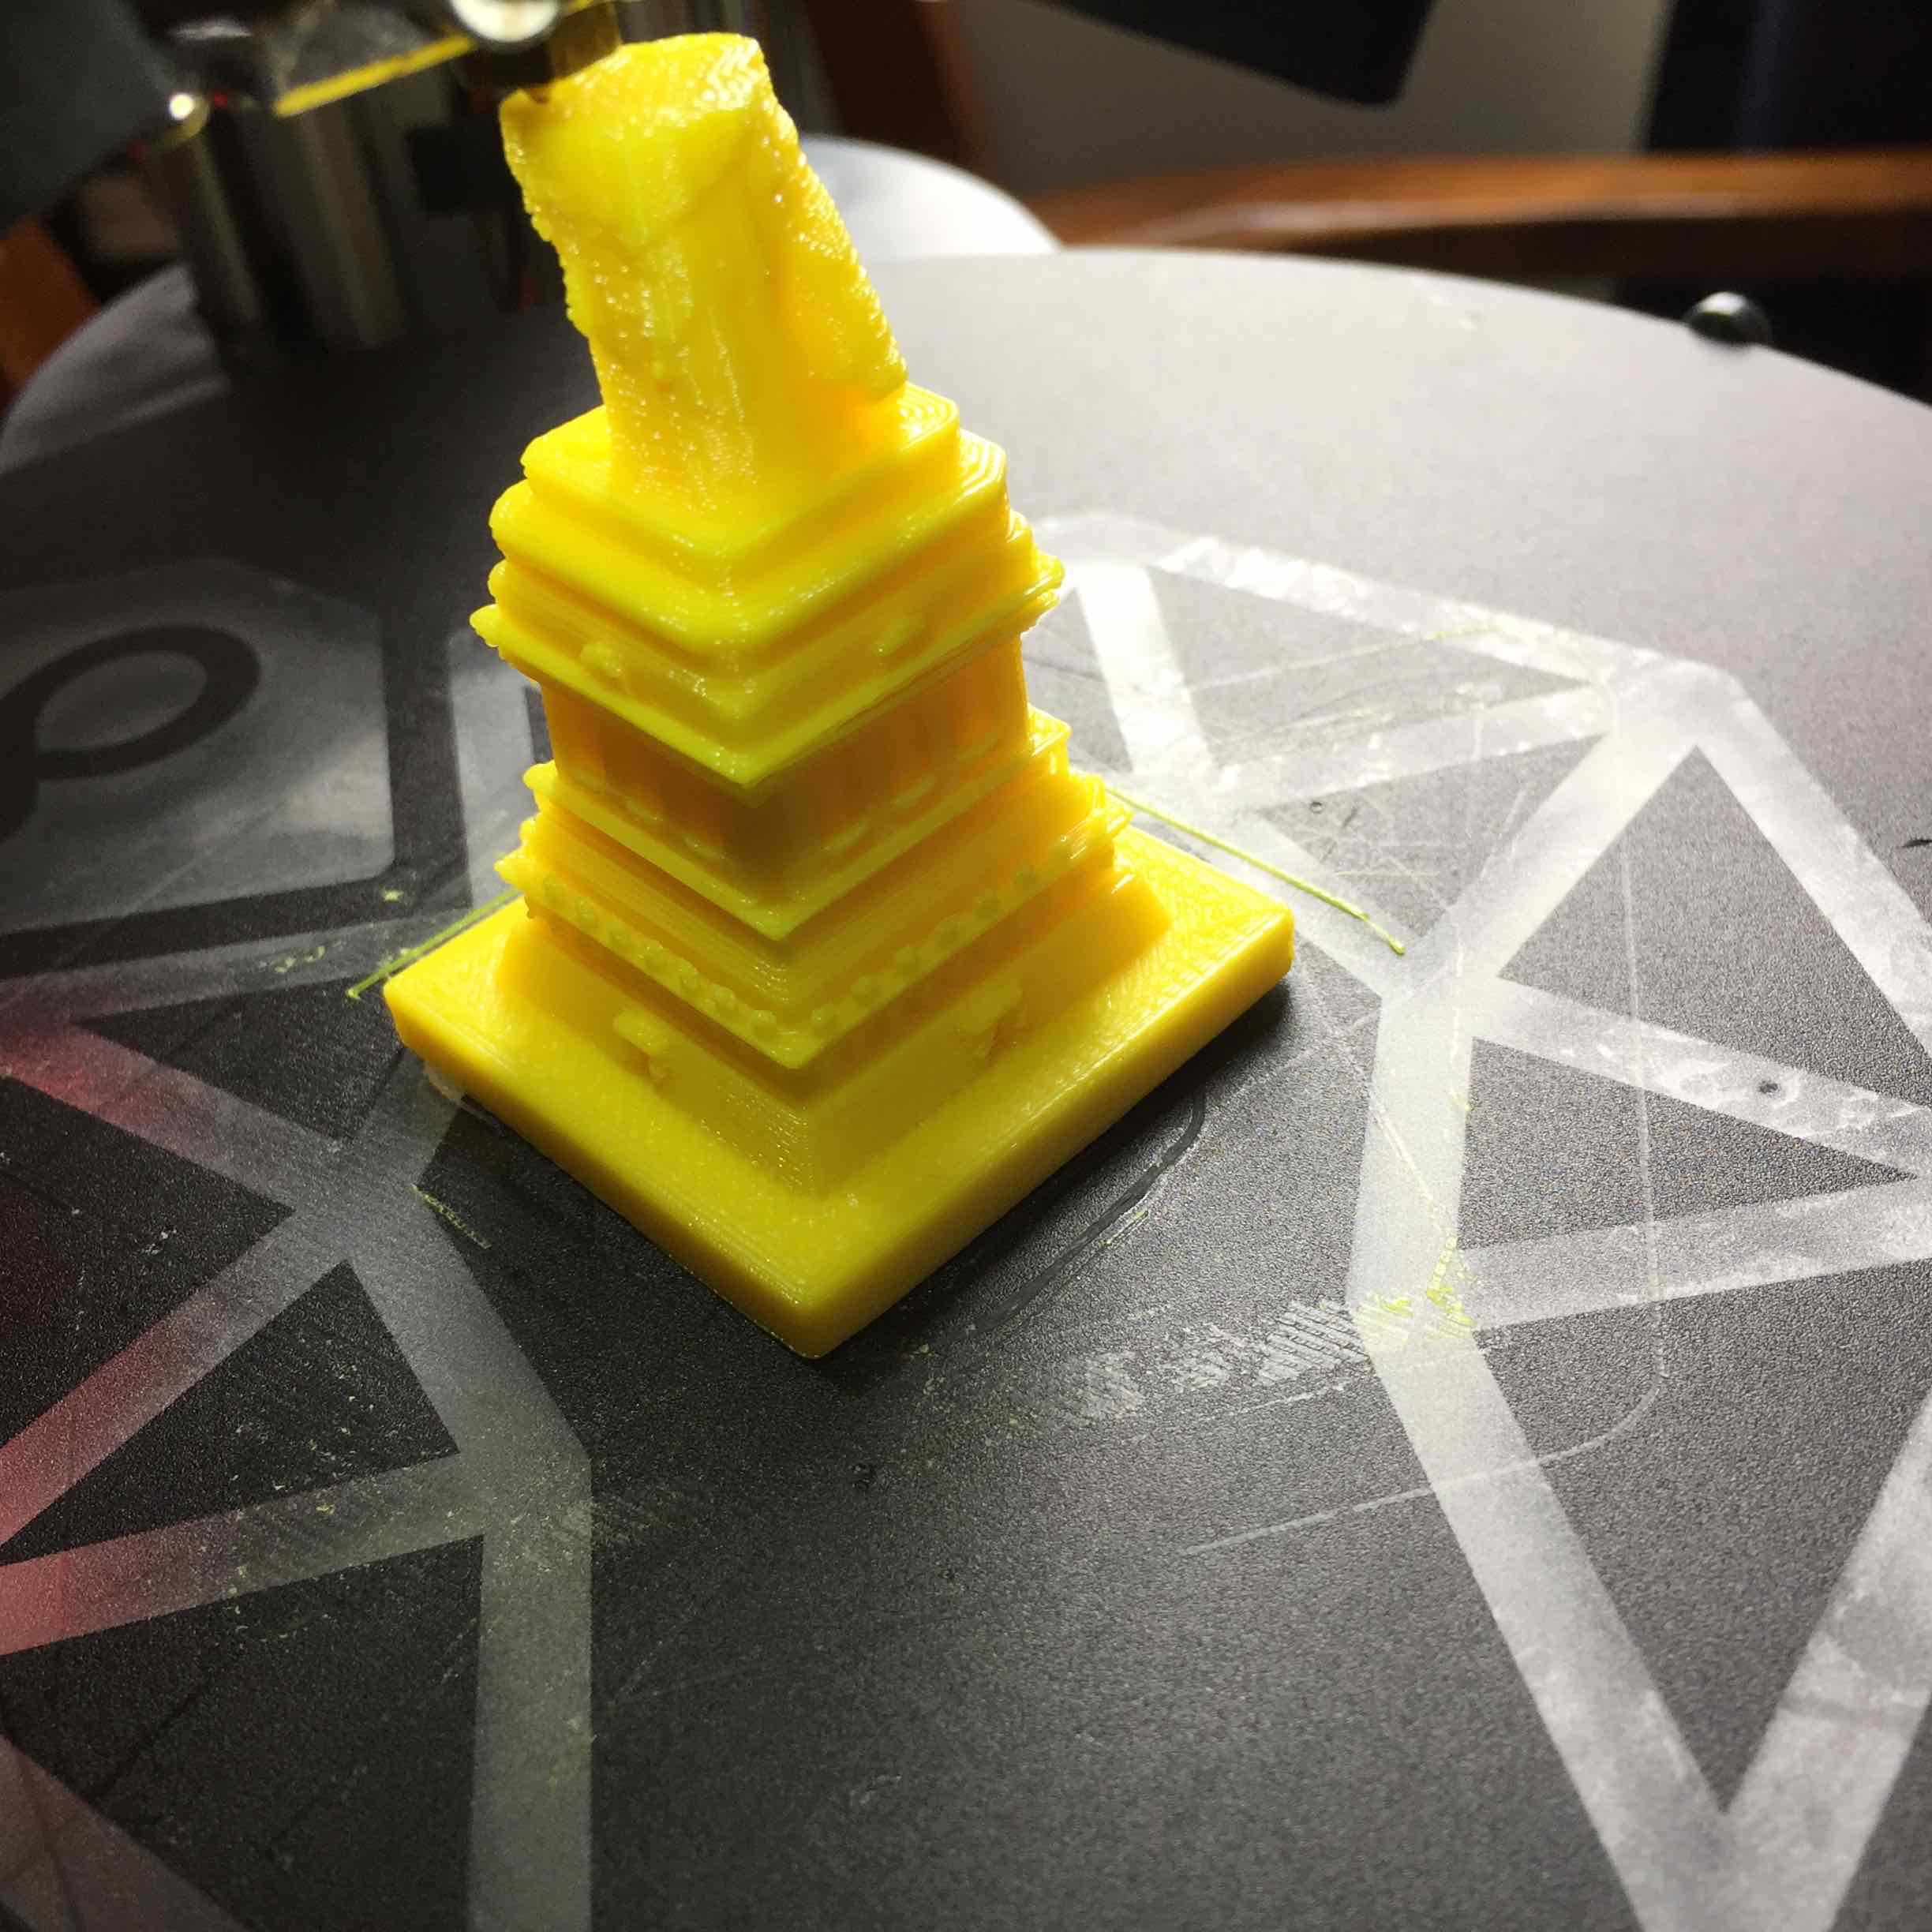
The first print had a slant to it that I determined was caused by a loose magnet cup on one of the rods. At this point, I realized the importance of the warning in the instructions to really tighten these using two wrenches. I found a second wrench and tightened all of the sockets.
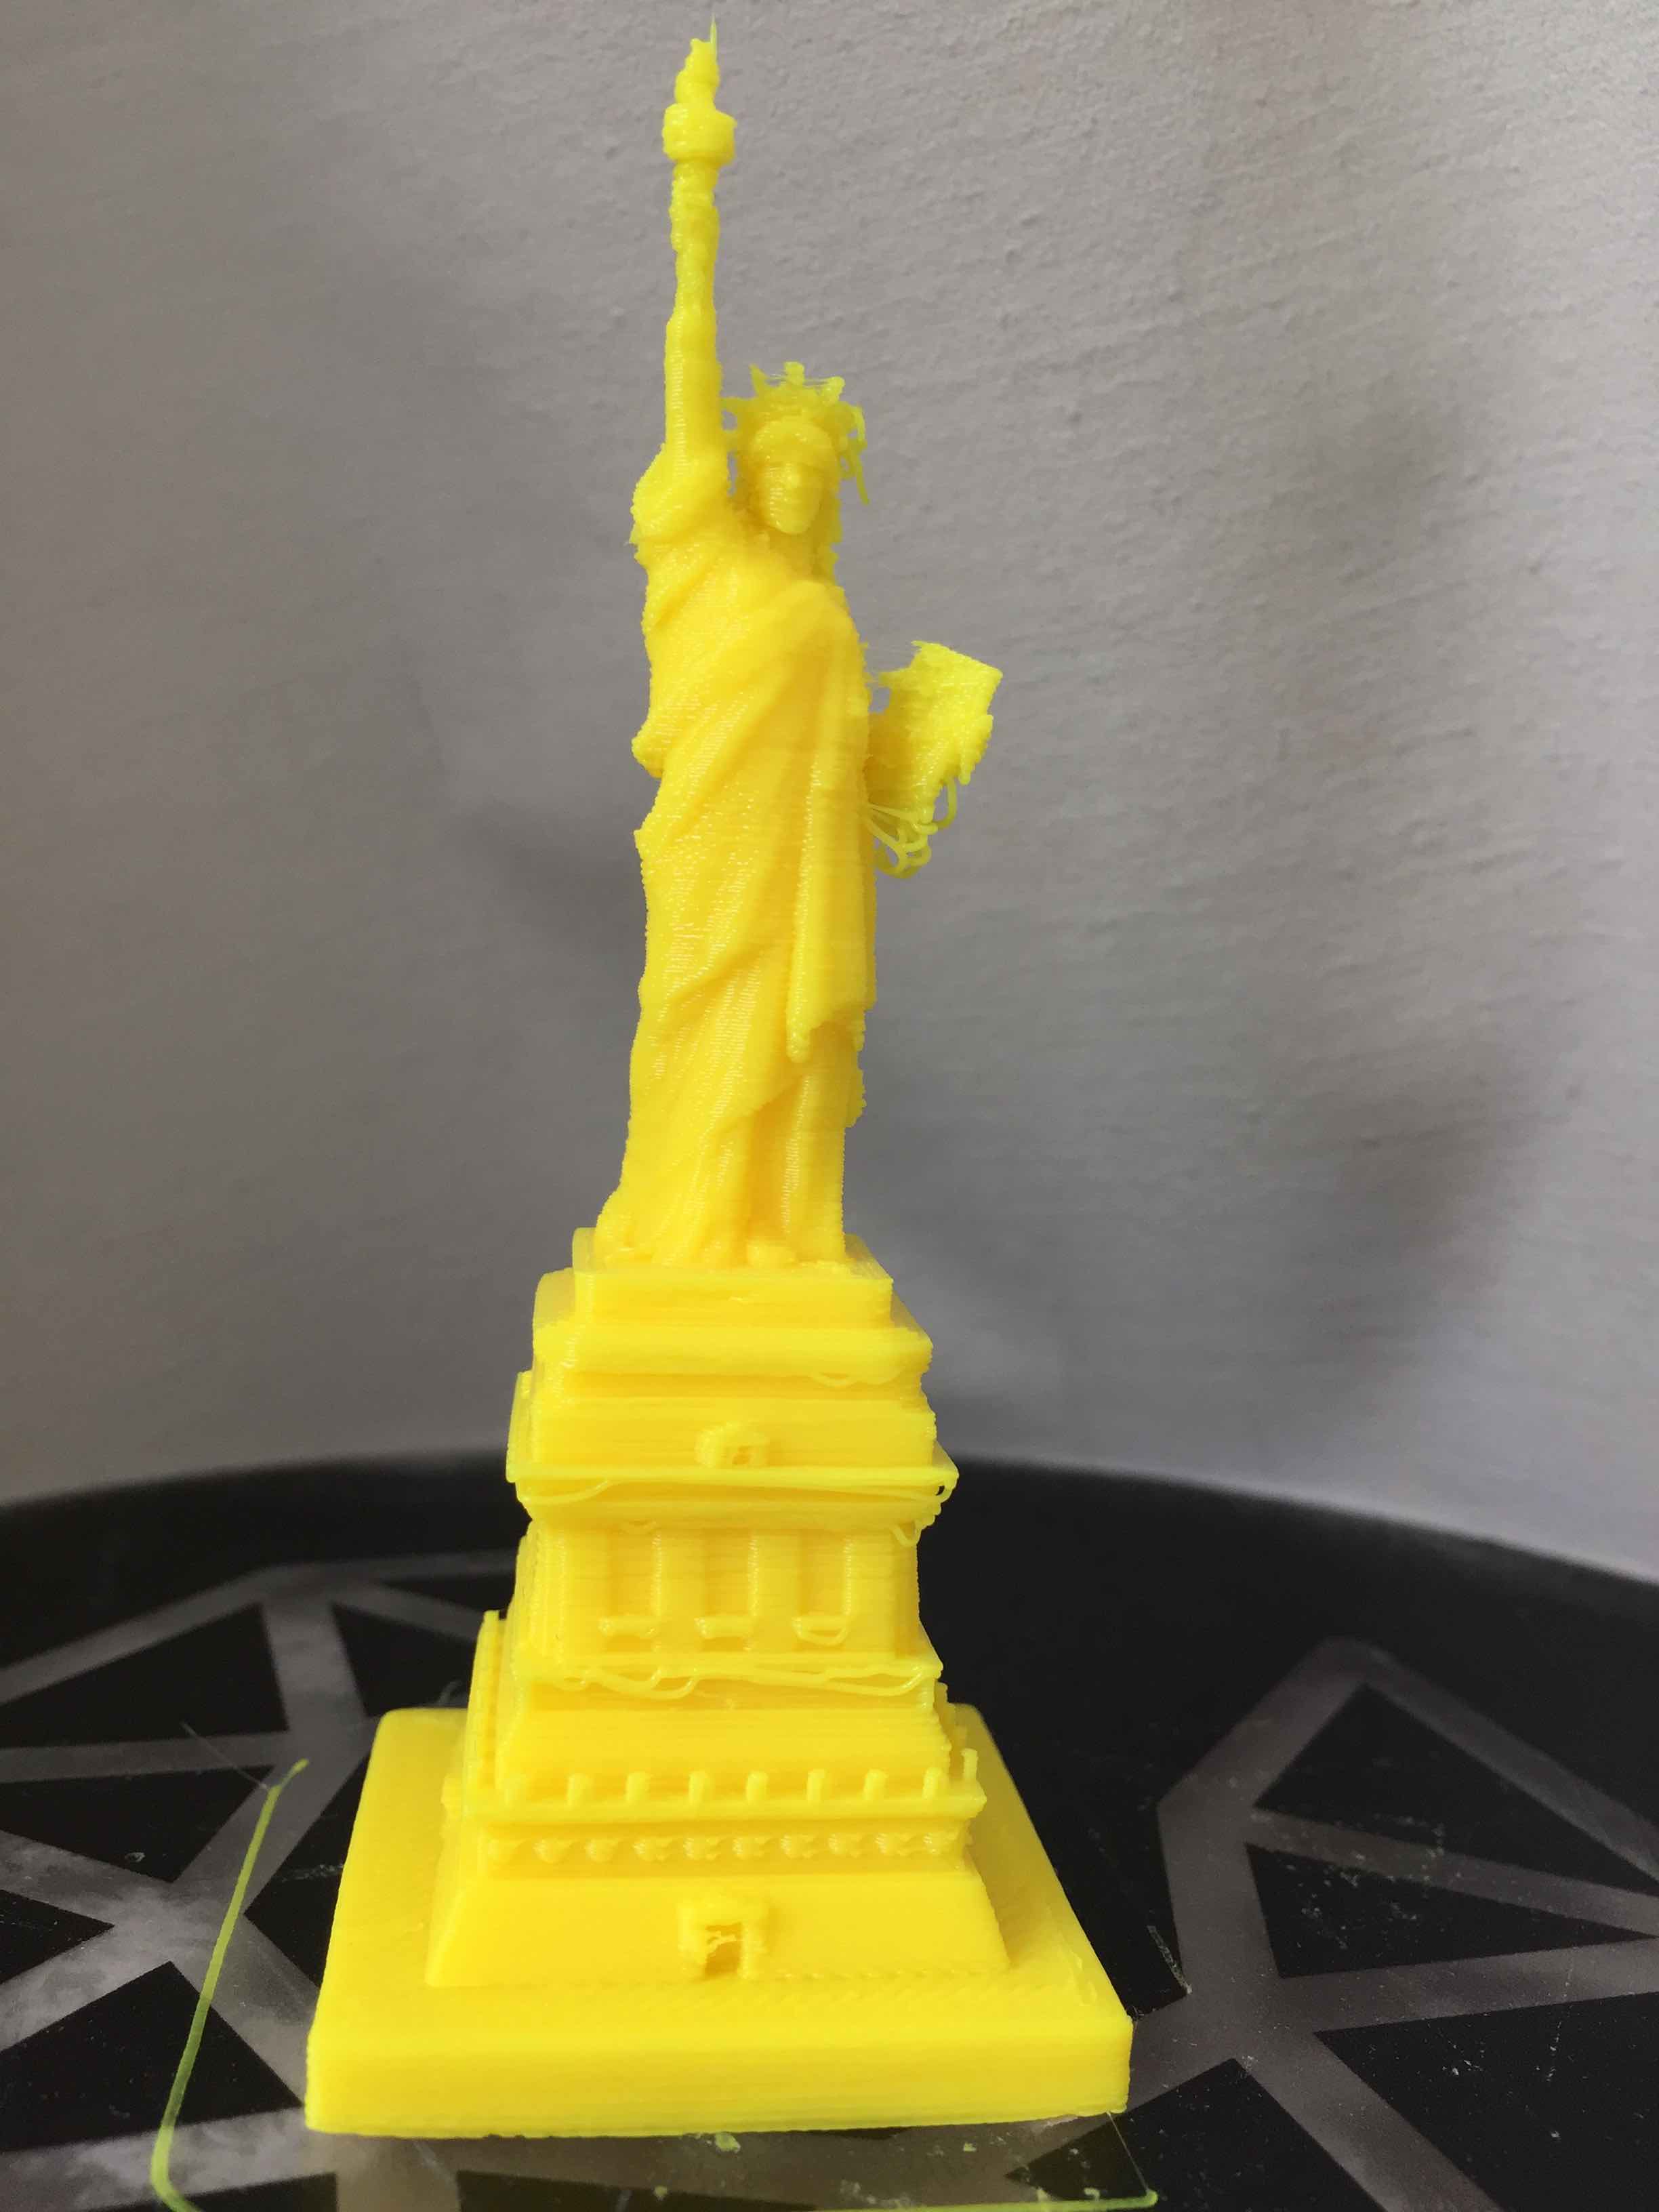
The stairstepping in the 2nd, 3rd, and 4th prints indicated a belt skipping a tooth, so I (eventually) got the belts as tight as humanly possible, which helped tremendously, as seen in the fifth print.
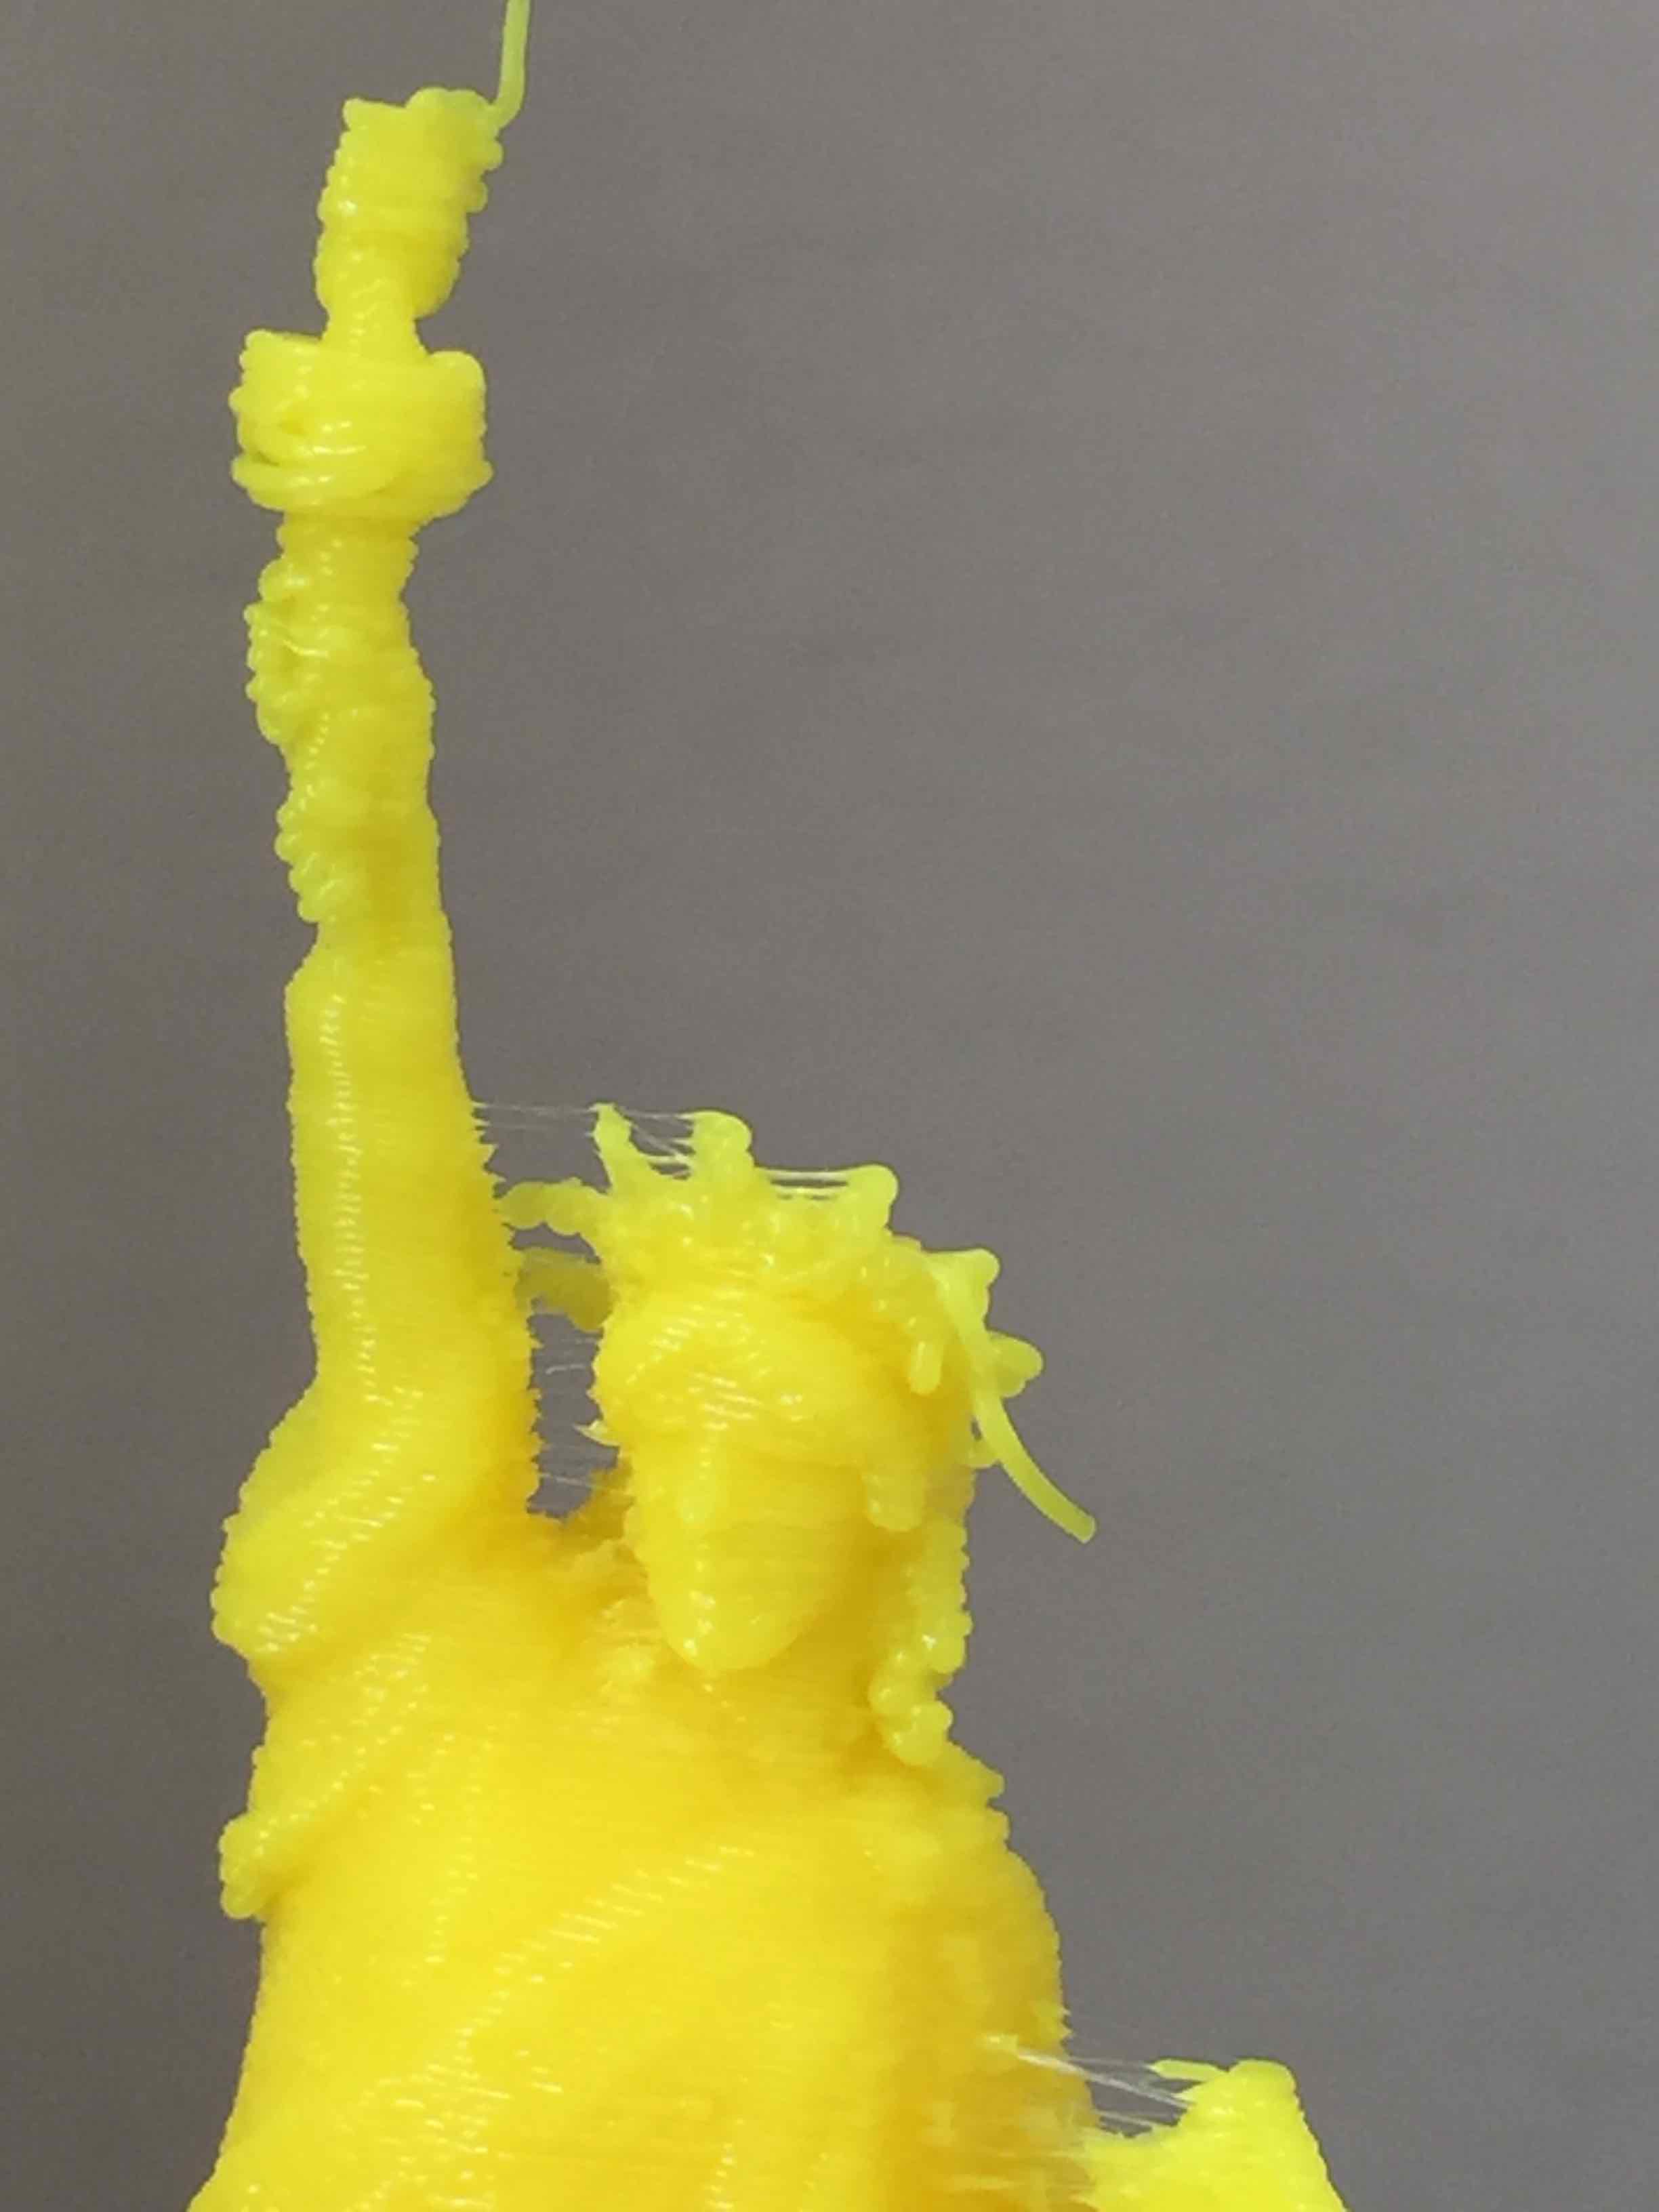
At this point, I printed several copies of the “keychain” sample while I set about slicing some of my own models. Meanwhile, the printer started to exhibit a new problem that I soon realized had been there all along…
I also noticed a black residue building up on the smooth rods from bushing break-in. I was oiling the bushings and wiping the rods down before every print. The instructions mention that the bushings need time to wear in. I came to suspect that the bushings had too much friction during rapid print head movements, which would sometimes dislodge a magnetic coupler, and other times cause a belt to skip a tooth.
I continued running prints and cleaning the rods, but I grew impatient because of the high failure rate. I considered using brass polish or some other mild abrasive to speed up the break-in process, but decided this would be detrimental to the machine over the long run.
At this point, I decided to short-circuit the tedium of wear-in. I replaced the brass bushings with six LM10UU linear bearings, as documented in another post. This appears to have resolved any remaining issues I was having with thrown magnets, skipped belts, and even, surprisingly, calibration/first layer adhesion.
I am still working through the full ramifications of this modification, but it validates that the Delta is capable of excellent performance once the bushings are properly worn in, so be patient with yours, keep the rods clean, and wipe away the excess oil until you can get a few dozen prints through it.
While I was doing all of that, I was also trying to figure out how to slice models for the Delta. I use a Mac, so I couldn’t use the pre-configured Repetier distribution for Windows.
It wasn’t too hard to create a new printer configuration in Repetier for a delta machine, but I wasn’t sure how to set the coordinates. But it is easy: The origin (0,0) is at the center of the build table, so the addressable range is from (-100…100) on both X and Y.
I also copied the start and end gcode out of the sample keychain file and into the printer configuration for slic3r. This inserts commands to initialize the printer and level the table at the start of the job, and to shut it down at the end.