Build my vertex delta en tried my first print. I tried the logo from velleman (g code from there site). My result looks like this. What could go wrong?
Two things:
-Degrease your Buildtak
-Check if the nozzle hits the bed during the bed compensation routine at the beginning of the print. If it hops before hitting the bed, the sensors are too sensitive and you should change the sensitivity (the knob on the backside)
Best Regards,
VEL337
1 Like
This video shows what happens… Cleaned the bed en think that te sensor is ok…
I have seen this problem before.
It looks like the calibration sensitivity is set to high (sensitive)
You may need to back it down a little.
Check this link
https://manuals.velleman.eu/article.php?id=771
1 Like
Thanks for your reply, but doesnt seem to do the job.
Tried to clean te bed again to be sure. Also tried to adjust the sensitiveti (even in both ways to the maximum. But even in both ways it doesnt print better.
To mee it looks like he is just doing something and the dictance form the printhead and the bed looks too much to make a good result. Also the print doenst seem to stick well on the bed…
Any tips?
Normally After it goes through the calibration the print head is closer to the bed.
When it primes the nozzle it is directly on the bed them it lifts goes to the starting point then lowers to the bed.
Are you using the correct software for the K8800?https://manuals.velleman.eu/category.php?id=284
Did you go through the first calibration and store the values?
https://manuals.velleman.eu/article.php?id=772
1 Like
Did the height calibration. The head is like 5mm away from the bed while priming (stays in one corner and makes a big dot of pla). Then goes to another point and starts printing. Doenst go lower (even a little bit higer) whole printing. I use cura for mac. Bur used the file with the gcode from the vertex keychain. So didn’t have to use software…
Thanks for all your effort already!!!
Maybe you should go back through the calibration again.
In addition to the height you need to do the auto calibration and then save the values.
Did you do this part after the auto calibration?
This next step however, is vital! You need to save the calibration so the printer knows it should use this calibration from this point on. If you ignore this step, the printer will “forget” the calibration the next time you power it up. Saving the calibration is done by first navigating to the “SETTINGS” menu.
Then choose the “STORE SETTING” entry. The printer will produce some short tones indicating the settings(calibration) have been stored.
1 Like
You might also check all 12 of the magnetic couplers that hold the suspended print head. The balls can be knocked out of the sockets, and the threaded ends can loosen. Make sure the ends are bolted securely, and that all magnetic balls are seated correctly.
1 Like
Thanks for the reactions. Long day at work yesterday so no time to give it a try. Now at work again so have to try it later. Normaly i did all the steps before but will give it a try later. Keep you guys posted! Thanks already!
did a new calibration. Checked the balls and the checked if evertything is secured correctly. This is what i got… https://youtu.be/D7a0p8cEXkw
Also did I X calibibration. If i let it touch the bed its -008.0
Also, in the video posted above it seems that the action before priming doesnt always touch the bed (last 2 or 3 times).
Listening to it it sounds like the belts may be to tight or binding.
You should check that.
2 Likes
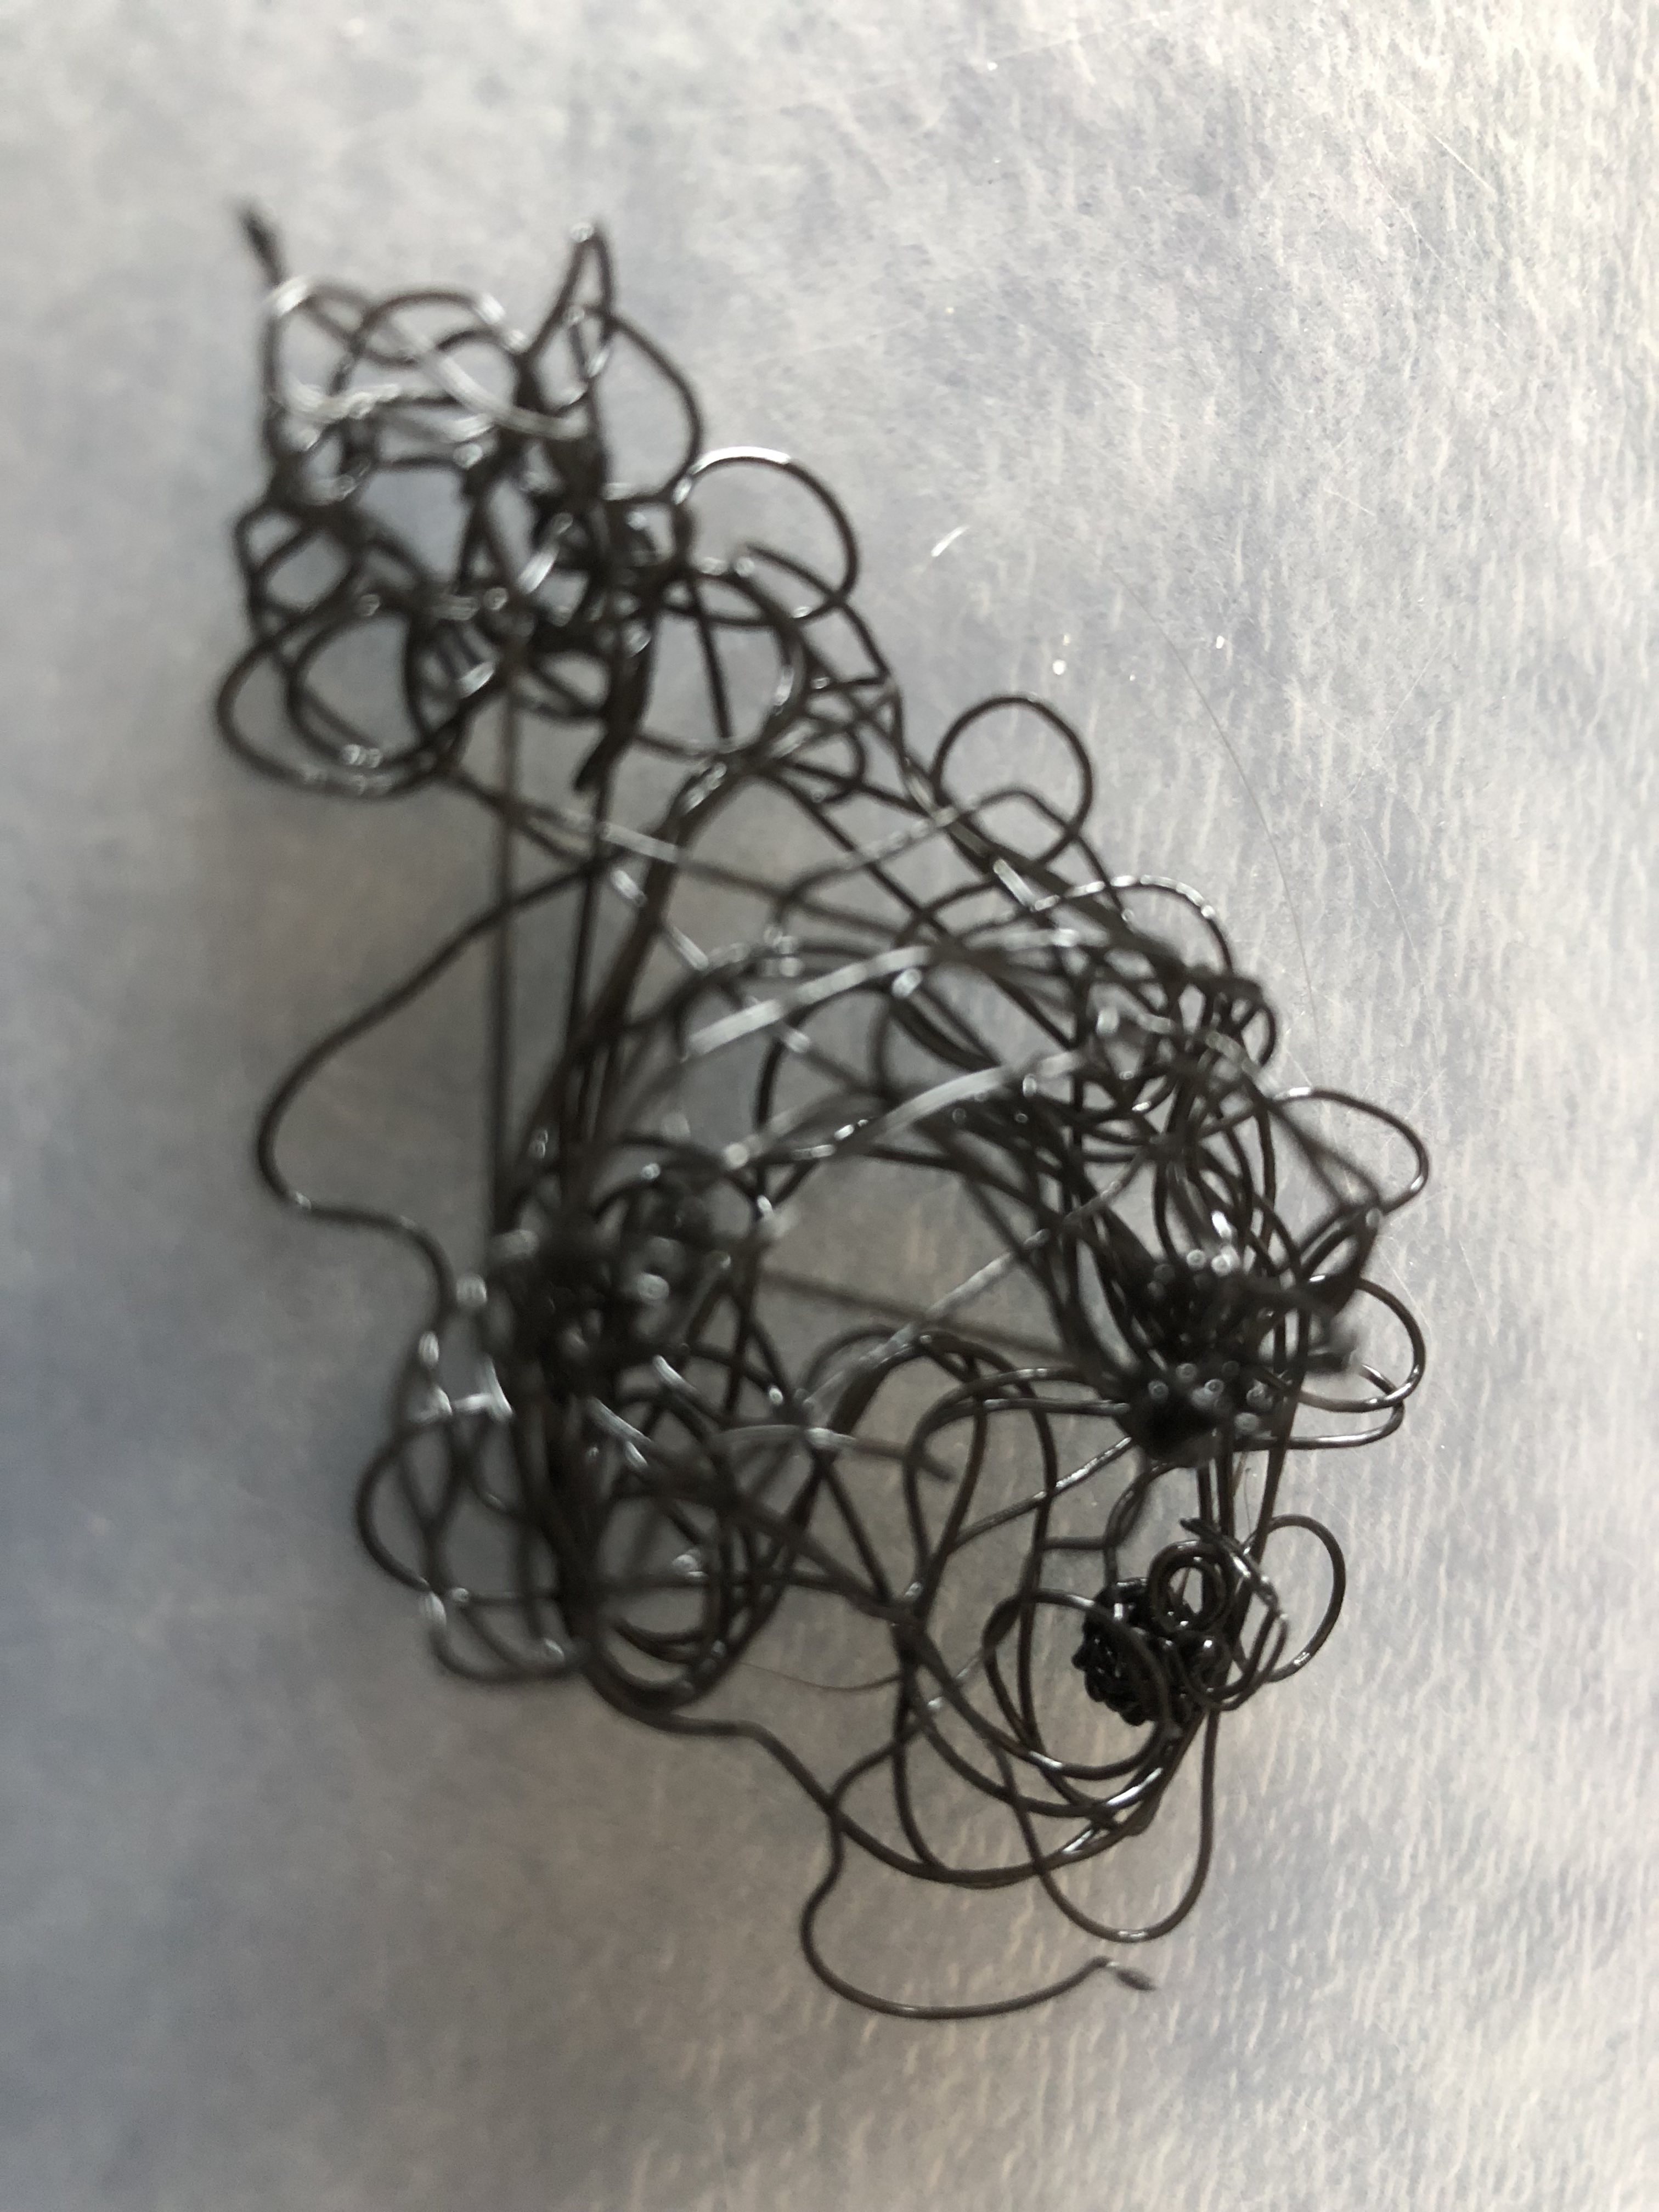
Hmmm, did give it a try. It sounds better. Bur didn’t help. The print is still looking like a bird nest. It still seems like the nozle is to high above the bed to give it a nice shape. because off that (i think) its impossble for the fillament to get a shape en make layers. What had to be round it looks more like an egg…
Start to hate this printer…
Did you check and adjust the tension on the belts?
It sounds like you have them to tight.
Do you still hear the grinding.
If not you may need to go back and adjust the calibration sensitivity.
The grinding may have thrown in off
1 Like
what do you mean with tensions? I loosen the belt a little bit by place de screw (with te bearings) a little bit lower.
That’s correct.
Since you have done that now adjust the calibration sensitivity.
https://manuals.velleman.eu/article.php?id=771
1 Like
Did the height and autocalibration again indeed. There was still a little bit of grinding. Made one off them a little bit looser again and did the calibration again. Still no differance… Video (before the last adjustment)… https://youtu.be/4u8HTTxs7wQ
In this video you can see there a spot where he doesnt touch the bed while leveling and that there is still a lot of distance between bed and nozzle. I think this is the problem but can’t figure out why he takes this distance. He can go lower when he is calibrating. So why does he keep this distance?
Thans already for all the effort!