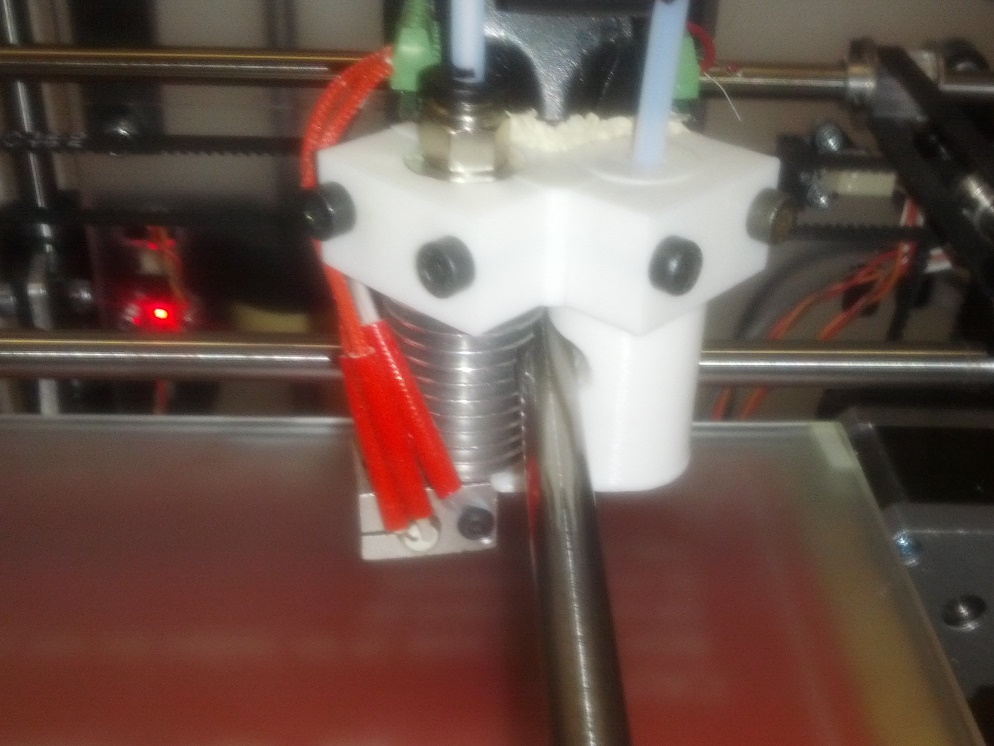
E3Dv6 on K8400 (Dual head)

A bad connector can burn with 25 Watt just as with 50 Watt. I have enough good connectors to handle that (some of my modell-airplaine motors are connected with 800 Watt, and this is nothing special there ;-))

There are 3 main reasons for me to use the 50 Watt heating cartridges:

  • the E3D design will have more power loss definitely
  • i do not want to print leisurely daydreaming, especially with the 0.5 nozzle i want to have proper throughput
  • meantime i bought me more E3D-clones, so i have 5 hotends i can easy and fast change them complete like i need, with different nozzles premounted

i just wont a short answer from Velleman-Support please:
Are the heater-outputs and the powersupply of the Vertex strong enough to deliver that apr. 50 Watt additional Power ?
(each 25 Watts more)

It’s clear that there is no problem to ad more power to the heater-outputs on the ‘mainboard’ by adding parallel MOS-Fets and/ or to ad another power-supply, but should the original one not have a reserve ?
I need to come forth quickly, need 180 ABS-parts with 155x93x12 mm soon …
i used the sunday morning to find it out myself:

the heater-outputs on the ‘motherboard’ are strong enough (dissipation loss is less than 0.05 Watt, max. possible Ampere are 10 times more than needed …, for shure not with this connectors installed and without heatsink)

but, i measured both with clamp-on ammeter and oscilloscope, primary and secondary side: (in german we say “wer mist mist Mist” :-))

the original vertex power-supply is not strong enough to take that more load !

So i have to build a dual-mosfet-powerswitch, called ‘power expander’ here (but a bit different from the 24 Volt types circulating around)

1 Like

oh, shame on me ! It has to be written: ‘wer misst misst Mist’ , it only sounds 3 time equal.
i live now so long outside Germany that i forget more and more …

But i remember another saying: " who find any spelling mistake, the party may keep it for themself "
Free translated from " wer Rechtschreibfehler findet, darf sie behalten " (and my English is again inferior to my German ! ;-))

If anybody knows it, please correct me.

Hurray, i have my first 2 E3D-Clones working on dual printhead !

Producing now 3 days 14 hours ABS without any problems, all tight, better surfaces lateral and on top, heater blocks insulated …
And this with my special cooling with only one fan above for both hotends. (so you do not lose printing area left and right and you win 20 mm in y-direction, not needing the smal fan any longer nor the smal E3D-fans on the side)

Just optimizing the PID-Settings i have some questions to someone who has experience with our firmware please:
The auto-PID-tuning don’t work, although it is described in our documentation, the M303-command is accepted but only gets you some errors after a while and you need reset (i controll my printer with the OctoPrint-Server)
So i optimize it manually until now (no problem if you start with 150 °C, specially with my 50 Watt heatercartridges i go there in seconds with a lot overswing with the very high standard P-value of 63)

But: if i send the command: M301 H1 P21 I1.08 D114 (nearly the settings for Ultimaker2), it is accepted and i get back:
ok, P21, I1.08, D114, C1.0 (regulation is a lot better then …)

What is the last value C1.0 ?
And should i not also vary the parameter “PID_FUNCTIONAL_RANGE 10” ?
What means the parameter “K1 0.95 //smoothing factor within the PID” ?
Is this all affected by “TEMP_HYSTERESIS 5” ?

I you have to test this out in all variations, you are busy for the rest of your live ;-))

[quote=“Digi-Bert”]Hurray, i have my first 2 E3D-Clones working on dual printhead !
And this with my special cooling with only one fan above for both hotends. (so you do not lose printing area left and right and you win 20 mm in y-direction, not needing the smal fan any longer nor the smal E3D-fans on the side)
[/quote]
Sounds very interesting! Would you like to share your design with only one fan? Do you have some pictures of your setup?

Regards,
Karl

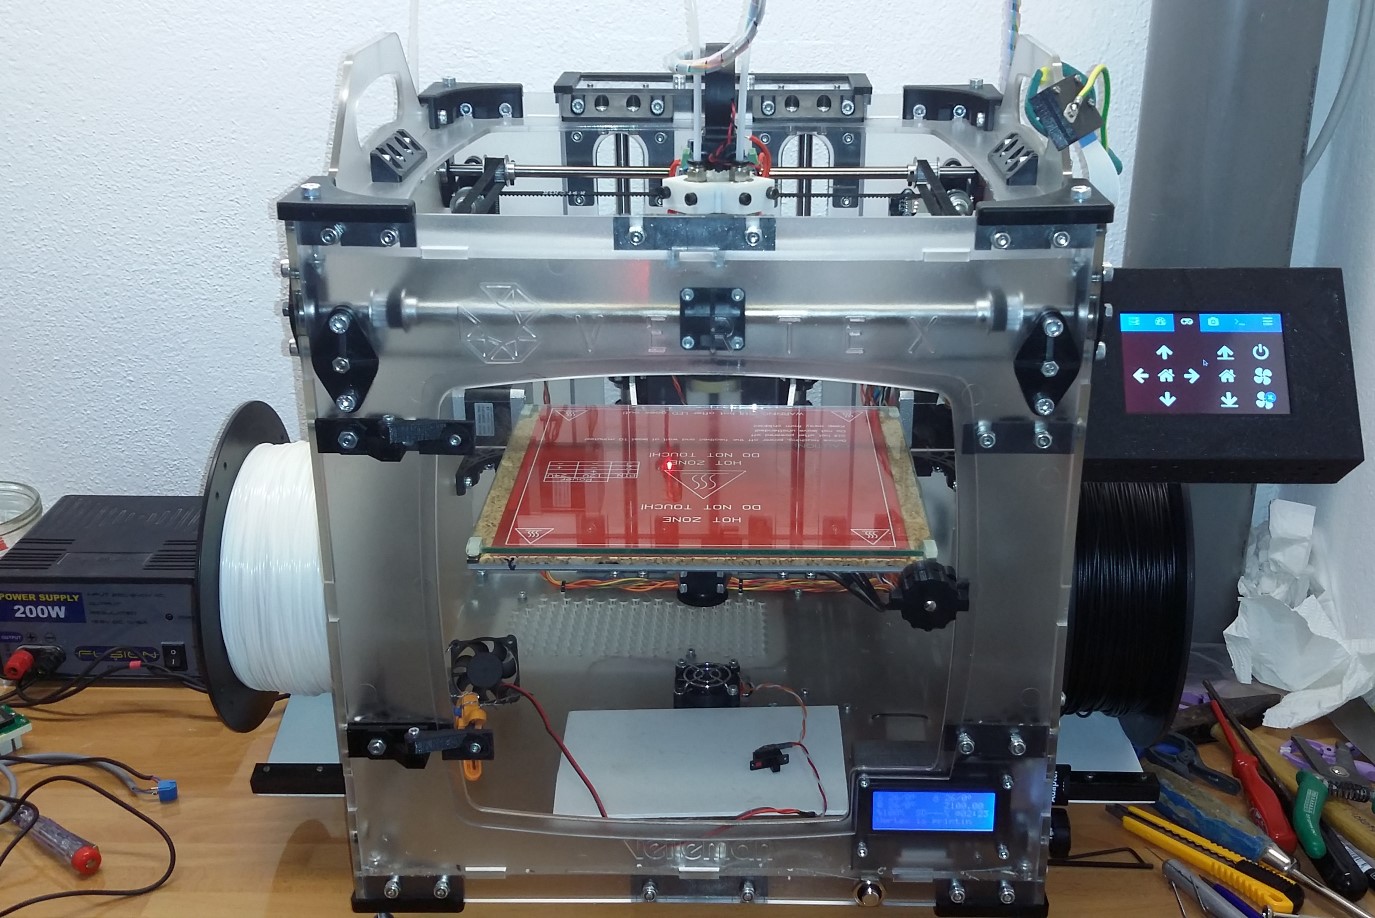
Some pics to illustrate my mod: (still provisional for testing …)

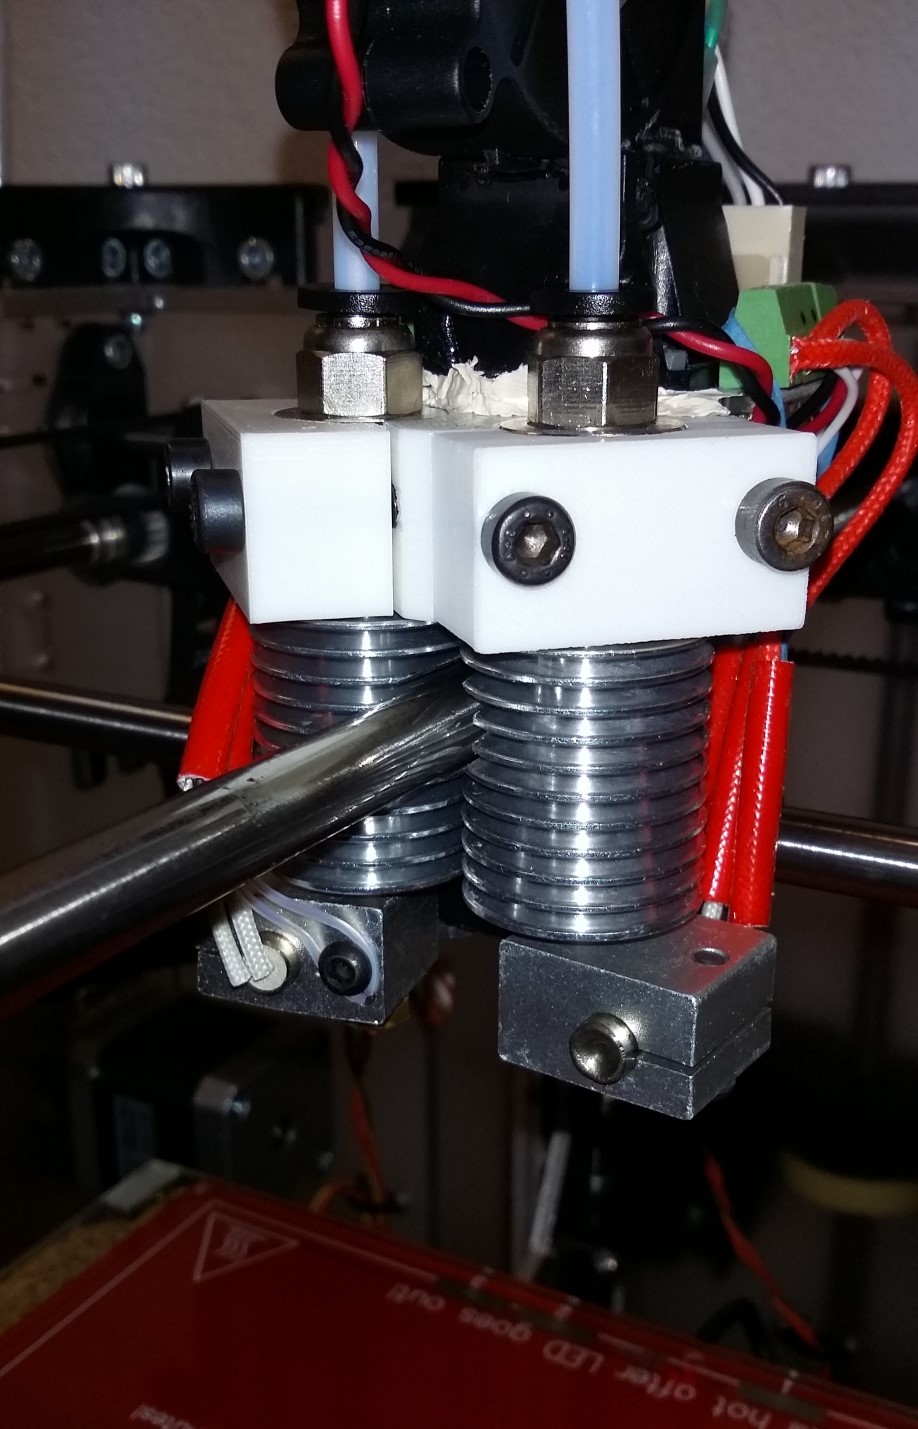
Dual head without radiation shield. Only 22.5 mm distance between nozzles (less than original vertex)

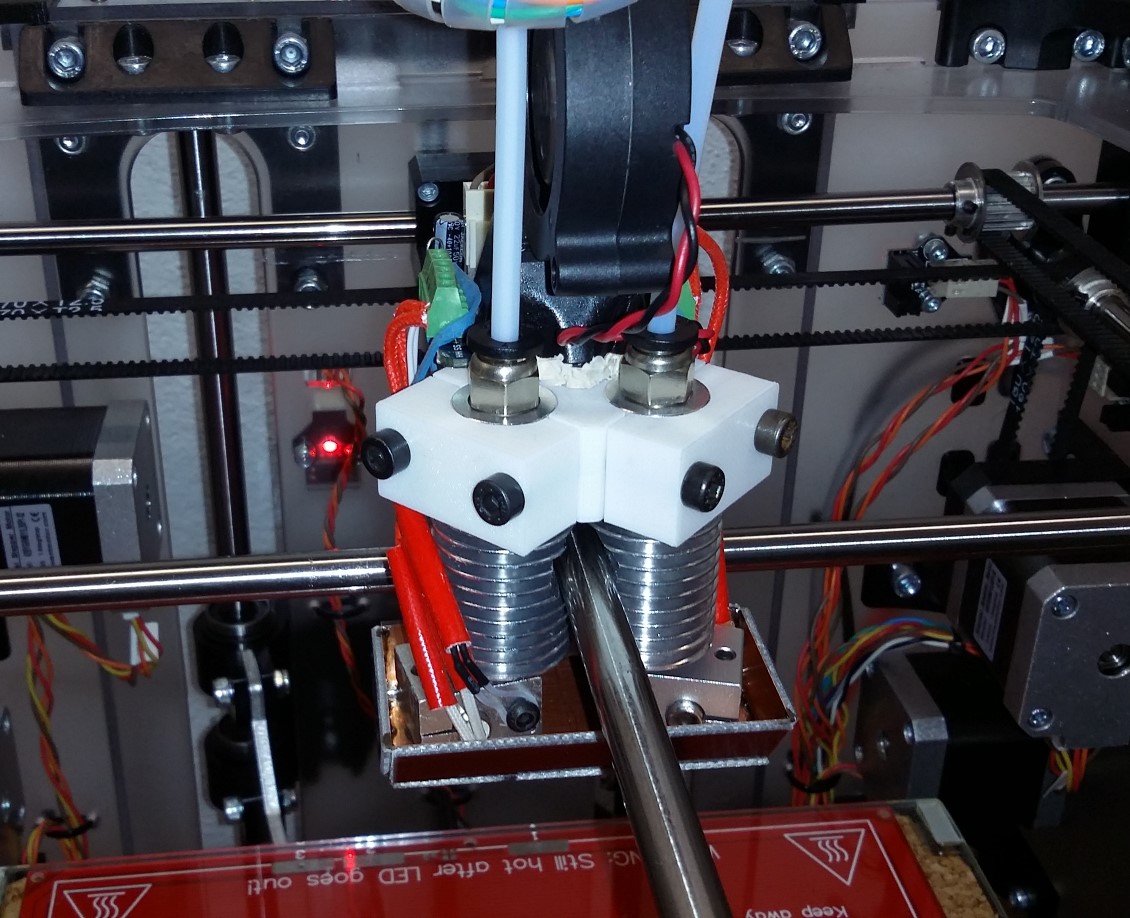
And with provisional shield mounted:

printer in frontal:

Tested up to 280°C head-temperature, cooling of hotend is sufficient ! (280 °C for later tests with Polycarbonat)

1 Like

Subscribed. :slight_smile:

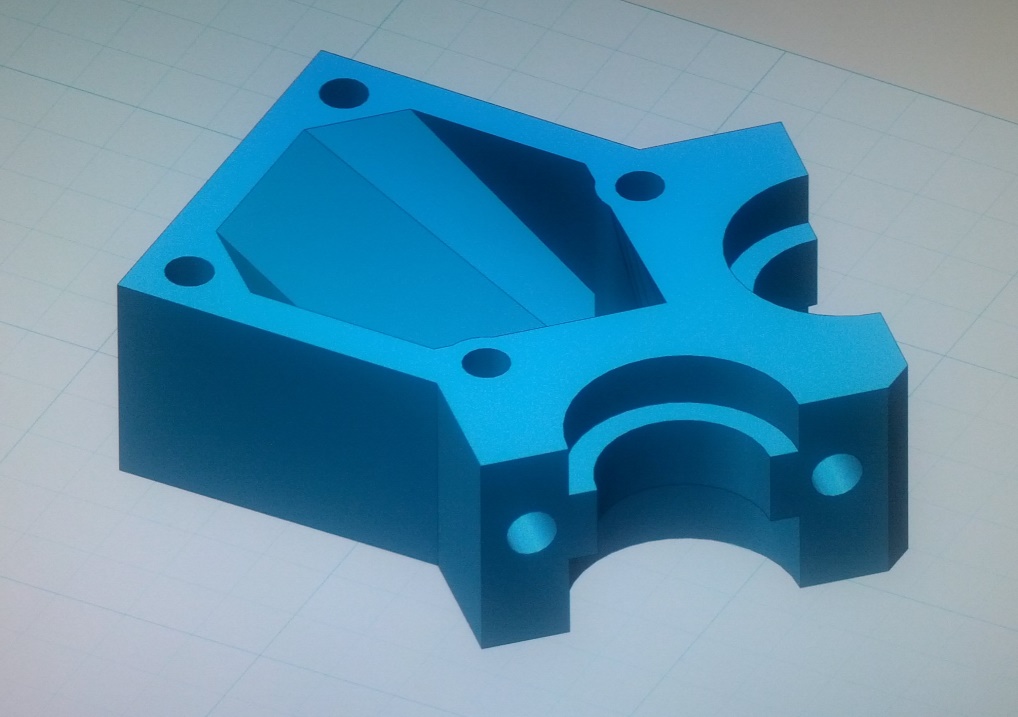
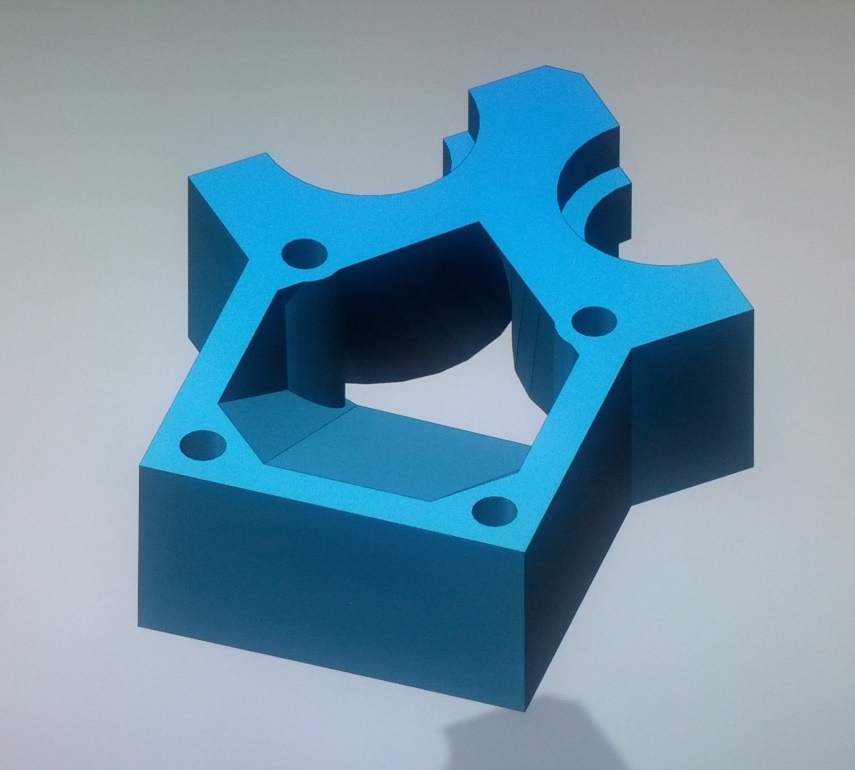
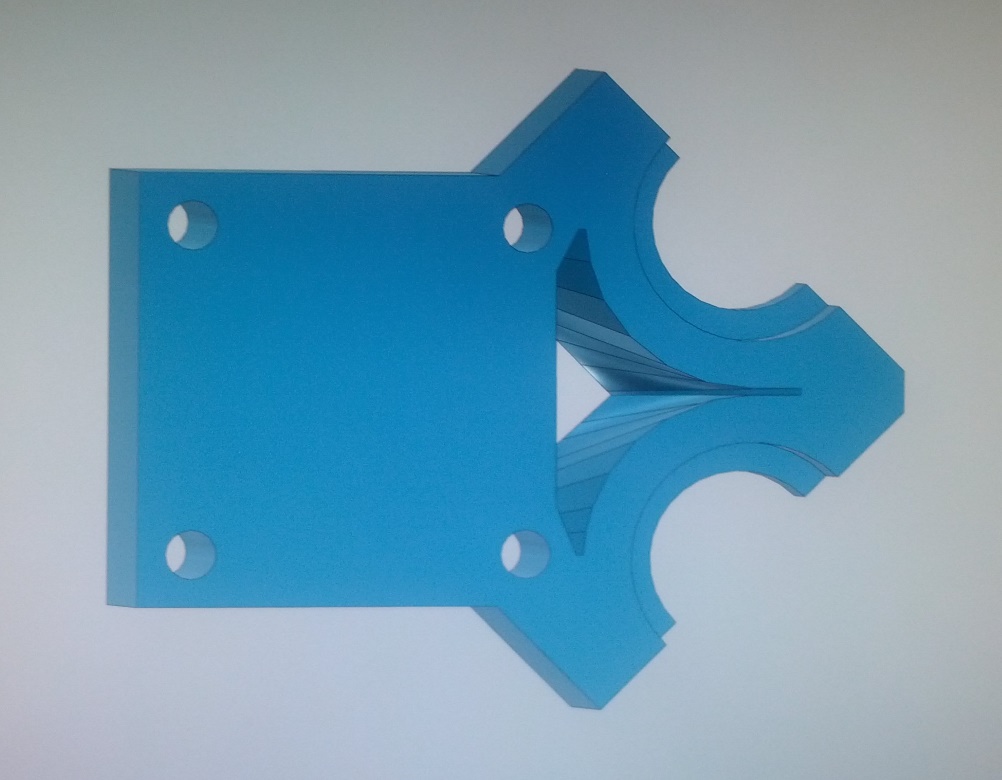
to illustrate the airflow and the design as much compact as possible,
head-mount from top:

from behind:

and from below:

Hi Bert,
I like the idea, but I am wondering, how you adjust the two nozzles to each other…
How do you level them?

And E3D is assuming, that the fans are always on, so how do you do that…

Best
Frank

Hello Frank,

leveling is very easy: i clamp the hotend only with the two bigger diameters, the smaler ring-nose inside has undersize. So if i tighten the screws of the chockstone a bit by hand the hotend has a good guidance and can only move in z-direction one mm up or down.
Then i home only z-axis, leaving the head aprox. in the middle and i put a smal piece of steel sheet with the needed thickness on my glassplate under the nozzle, move the hotend down and tighten the screws.
If the nozzle is not clean, i first heat up (and have to take care … ;-)) You can also use a “Fühlerblattlehre”, a measuring tool for adjusting valve clearance of otto-motors.

This is faster done than written and because i often change the whole hotend now if i need another nozzle or filament-material there are also adjusted different nozzle-distances faster then every time adjust the printing table. (also if only printing with one head)
for example: first i print ABS with 0.5mm nozzle and 0.2mm layer-thickness, i need 0.1mm distance.
Then i print PLA with 0.3mm nozzle and 0.1mm layer-thickness, i need 0.25mm distance.

The printed circuit board will be removed later, will install one cable-connector respectively left and right direct to each hotend. You get the complete hotends now for less than 9.- Euros (shipping included) at banggood, so i will have seven if all delivered. (i also ordered a nozzle with 1.0mm, if this work i will need more … :-))
Polyamid, 4 different types of Nylon i have ordered besides.

The fan is now connected to the same power-supply i use for heatbed and the two heating cartridges: a seperate, external switched 13.8 Volt type i had remaining. So no heating up of the hotends is possible without fan running. (connected with two standard-diodes 1N4148 in series, giving nearly exact 12.0 Volt with the load of the fan)

1 Like

[quote=“Digi-Bert”]Some pics to illustrate my mod: (still provisional for testing …)

Dual head without radiation shield. Only 22.5 mm distance between nozzles (less than original vertex)
[/quote]
Looks very nice! Would you like to share your STL or design files?

Regards,
Karl

Hi Bert,
thanks for the detailled info. It is appreciated!
I use this dual head mount with the adjustment screws in it, which is spreaad here around.

That one was a first try and it worked well. but yours is much easier, and it looks like more simple.
Not the negative way :slight_smile:

So I will check that at a later time.
I use the original E3D instead of the Chineese stuff… I am really happy with those heads.
But I will give them a go in the next order, just to compare.

Actually I am thinking of the 2 hotends in 1 nozzle thing from E3D… And a direct drive as found on Thingivers… there are a lot of improvements possible…

Sometimes I am not sure if I bought the printer to print or only for modfying it :slight_smile:

Anyway thanks
and bye for now

Hi Frank,
i also want the whole printhead as light as possible and firm. You can faster print then, less shaking.
At the moment i use a dummy of PLA on one side to print my small series of 180 ABS technical parts.
In conjunction with the 0.5 nozzle i could reduce the printing time from 2h16min to 43 minutes.

i print that with closed door, hood on top (a simple household box), 95°C heatbed, 152°C head, so getting aprox. 40°C in cabin, on my sanded glasplate without brim !

We make us the best printers, money can’t buy !

Hi Karl,
no problem, but please consider: this is my first draft of the headmount. i wanted start printing with bigger nozzles as soon as possible (to get my 180 ABS parts.
i will add more functions, e.g. mount of female connectors left and right. Then elimination of the PCB (wich makes a gap you have to seal at the moment) Perhaps i turn the fan and there is also need to design a new coupler between fan and headmount. i have done a plastic deformation of the original one with my SMD-rework-soldering-fan (no work for everybody, you can easy damage all ;-))

Another question is additional cooling for e.g. PLA parts. At the moment i do it povisional with stationary fan clamped where i need it. Cause i want the printhead light, i will test a row of smal, controlled fans, mounted on the right wall, blowing across the heatbed (like some new 3Dprinter designs i have seen, doing this with a big aligned fan) i have a lot of small fans remaining now from my seven E3D’s :-))
If this don’t work, there is the possibility to bypass some air through the xy-block down with an outlet near the nozzles. This controlled by an rotary slide valve …

Also i made the experience: STL-files are not good for technical parts, the dimensions are depending on your set (printer, material, nozzle, temperatures and 100 other values …), you can’t handle this with variation of x,y and z proportion. Especialy the round hanger in this case need exact size. You can get my “123D-Design” files if you want ? (i design the most with 123-D and Meshmixer, all free software from Autodesk)

1 Like

Hi bert,
About the PID setting, the instruction to send should read like this: M303 E0 S200 C8
E0 = 1st hot end, S200 = temp, C8= cycle 8 times. And you take the last measured value.

It’s all explained on the Reprap wiki : http://reprap.org/wiki/PID_Tuning.
For a 50W heater, it’s a good idea to lower the PID_MAX parameter.

I love your design. Loss of work-space is what prevented me from switching to E3Ds. I’m interested in your 123D files if you’re ready to share :slight_smile:

What is your shield made of?

[quote=“Digi-Bert”] a “Fühlerblattlehre”,[/quote] It’s called a “feeler gauge” :wink:

1 Like

Hi bert,

I like this design, maybe you can share the files?

Regards
Wolfgang

That would be perfect! I’m using both 123D-Design and Fusion 360 (which I believe can import 123D files).

Hi all,
costs me some nervs (we say in german, probably makes no sens in english), will say annoying time, to get a project public on the 123D-world.
e.g. you find nothing if you search for the projects name, or tags etc…, but found a way:

Please go to http://www.123dapp.com/project/search/state/all
then type in scanfield “Vertex” and you can select the project “VertexE3D-HM”

Now you can download three 123D-files (after logging in).
The last one indicates with the lower letter “-n” an earlier version in the file-history, perhaps helpfull if you want to design more. (dummy-hotend etc.) The chockstones are attached with M4-threads in the headmount, you need a machine-screw-tap, one with a short ingate !

Shortly a suggestion for improvement: the whole thing becomes higher, so you need longer M3-screws if you want to screw it together with the xy-block like before. I had to use 4 thread-bars because you don’t get M3 overlong-screws here in the semi-desert. Not good, and more work …
my suggestion: make the 4 attachment-holes in the head-mount smaler, so that they are printed with 2.5mm diameter and tap a M3 thread in. Then you can use the original 4 screws (probably with or without washers) from below and you can attach the fan and PCB with short screws from top. Also better if you modify something later …

Sounds all a bit cumbersome, but the E3D-style hotends are worth the trouble !! Never want to print without them :-))

Hello Raby, thank you a lot, will write to you later !

1 Like

[quote=“Digi-Bert”]Now you can download three 123D-files (after logging in).
[/quote]

Thank you!

Karl

Thank you!

Wolfgang

Hi all,
i am glad if you like it !

To find the correct location for the recess of the heatsink, you first should torque down the E3D !
Please consider: http://wiki.e3d-online.com/index.php?title=E3D-v6_Assembly

I do this a bit different, cause i want the nozzle touching holohedral (with full-face):
i screw in the nozzle the very first by hand until it touches only a little bit.
Then i screw in the heat-break the other side into the heaterblock as firm as possible by hand, without having a gap of the nozzle !
All other steps like illustrated, but i heat up only to 250 °C (not 285°C)
Then doing the final tightening like denoted between heater-block and nozzle, only soft !

Now you can decide wich orientation your printhead shoud have and wether you want left and right ones (shorter cables, all behind …)
i prefer all printheads with same orientation so i can change and mount (left or right) as i wont.
Although i got a CNC-milling machine i have done the recess of heatsink with an 8mm rasp in 5 minutes, deburring the cooling fins with a knife.

Hi Raby, please see tread “heat emission of the print head(s)” for your question about my shield please !