I am into 3D Printing for about 3 Month. The K8200 is my first Printer. Because of that, i find it hard to see which print results are rather good or bad. That’s why the idea of this Thread came up.
I will start with 2 Test Prints, my print setup and what kind of modifications i made to my K8200.
That way, i hope others can participate in this Thread to compare the print quality depending on the modifications of the K8200. I hope this will help to decide which modifications are really worth it and which of them aren’t.
The best way will be to use the same objects. That way, prints will be easy to compare.
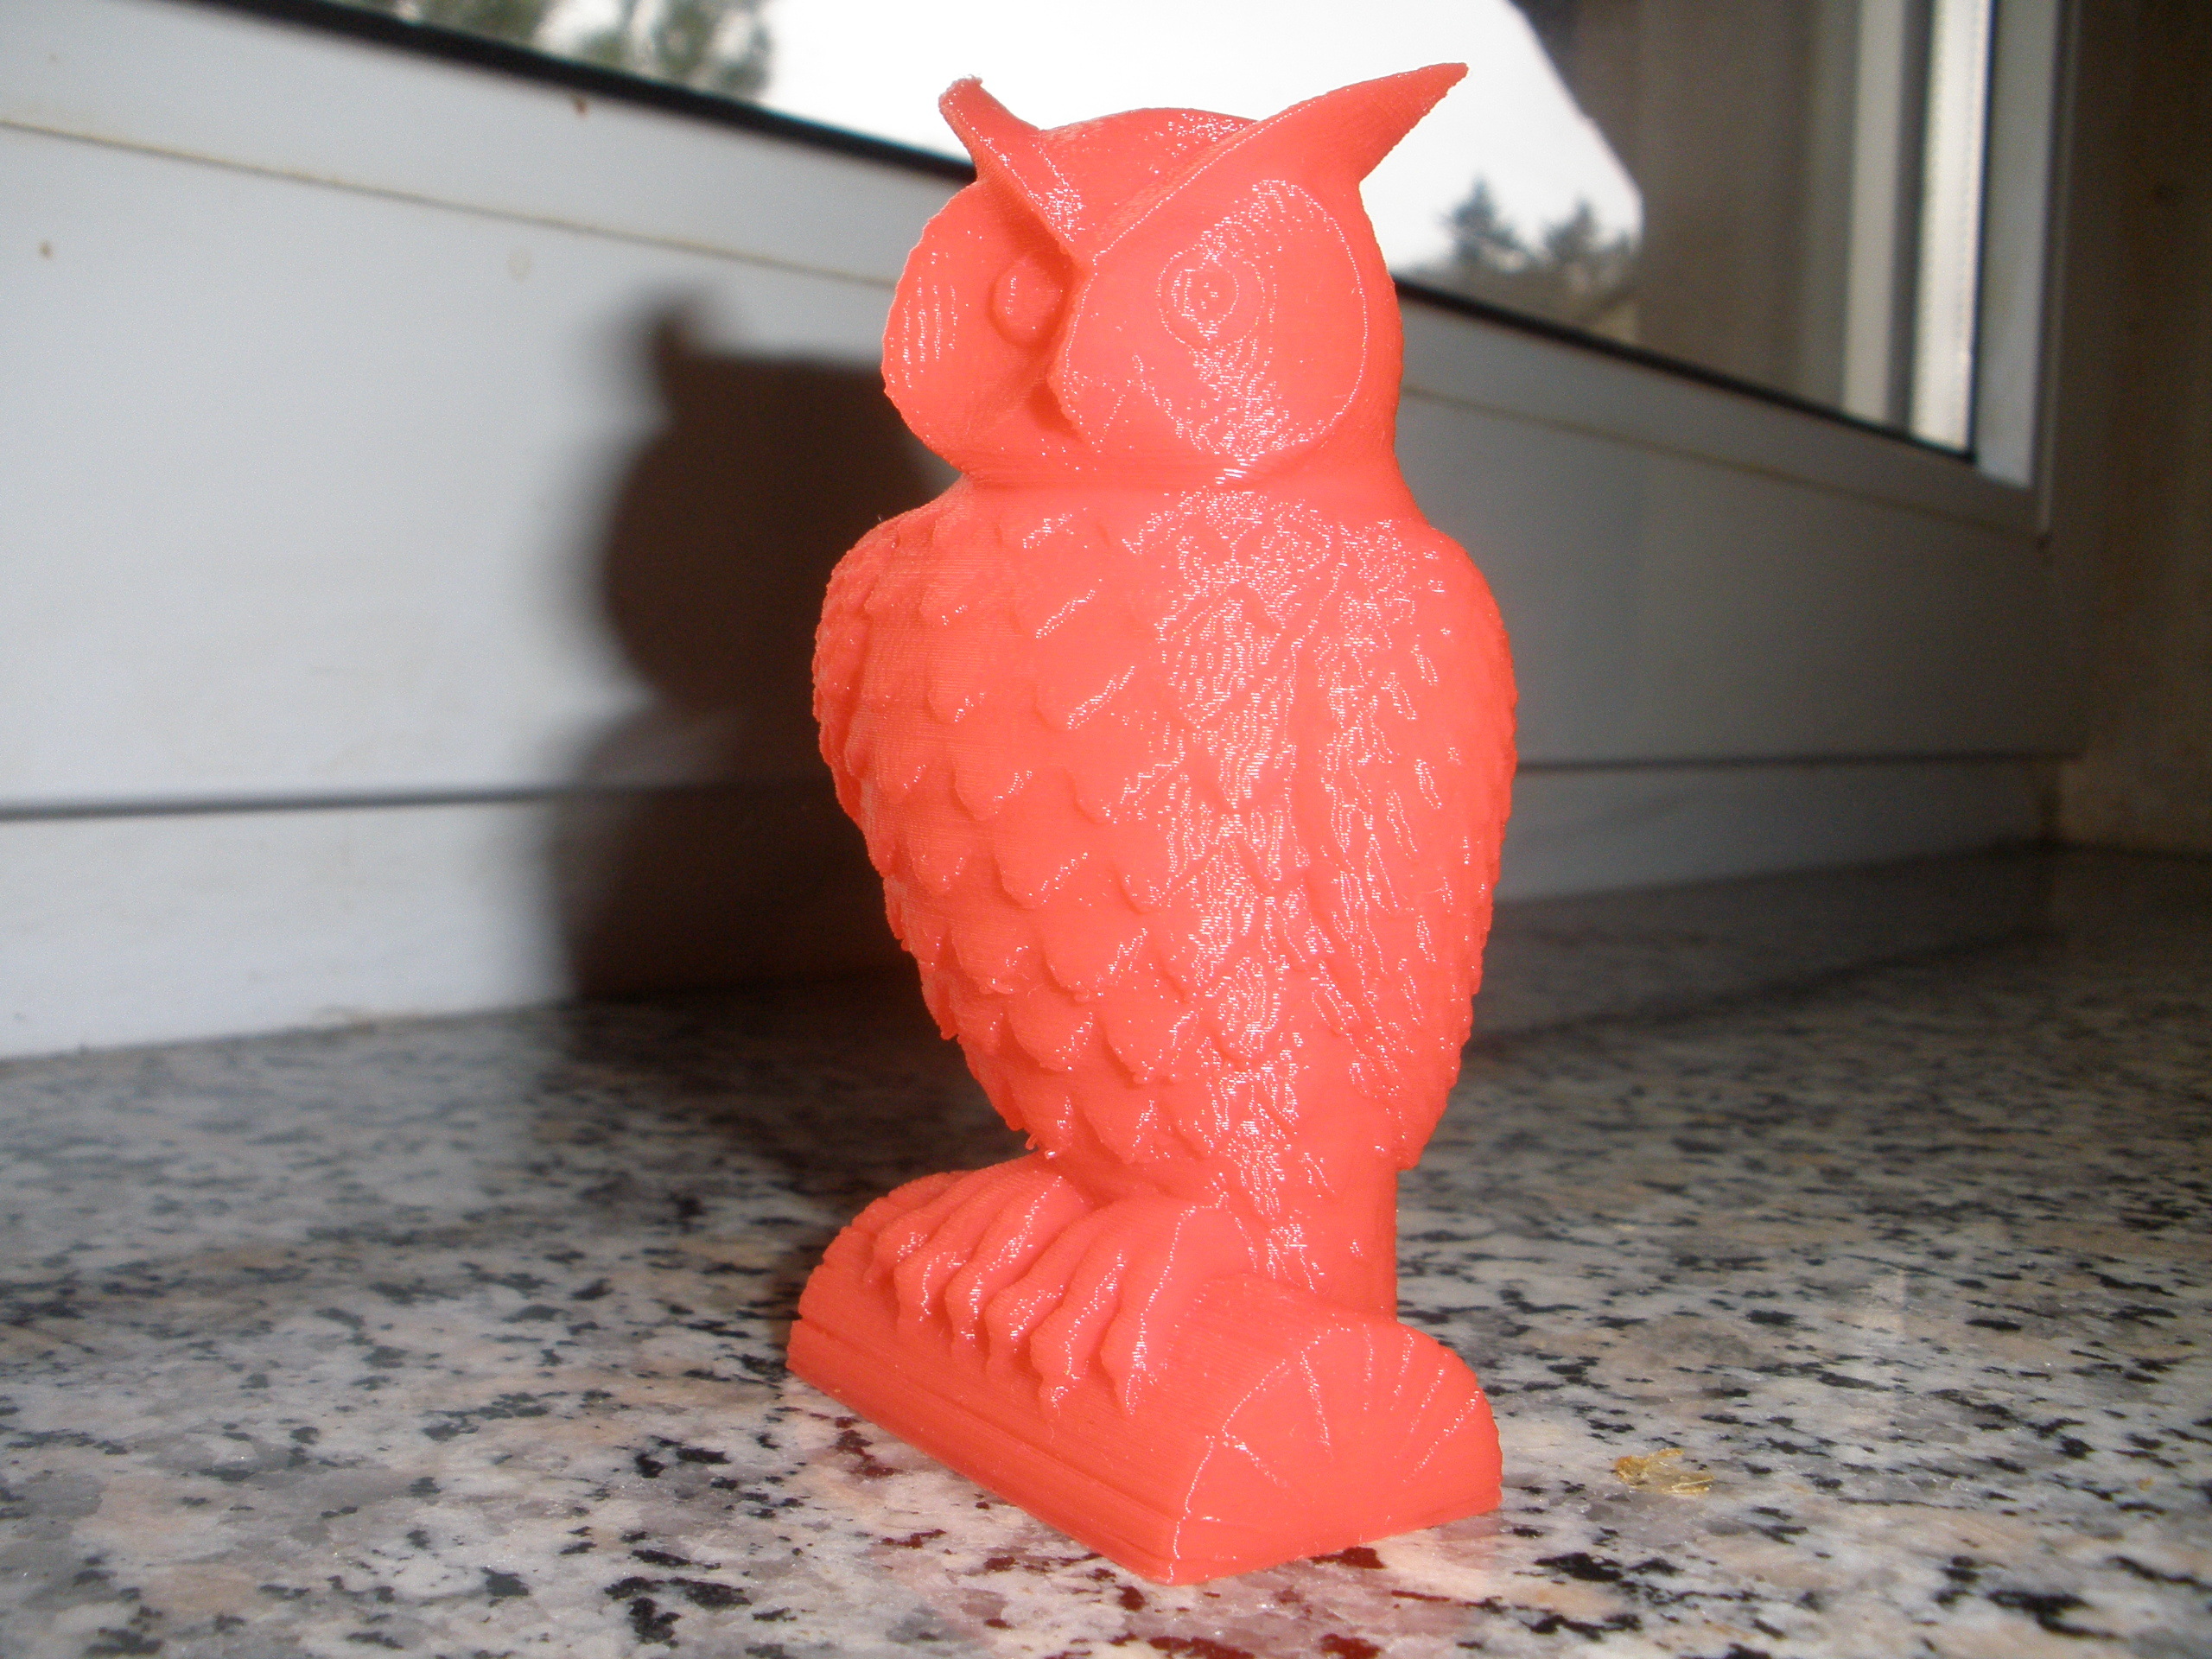
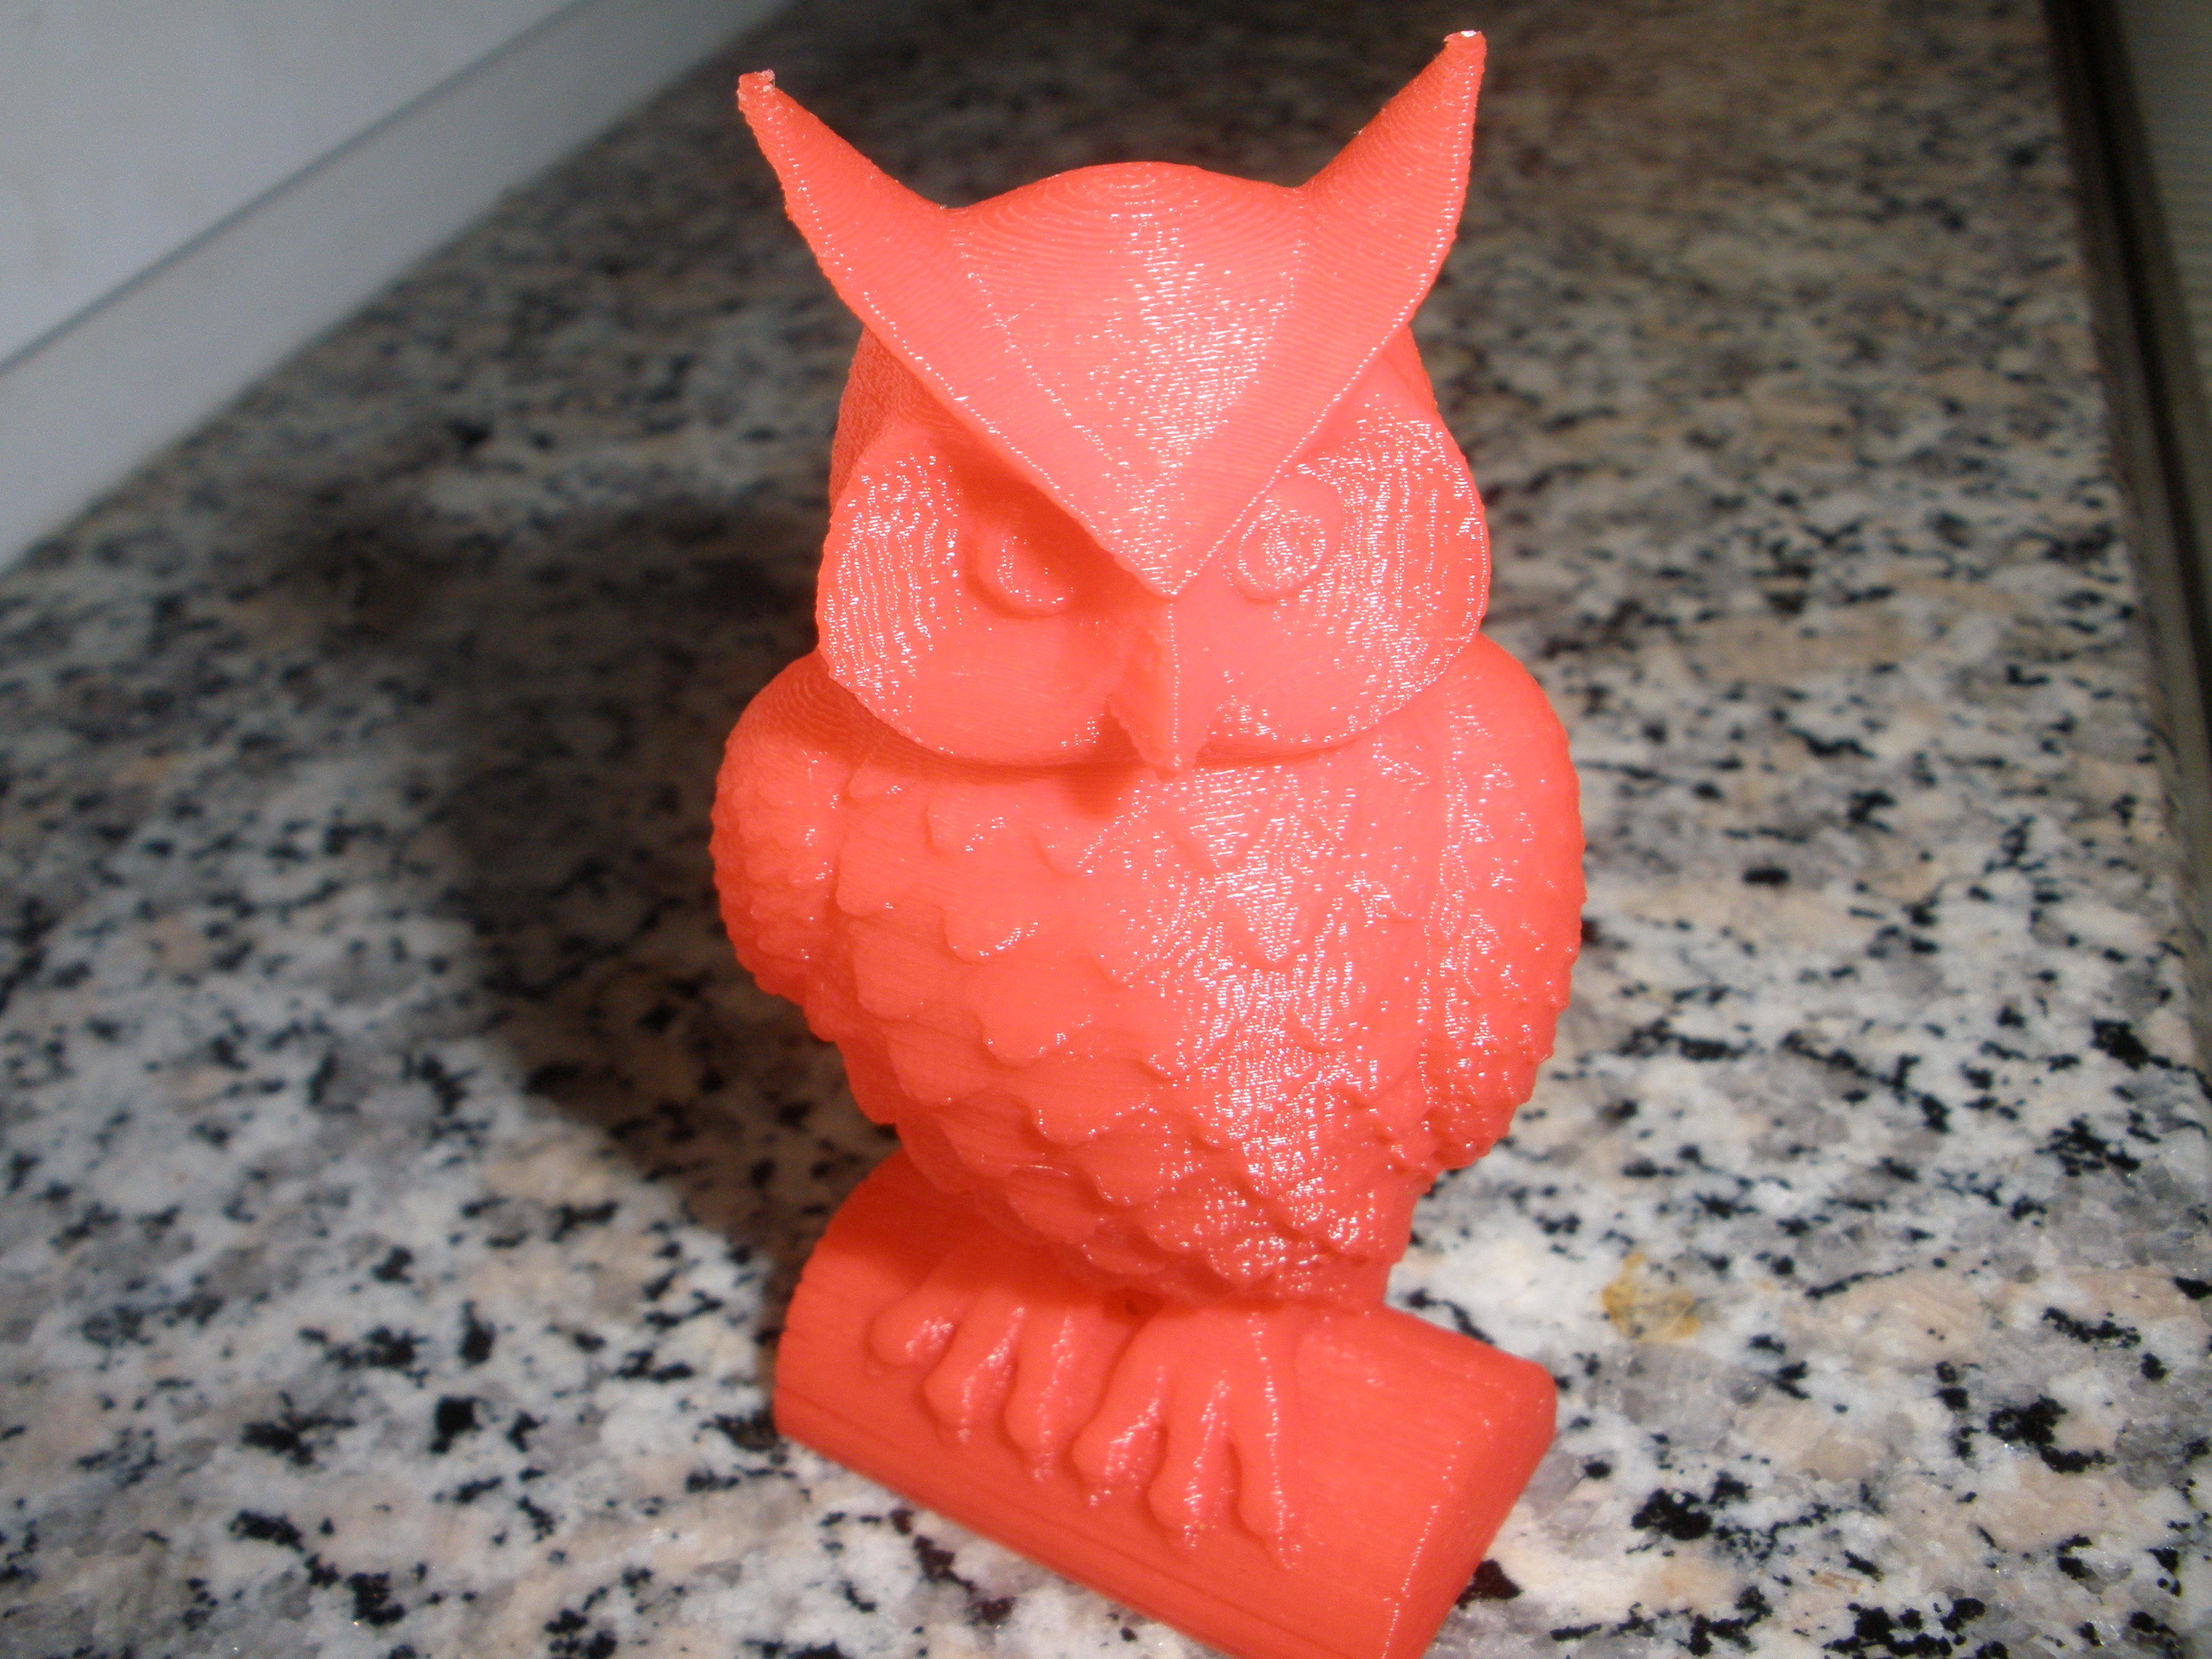
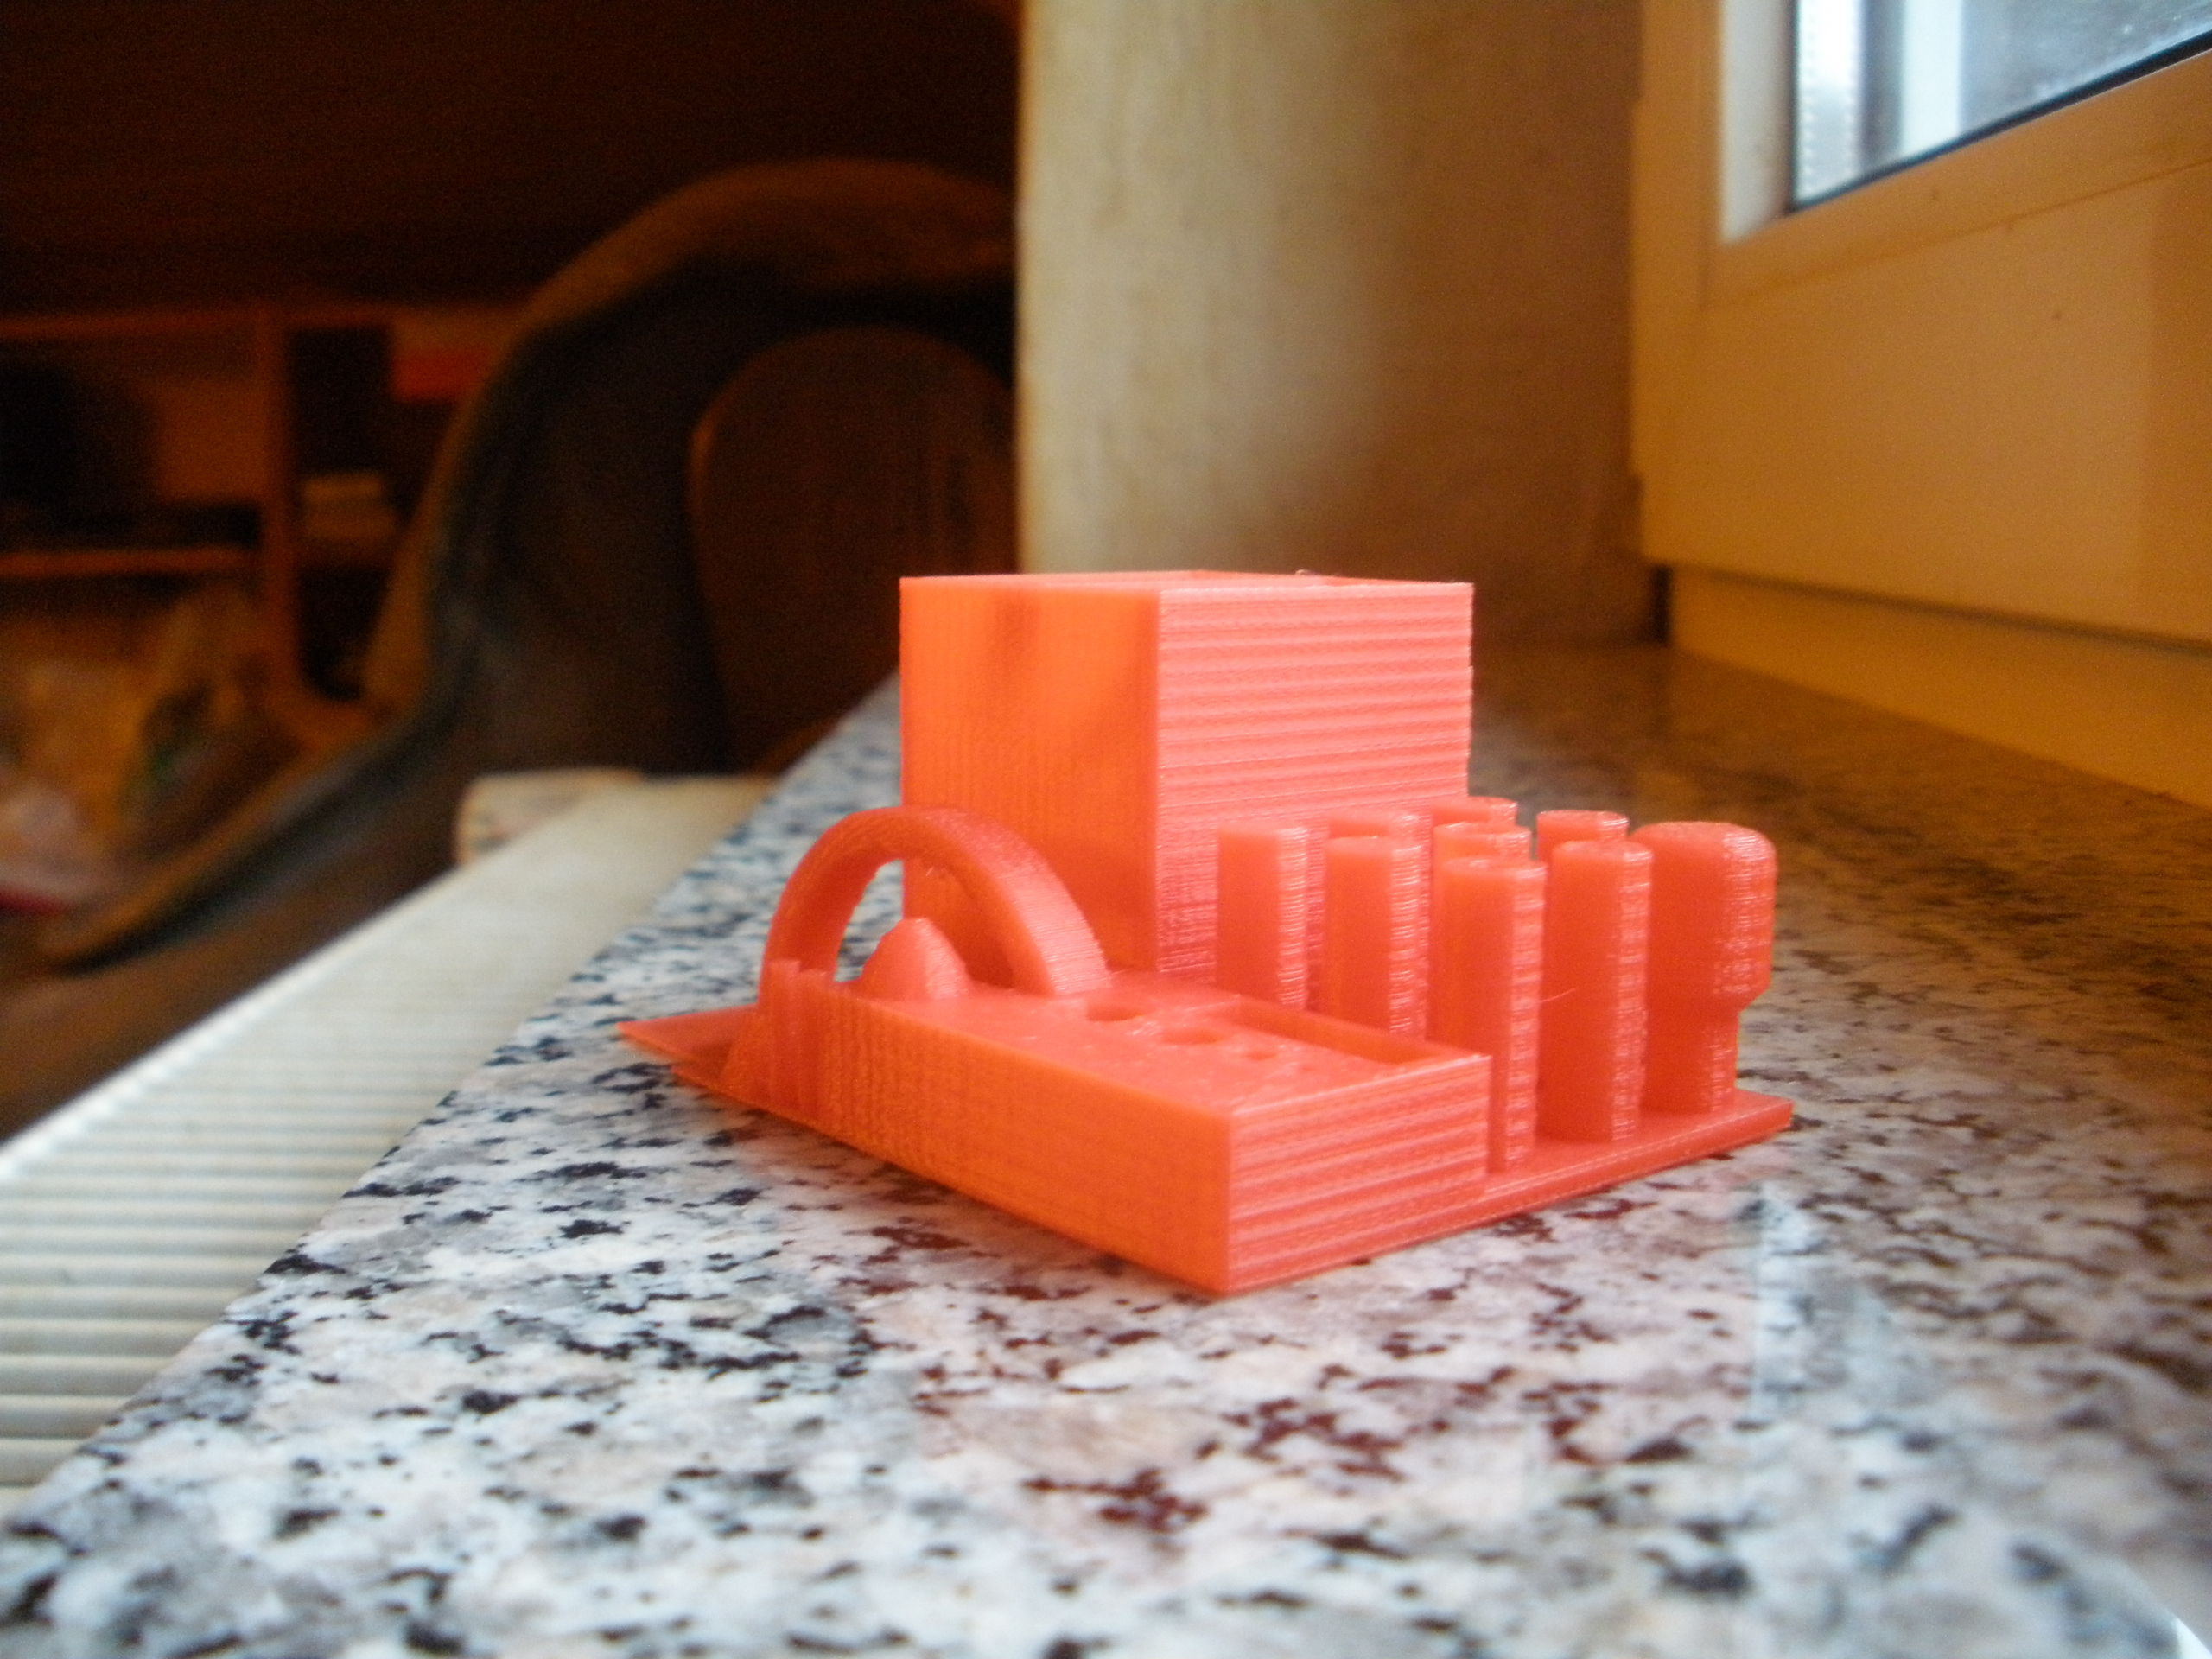
I chose these two Objects. The pictures are made just after printing, no cleaning. Just from the Bed to the cam. 1. The Owl Scale: 0.5 - to show surface quality 2. Some torture test Scale: 1.0 I found it and modified just a tiny little bit to get the arch sticking to the Bed. Its supposed to be an overhang test, not a bed adhesive test.
Torture Test - Scale 1.0 - Print Time 2:41 :
The Stringing inside the Cube is there because Cura acts inside of it as it is fully closed and doesn’t retract. Thats the first time this happened so i don’t take this as a problem.
One thing i can’t get rid of are these echoes (shadows, ghosts, or whatever you call it) around the holes of the torture test. I already lowered my acceleration to 900mm/s². I don’t want to set it even lower, it would result in blobbing at sharp corners.
I wonder if GT2 belts would solve it.
Please participate and show your print samples of these objects.
Of course, you can use your own Slicer Settings. I chose 0.15mm Layer Height because its a good compromise between quality and overhang ability for my 0.4mm noozle.
hanging Z axis mount for K8204 (maybe i can post the parts)
GT2 2mm Belts and 16tooth pulleys for X and Y axis (working great, but the mounts i found are not good, so they will be redone, especially the Y belt mount)
Planned :
upgrade heatbed to kapton heater pad and use only glass plate (new mount included) as bed for eliminating warp
Volcano Upgrade for E3D V6 for better printing with flex filaments
First of all, thank you. I really appreciate you taking part in this topic and “waste” a bit of filament for it.
Echoes, Shadows, Ghosting, I don’t know the official term of this problem.
Here are two pictures where you can see the rings at the right side of the holes:
Main cause of this is weight on moving parts. Behind a sharp corner the printbed accelerates but because of the weight the hole part begins to swing/vibrate a bit. I tried to compensate it by tensioning my belts to the point the steppers begin to lose steps.
Coming to your owl. I am not sure there’s a problem with your z axis. Overall it looks like you feed to much filament. Maybe you try to print a hollow cube with 2 perimeters. Screw down your filament feedrate to the point where the two perimeters won’t touch anymore. Then, screw it up again. Start calibrating your wall thickness from this point. Your Z-Endstop seems to be a bit to near the bed because your first layer is thicker than the others. To get this done you follow the same instructions as above but adjust it by the z-endstop and not the feedrate. You should do that after you calibrated your feedrate. Just to get a nice first layer.
On the other hand, it also could be your temperature. But if you got your layers flowing out wider and your feedrate is right, the printed parts would be fragile, i think.
However i am impressed by the beak (mouth) of your owl. It looks fantastic and you even printed it much faster than me.
Oh and, there’s no need to print it the same layer height i did. Just choose your own settings.
Well, you did choose the other settings by yourself, so i think layer height is just a lucky coincidence.
Overextrusion is possible, the cheap blue filament is not very even in diameter.
But the horizontal lines are merely z wobble, cause they appear spot on ervery 1.5mm, which is the pitch of the leadscrew.
The first layer is indeed thicker, but that is by means.
I set it to 0.25mm to get better bed adhesion on my warping heatbed. (need to fix that sometime)
The 0.15mm layer height i chose just being curious of how it would turn out in direct comparison.
I the meantime i found out the motor slid down on my hanging mount,
applying pressure to the flex coupler and making it wobble again.
I slid it up a bit to stretch the flex coupler out.
Tests will show if that did the trick. My first results with the hanging mount showed absolutely no wobble at all.
There it is. Go into Cura → File → Open Profile to load it. I worked with Cura standalone, not Repetier-Host (cura engine).
You need anything else? Got problems downloading it?
Mirror: dropbox.com/s/57zo0qul7eqk8 … x.ini?dl=0
My K8200 Extruder is set to 620 steps/mm
The Cura Profile is configured for my E3Dv6 0.4mm noozle.
I really hate Cura’s interface. I set printing temperature to 190 degrees and it starts printing at 225. Gross interface. cant get my hands on it. I will give slic3r a test and will show the results. Right now i have some issues, such as extruder steps/mm are perfectly calibrated, but i get overextrusion even with 0.7 multiplier. something is horribly wrong here. I have some pictures from my previous print, you can see another issue, such as Z axis artifact. I dont know what it is, but it does not seem to look like a wobble.
I set the Temperature in Cura in the last line of the start-gcode.
After printing the first layer i set the Temperature to a new value using the “tweak at z” plugin.
What’s your noozle size? 0.4mm? If not, you need to set it to your size. Setting it to 0.4mm and printing with a 0.5mm noozle would give you overextrusion.
[quote=“cantax”]I set the Temperature in Cura in the last line of the start-gcode.
After printing the first layer i set the Temperature to a new value using the “tweak at z” plugin.
What’s your noozle size? 0.4mm? If not, you need to set it to your size. Setting it to 0.4mm and printing with a 0.5mm noozle would give you overextrusion.[/quote]
I guess you use the stock Extruder with your E3D Hotend.
My Extruder slipped on the Filament after i switched to the E3D Hotend because it seems that you need more pressure using a all-metal-hotend.
Maybe you calibrated your E-Steps and didn’t notice that the hobbed bolt is slipping on the filament.
Here’s how i checked this:
For PLA set the temperature to 235°C. Extrude 20mm (should be enough for now). Check if you actually extrude 20mm.
I think the result will be (nearly) 20mm. Now, lower the temp in 10-15°C Steps and extrude again.
If i am right and your extruder slips on the filament you will now see, that with lower temp your Extruder travels less than 20mm Filament although you told it to extrude 20mm.
Solution:
a) get a better hobbed bolt that grips the filament really good.
b) tune your existing Bolt/Pulley by “sharpen” the teeth that gribs the filament. (That’s what i did)
c) tighten the spring on your Extruder to get a better grip of the filament. (Maybe works, maybe not)
I put my hobbed bolt tightly in a vice. Holding it by the head of the bolt, the bolt itself will stick out at the side of the vice with the teeth easy accessable with your drilling machine.
Using a cutting disc on my dremel drilling machine i cut into the existing holes between the teeth of the hobbed bolt. By trying to get cut deeper into the bolt you automatically cut a little of the teeth away. As a result the teeth get thinner and therefore sharper.
Don’t try to sharpen the teeth, just concentrade on cutting into the bolt.
Take care not to overdo it and cut out any teeth.
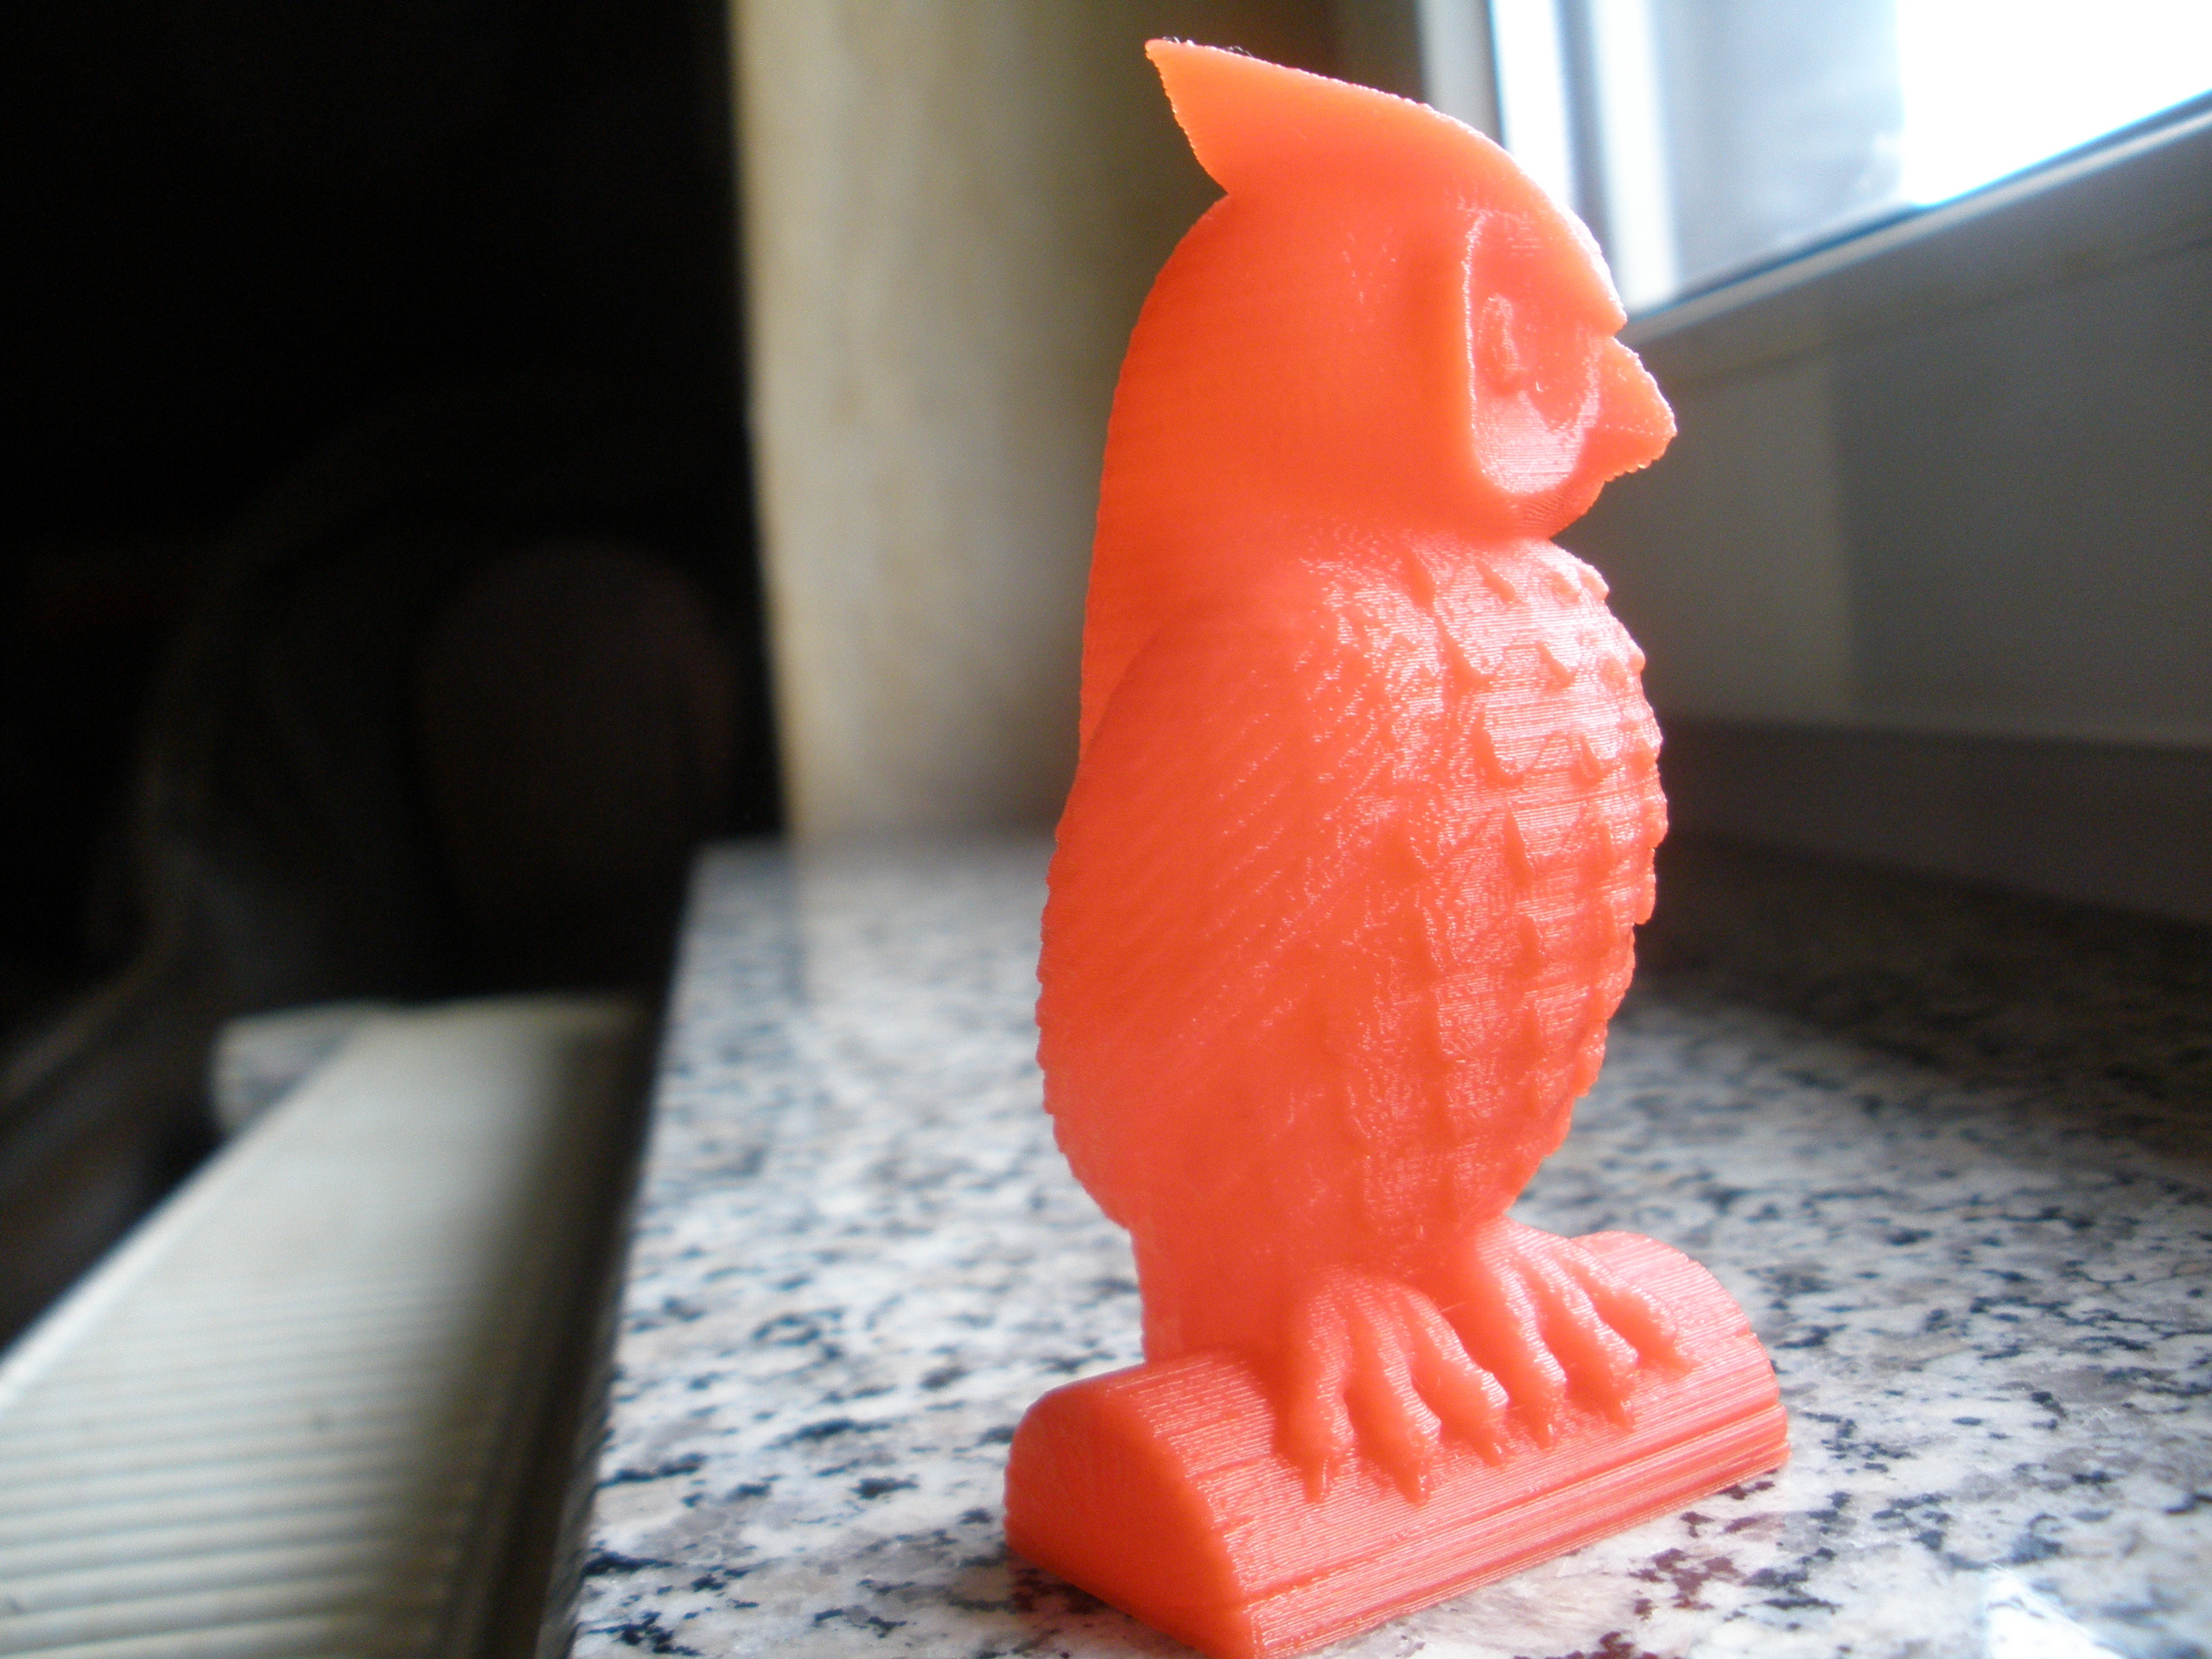
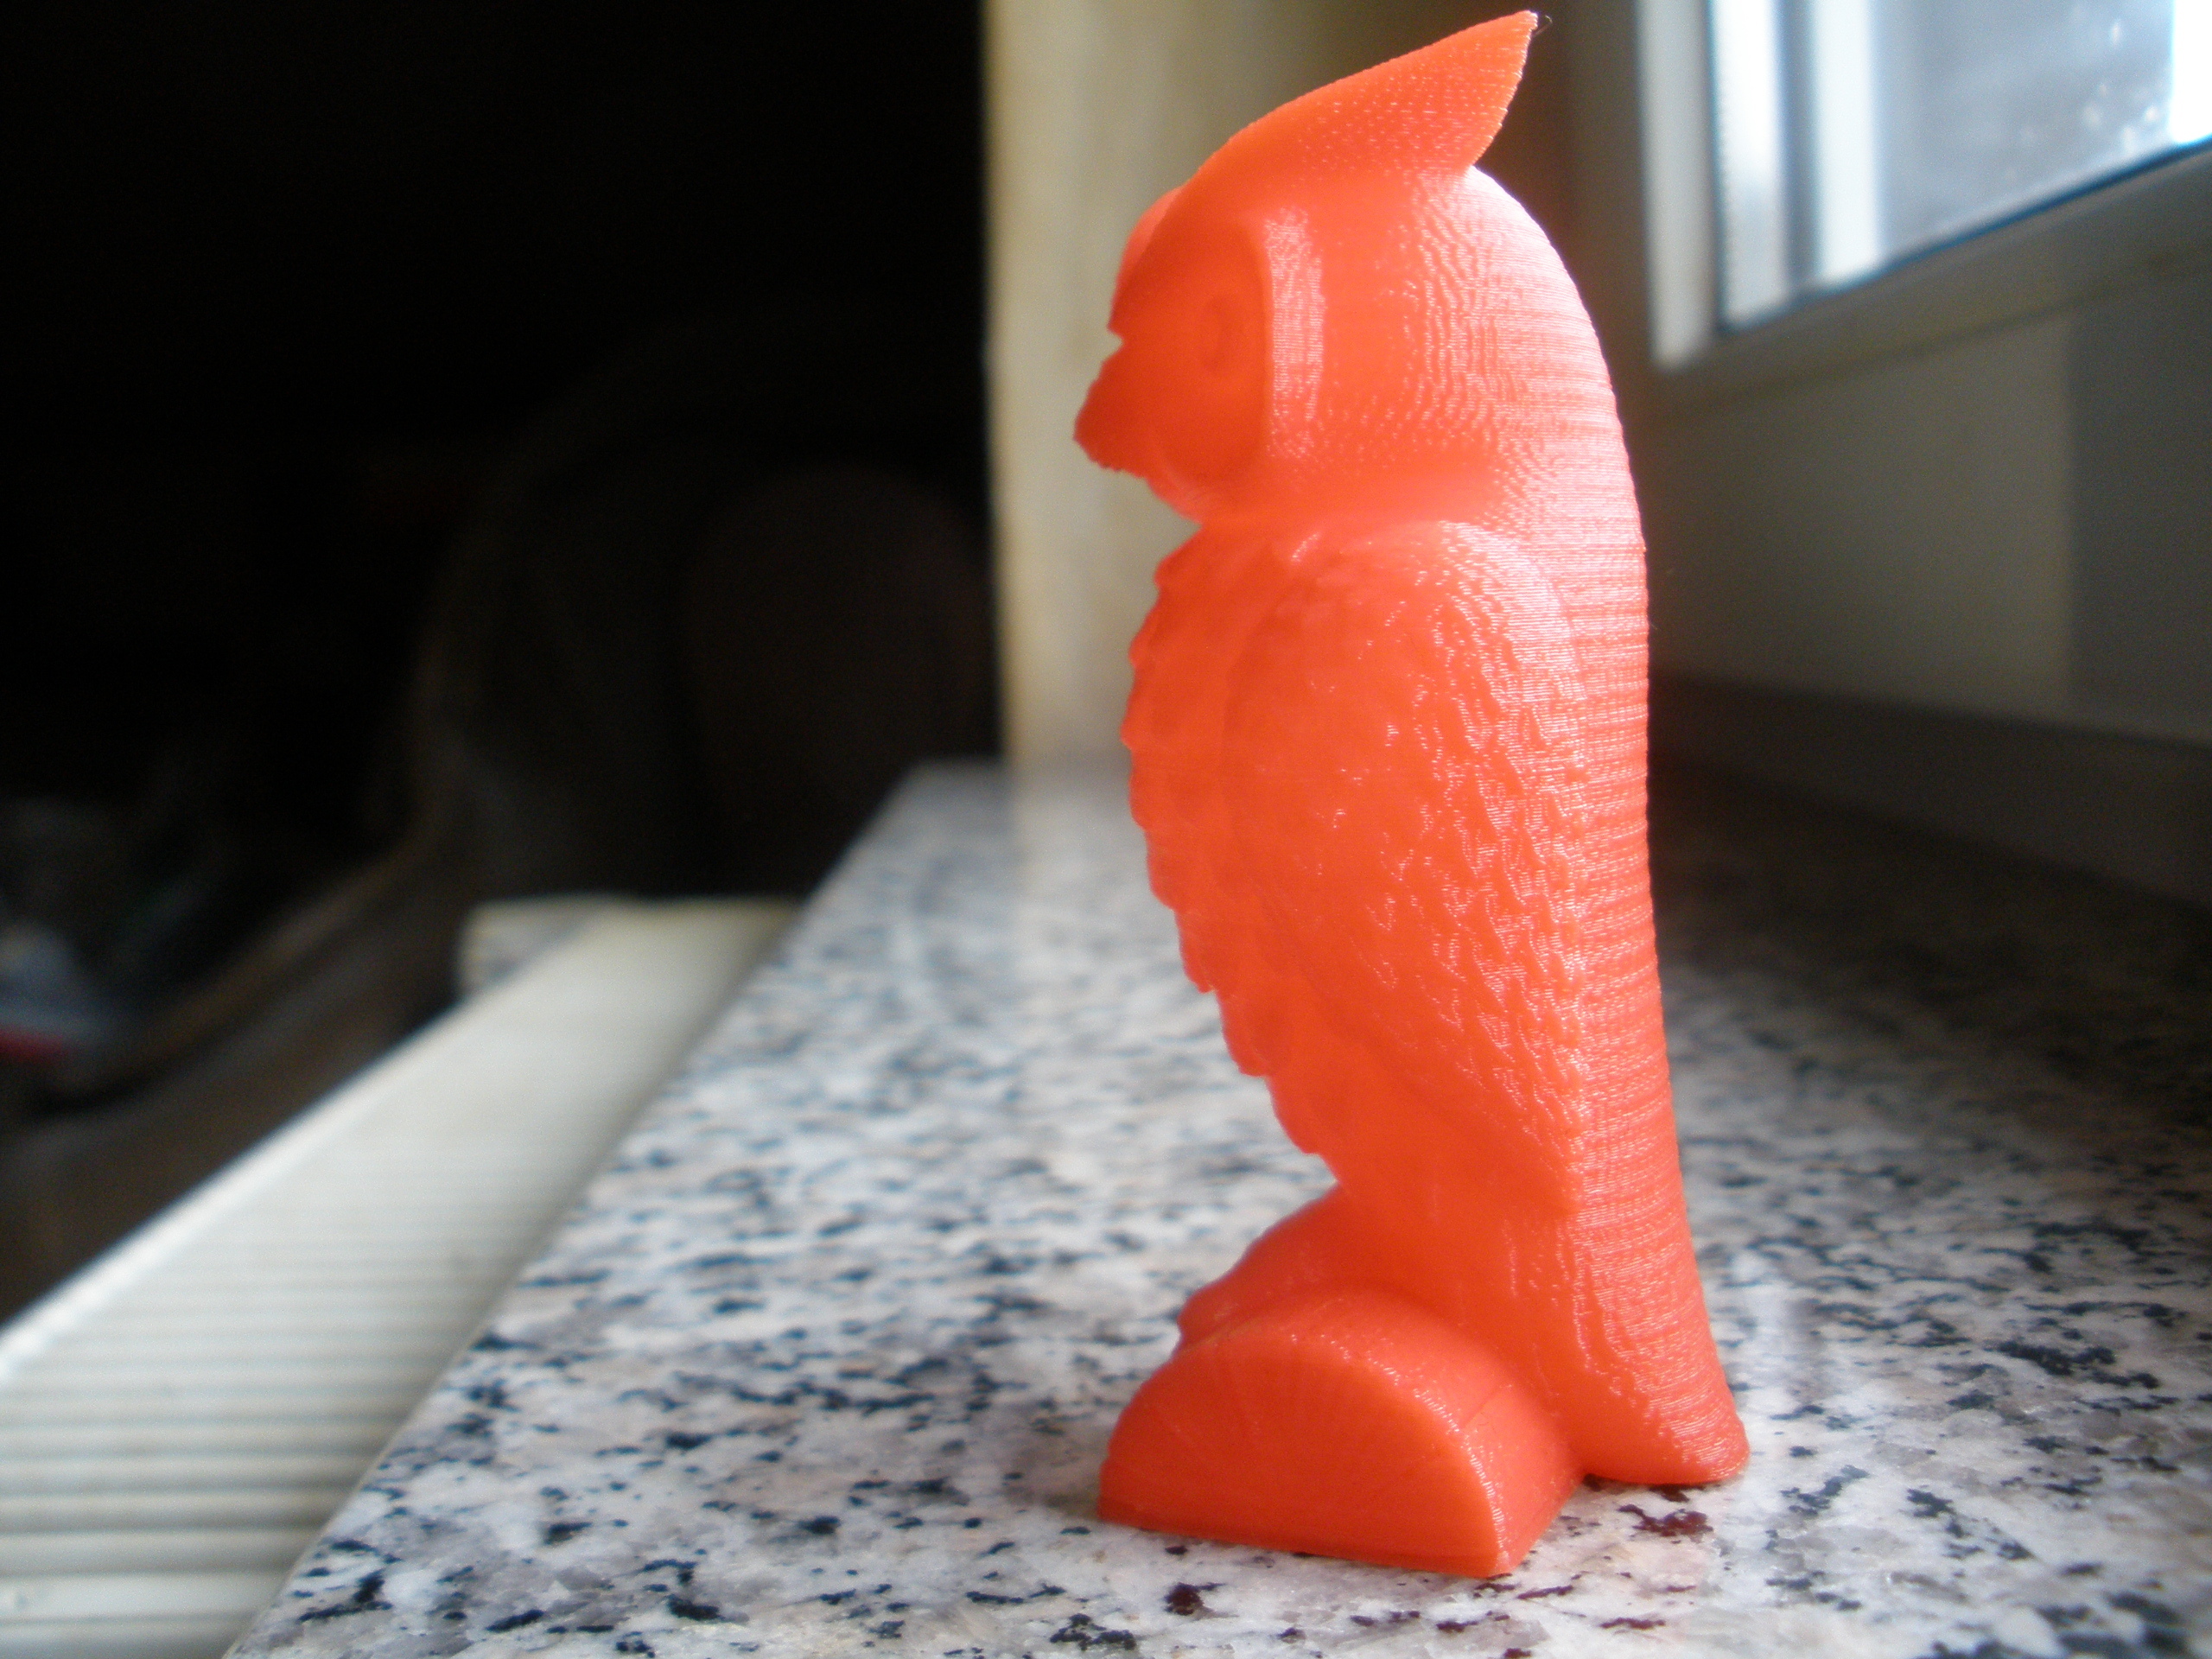
@walo: Thank you posting your Owl Print. Looks good. You are printing with almost the same acceleration as i do but your speed is really slow.
You set a few more E-Steps per mm than me. I am not sure, i think there are a few blobs on your owl.
Well, maybe it’s just me who likes to print with a lower feedrate, but if you’re interested in fine tuning this on your machine you can do it by working on your overhang performance.
I like this test: thingiverse.com/thing:144418 (you can cut the bottom by 3mm - 3.5mm using cura. That would safe you a bit of filament.)
Printing nice overhangs shows you how accurate your feedrate is adjusted. Too much will make the overhang look terrible with blobs on it. Too less will give you “round corners”. By the way, you can adjust the right temperature for your filament. It should be enough to make the filament flow good enough to get nice corners. Heating it too much will give you bend up overhangs. Although you won’t be able to get the bending up to absolute zero.
In my experience: Printing faster needs more temperature. More important: Printing hotter needs more speed because it’s not a good idea to make contact between the print and your hot noozle for a long time.
Please don’t take this as criticism. It took you quite a bit time to post your print. I think it’s my duty to tell you what i think about getting it even a better print.
I am surprised. There seems to be nobody using Slic3r. Using Slic3r, i am not able to get a print looking as good as my cura prints, but on the other hand Slic3r is a well developed slicer. It can’t be that bad. A lot of people are using Slic3r, i think even more than the ones using cura.
[quote=“cantax”]@walo: Thank you posting your Owl Print. Looks good. You are printing with almost the same acceleration as i do but your speed is really slow.[/quote]I found that is the easiest way for me to get cleaner prints. Usually don’t print faster than 35mm/s, for detailled prints even slower.
[quote]You set a few more E-Steps per mm than me. I am not sure, i think there are a few blobs on your owl.[/quote]When calibrating the E-steps I found this value by extruding 100mm of pla at 30mm/s. I do the fine tuning by adjusting the flow parameter. It varies with speed, temperature und filament. Should have calibrated the orange before printing (no profile for this one yet), but I thought the owl would be ugly in black (which I was using before). No problems with blobs here. Wished the photos had come out better, sorry.
[quote]Well, maybe it’s just me who likes to print with a lower feedrate, but if you’re interested in fine tuning this on your machine you can do it by working on your overhang performance.
I like this test: thingiverse.com/thing:144418[/quote]Well, I have some other test I would like to print: http://www.thingiverse.com/thing:533472, but perhaps I try the one you suggested, too.
[quote]In my experience: Printing faster needs more temperature. More important: Printing hotter needs more speed because it’s not a good idea to make contact between the print and your hot noozle for a long time.[/quote]Yes, small tips look molten and details get lost. You can see this at the top of my owl. A good airduct can help here (really should mount one, lazy me).
[quote]Please don’t take this as criticism. It took you quite a bit time to post your print. I think it’s my duty to tell you what i think about getting it even a better print.[/quote]Don’t worry. Criticism isn’t something bad if it is helpfull. I loaded my results up to get your opinion and any hints are always welcome.
[quote]I am surprised. There seems to be nobody using Slic3r. Using Slic3r, i am not able to get a print looking as good as my cura prints,[/quote]That’s the reason why.
I was using slic3r because it came with the printer, but some objects seemed to slice forever and trying to find some good settings took sometimes the whole evening. Some users in this forum were discussing about cura, so I tried it and was very happy with the result: Faster slicing, cleaner prints. The only thing I was missing was the nice GUI of repetier. Now with repetier-host V1.0.6 with built-in cura engine I have it all!
Apparently, my filament is not slipping. I am getting same results with different temps. Something else should be the problem.
Is there any difference between using Repetier’s cura engine for slicing and Cura itself? Does anyone have a configuration file for repetiers Cura engine?
I will go looking into my extrusion multiplier once more.
[quote=“Linas_capas”]Does anyone have a configuration file for repetiers Cura engine?
[/quote]You can have a look at mine, if you want: https://www.dropbox.com/s/xxgw4r6u74rkpjt/walos_config.rcp?dl=0
But remember: Other printer, other filament, other conditions.
How do you check your flow? I use a single wall object and measure the printed wall thickness.


