Ok, as when I buy new things, I like to review them after a while…
I’m not happy with this delta printer, but, I’m very happy! So happy that I have bought a second one to replace an old carthesian,
Out of the box, the printer works like a charm. Of course you have to build it, but the printer being an hybrid kit, it’s very simple to get it started. The first prints are perfect, even when printing at 0.2 / 0.3. I have read other topics about them not bein reliable and the print quality being low. I think this comes from building. I have now built 2, the second one being better assembled than the first one, based on my experiences
When building your printer up, make sure to clean every pieces you are assembling. Make sure to follow the instructions. Make sure to never immediately tighten a screw, but place the other ones first before slowly tighten them harder and harder one by one, in every steps! This is known as star tightening, it is important because the delta is a 120° based construction. It will insure you that everything aligns more or less and that the sledges won’t squeek or even detach a magnetic ball.
Make sure to use some threadlocker glue on every screw, most important of them being ALL the magnetic cups. Loctite 271 is perfect for this as it is easily taken off if needed: Home - Henkel Adhesive Technologies | Henkel Adhesives
Be very carefull when inserting the cables through the risers! Velleman could have chamfered a little to avoid problems. Me being gentle with mechanic I didn’t have any problem, but I can easily see people really damaging those wires.
Before tightening the belt pulleys, wait until you have the top plate mounted. This will give you a grip to pull the pulleys up and tighten the screw with the other hand. Trust me, the tension difference is huge! Make sure all the belts are more or less same tensionned.
Once the pulleys are on place and well tighten, now place the endstops. Take a ruler, move the endstop right under the pulley, about 5mm far from it, make sure that the sensor’s cables don’t touch the bearings and tighten the screw. Measure its position from thetop plate and apply the same height to the 2 other endstops!
Make sure the endstops cables are on place and stay there! I used a zip tie for each cable, to attach them to the other cables, under the bed, ensuring they are not free to move anymore
Be carefull when placing the magnetic balls in the cups. Also, check EVERY balls you get. In my two printers, 3 balls were originally bad machined. As we don’t get spare parts for these printers in Switzerland, I replaced all the magnetic balls with other ones. If you use the original one, don’t forget to re PTFU them every now and then. When doing this, take the time to clean and polish all the cups! They are not exactly fitting, because maybe not the highest precision, so you’ll see a wear down on them, not being uniform. This wear down causes your PTFU layer to wear off faster, but also produces some black residue building up in the cup. It needs to go off! To coat them, have a wire between two points, take some metalic nails, bend them, hang them on the wire, place a ball per nail, and spray them! Almost no contact point! The other solution is to magnetic levitate them, this is harder and requires hardware not everybody has: https://twitter.com/Psychokiller188/status/1032566978467295232
Add some kitchen paper on the base of the rods, so the excess oil doesn’t drip on your floor:
https://twitter.com/Psychokiller188/status/1032553672146870273
Before trying to push the sleds on the beforehand very well cleaned rods, oil them!! Non lubricated memb…, hum, parts sorry, can do damages!
When placing the print bed, make sure the three side holder on the ring are correctly screwed on place. The bed doesn’t move once placed! On my first printer, one was non flat screwed and damaged… I reprinted it and remade the thread in the aluminum base
Twist the filament tube and connector cable going to the print head twice, it’s much better than once as instructed!
Once everything’s in place, power up your printer, OIL the rods!! and start a height calibration. Keep your hand on the power switch in case the piezzos are not correctly calibrated or you turned the knob! Did not happen for me on neither, but better be safe than sorry.
If that worked, start an auto calibration. Excessively oil the rods between every iteration! Oil is VERY important at that stage, everything is new and needs fitting!! If the calibration takes under 4-5 iteration, start another one! Why? Because this gives you many Z travels to oil again and again and also listen to your machine! Nothing squeeks, and if it does, something is not built correctly. Hearing bad sounds while Z fast travelling? Your rods are not aligned! Fix this! Untight every top screws, so the top plate can move a little. Untight the two incriminated rods under the printer. Turn the rods a little, tighten the rods bottom screws again. Move the sled up and down on the free rods while tightening the rods’s screws on top slowly and uniformely. Tighten the other screws and start an auto calibration. You should have no weird vibration or sounds to ensure high print quality. Don’t forget to save the qualibration once done by going to settings and hitting save
Once you are ok with all this, well, time to print! Well, use the repetier software if you wish, I would say use Cura. Check another of my topic for the reason behind it, it all comes to print quality. Important, for PLA, use a first layer tickness of 0.1 to ensure bed adhesion!! Set the flow to 100% and not 101%! When starting the print, the printer will level the bed, stay beside your printer ready to hit the main switch if something bad happens! It is possible that the printer hits the bed for some weird reason, or goes crazy between points taking. Not often, but happens. If you have to hit the main switch, don’t forget to immediately pull the print head up or you’ll leave a 200°c nozzle on the printbed, damaging your buildtak! (yes, I did it… twice…). After bed leveling, it will nozzle prime at X0 Y100. After priming, the print starts. Check that the first layer is well on bed and even thickness and that the head isn’t touching the bed at some point (check the bed touching led on the side to know if the head touches the bed ![]() ) If it does touch the bed or the layer is uneven, immediately stop the print, something’s not correct!! Rotate the print bed a little, re calibrate your printer and restart the print.
) If it does touch the bed or the layer is uneven, immediately stop the print, something’s not correct!! Rotate the print bed a little, re calibrate your printer and restart the print.
You can get a very high quality first print if you show this awesome printer some love when building it! Be methodical, check EVERYTHING, make sure everything is tight, clean and undamaged, check your work.
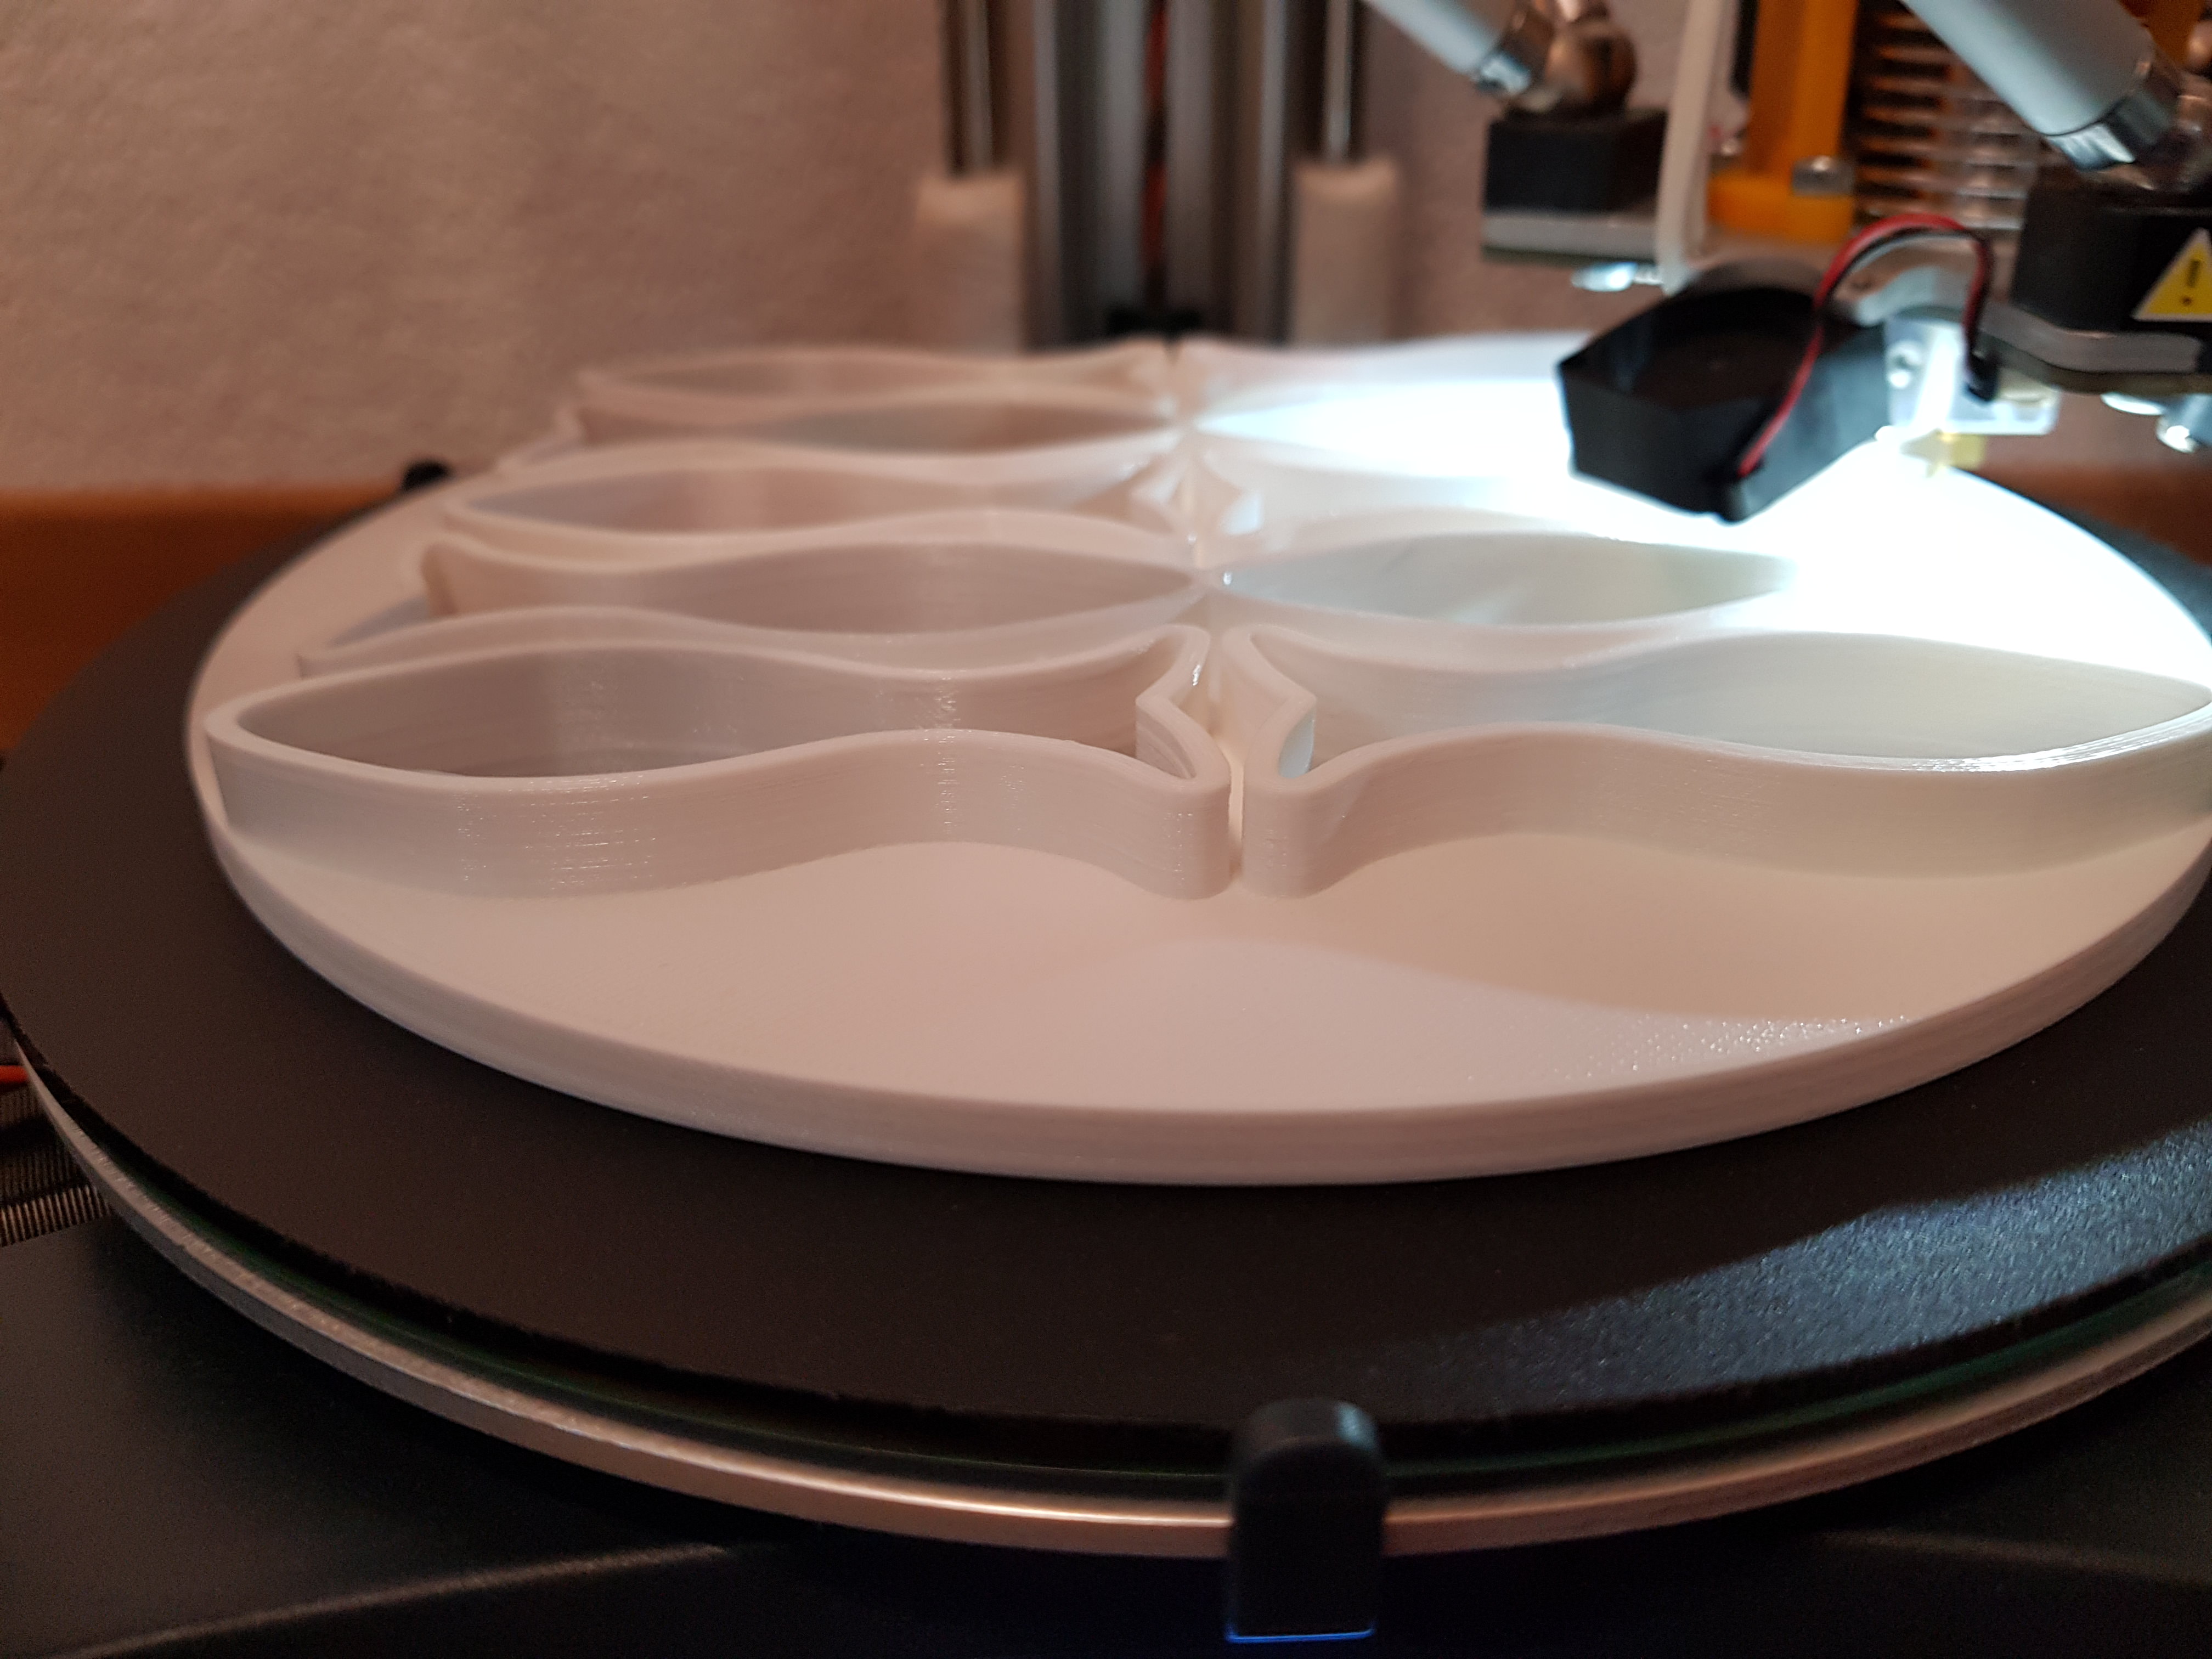
First print, following the instructions, changed filament in between, used 0.3mm settings:
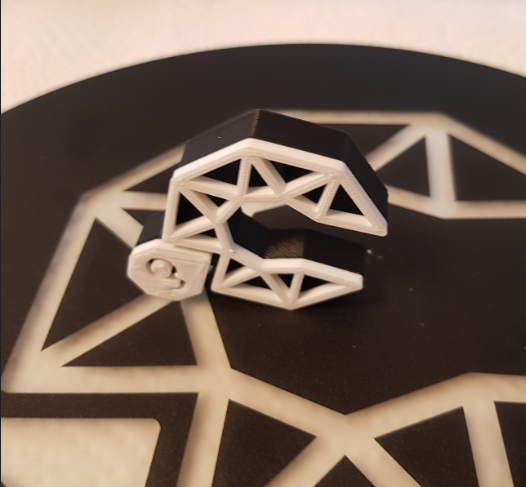
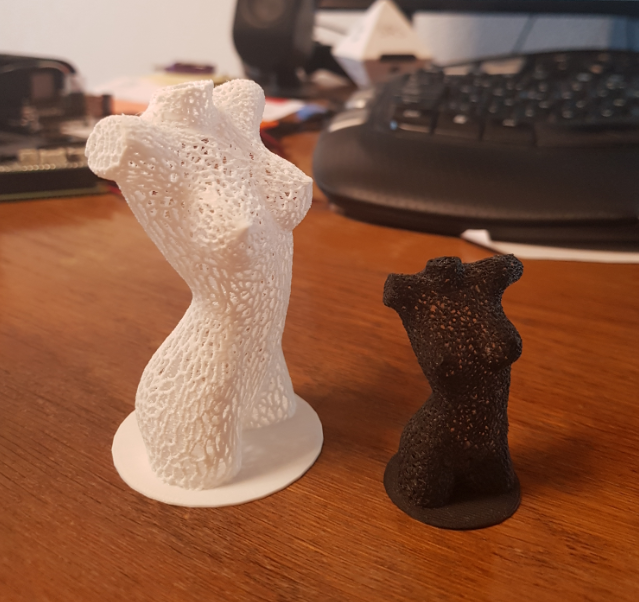
Second and third prints, using 0.2 layers:
Take care of your printer. Use oil in the begining, like a lot. It is totally normal that the rods get black stuff on them. Wipe it off and oil again. That will never stop! Only the amount of oil you use will slowly decrease over time. Thought an oiler mod would be cool, so I’m designing one, stay tuned! Clean and clean your printer if you want clean prints! Recalibrate every now and then. Every ~10 prints, Rotateyour print bed by 90° and recalibrate! Check the magnetic balls and spray them again if needed. The thread/nail technic is really quick!
Oh, and I almost forgot… If you’re in Switzerland, be prepared to get 0 support for spare parts, I have turned some of the free Inventor files into technical drawing for machining, so ping me if needed. Also, do not await any support from Velleman, they are busy on other things and won’t ever react on these forum or wherever, you are on your own with the “community”
Enjoy your printer!