Hi, folks,
a lot of four-letter words could have been heard from me during building up and trying out the K8400.
All the problems with alignement and step losses, then the first printout with Velleman ABS on BuildTak:
Impossible to separate the printed part form the BuildTak foil.
Tried: Cutter knife, sharpend scraper, NO WAY.
At the End I was happy not to brake the glass plate when removing the destroyed buildTak foil.
ONE PRINT 15 EUROS?
Well, well, good strategy from velleman. A lots of bucks made with the incredibly expensive BuildTak foils.
For everybody else who does not want to spent 15 bucks per ABS print here the solution:
convert your glass plate into a heated bed for ABS!
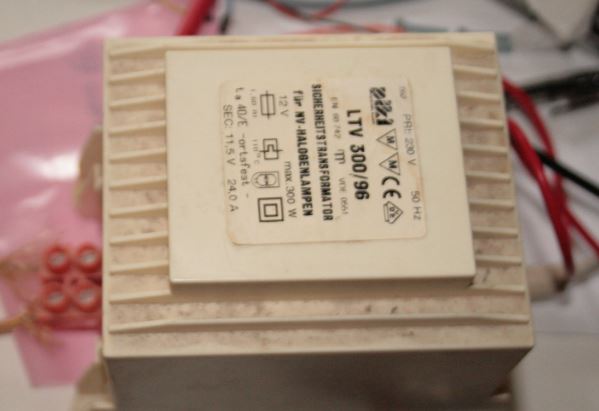
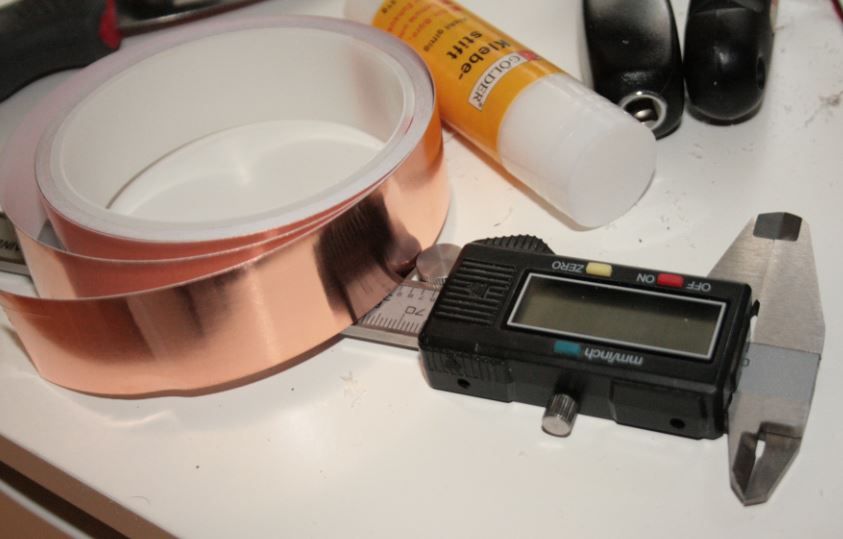
You’ll need self-adhesive copper foil 0.035 µm (buy on roll 25 mm wide from Conrad), a gauge, some 0.75 mm polycarbonate sheet (Conrad), an old 12V halogen transformator at least 80W, and some insulating neoprene foam (CaseKing)
1.) mark 5 mm wide stripes on a 1.3 m long piece of the Copper foil.
2.) Cut those 5 mm wide copper foil stripes accurately with scissors.
3.) Clean your glass plate from the rests of the buildTak glue (EtOH, Acetone)
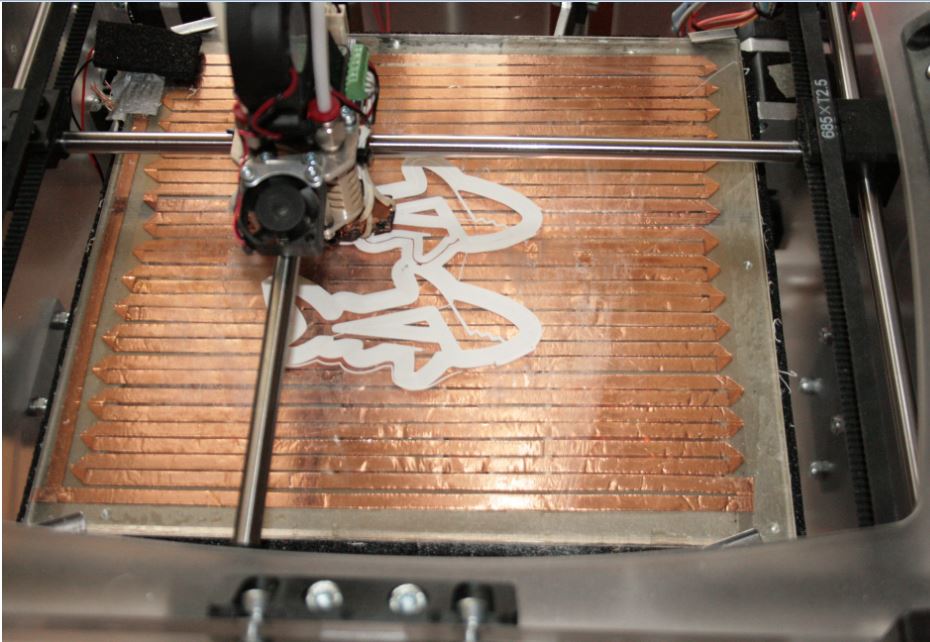
4.) Use the 5 mm wide adhesive Copper foil to form a heater on your glass plate, solder the ends of the stripes together (take care to solder flat); the ends of the foil stripe must be guided on the upper side, at some corner at one of the shorter side.
the separate stripe segments should have a distance of 1 to 2 mm
5.) measure the resistance of your heater: It should have around 2 - 2.5 Ohms
6.) to insulate your copper foil from the K8400 aluminum plate, glue a 0.75 mm Polycarbonate sheet on the copper side (or use Kapton Tape or thick paper or some other rigid insulating stuff).
7.) Use the insulating neoprene foam to insulate the K8400 aluminium plate from below.
8.) Attach the 12V halogen transformer to the heater: within 15 min the plate surface reaches 105°C. The temperature stays constant after that time. The 60 W power (5A * 12V = 60W) balances the loss of heat of the glass plate at about 100° - 110°
9.) use a simple glue stick to add some adhesive surface on the glass where you want to print.
(hence: the cheapest is the best…)
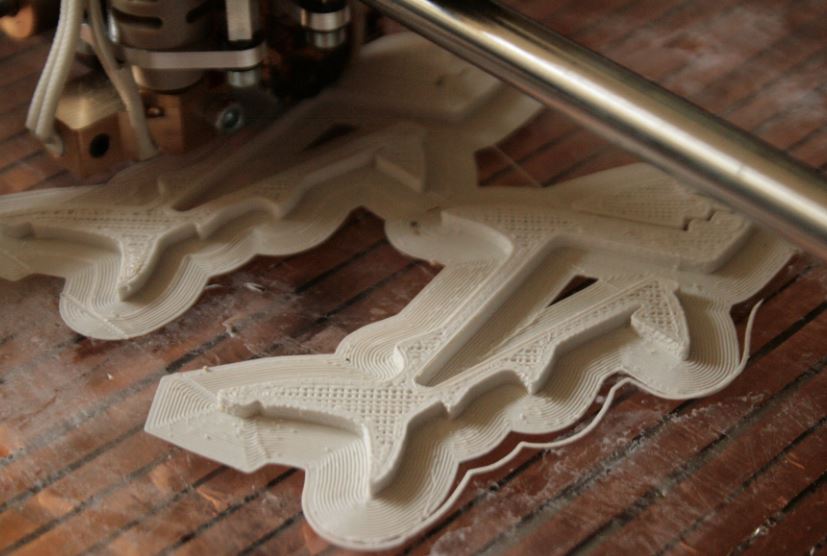
10.) start printing ABS (with brim): No warp, no detach.
11.) when ready: Let cool down, and remove the parts with the tip of your finger from the glass surface. Forget about buildtak.
- Enhancement: use 3,3V Z-Diode attached to the glass surface as a temperature sensor (measure with multimeter after calibration in boiling and ice water)
HDS
Btw: how can I upload photos here?
The materials :
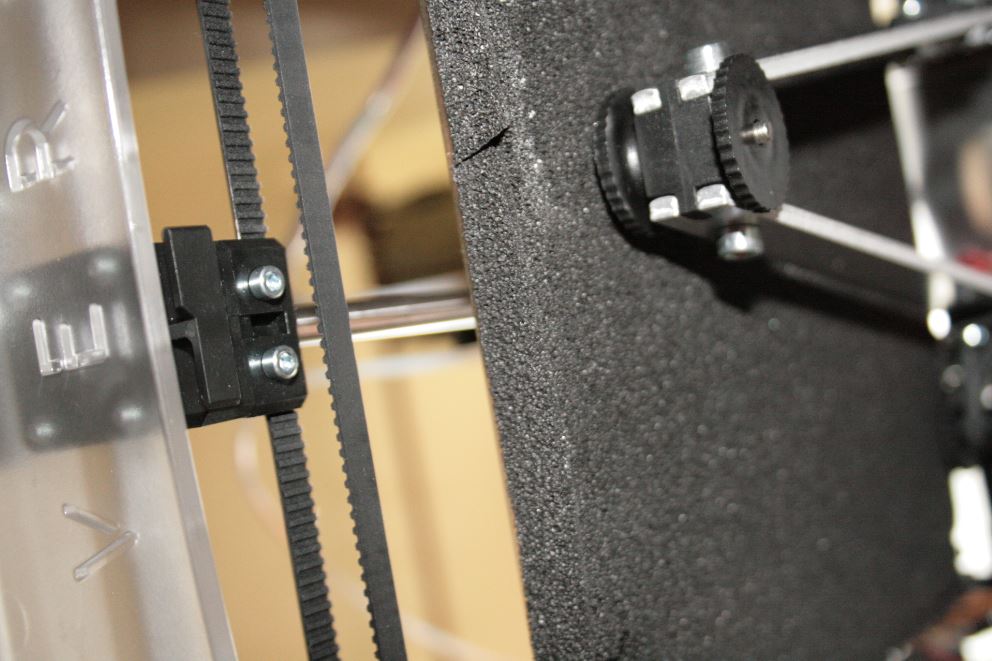
The insulated K8400 Aluminum plate:
Starting to print:
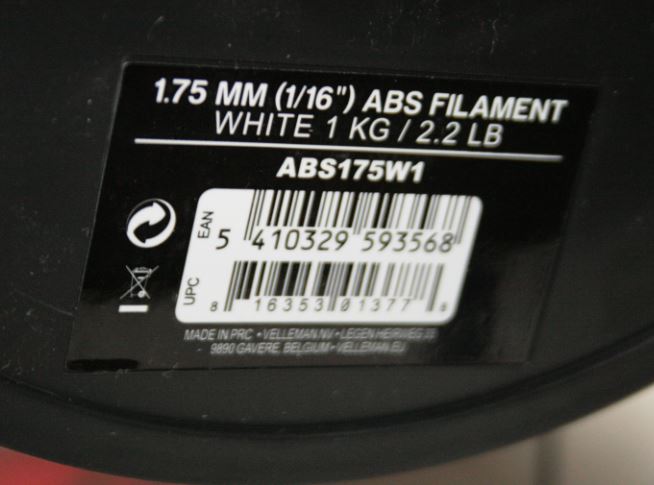
The chinese ABS from Vellemann:
printing without detach and warp:
the old halogen lamp transformer 12V, using only 5 Amps from the 300 W power