Creating new topic because issue in old topic was resolved. But still have some big issues.
Haven’t had a clean print since I bought the machine
I haven’t really had much luck with the machine unfortunatly.
Of the 59 prints I have attempted, only 5 finished.
• The machine still parks ‘outside’ of the buildtak every time I start a new print One of the rods always comes loose when project starts, it heats up, calibrates and parks to heat up some more, but the second it parks, the rod snaps loose from the ball.
• While printing, with other filament (other brand) it still ejects the filament while printing now and then. ← resolved this by pulling out the connector that detects is, but not really a solution ofcource.
• The filament doesnt roll off sometimes, the printer continues printing but it doesnt have enough strength to unroll the filament (Had this on 2 occasions now, it just continues but no filament comes out. Very frustrating in 16 hour print jobs.) The first time this happened I wasn’t around to check on the printjob, so it just kept printing for 2 or 3 hours and eventually snapped the filament.
• On 3 occasions one of the rods just lets go while printing. The magnet comes off and the project is wasted.
Not much luck so far i’m afraid. Anyone have a clue where to find my answers?
Other issue:
Recieved new filament today, changed some setting when making the gcode (higher temp, thinner printing).bought a new printbed because the first one was all scratched.
Still no real luck with the printing. About 2 hours in, it just ‘shifts’ its printing a couple of mm.
No problem with the rods this time, all seemed to be fine.
We just added a part to our manual to address these specific issues.
You can check them here: https://manuals.velleman.eu/article.php?id=789. These tips might be a big help to get the printer to work properly.
If you checked all of these tips, could you post some pictures of the results?
I’m new to my K8800 and had nothing but issues with print adhesion to start with. I quickly gave up after about 10-15 failed prints with that buildtek stuff, flipped the glass bed over and went with the glue stick method, this has now been 100% success for sticking to the bed. If I ever have to replace the glass it’ll never see buildtek again. I know many swear by it, but I’ve yet to see the why.
With the glue stick, I but a good double coating on (coat evenly once, let dry about 2 mins, apply a second coat and let dry), I get maybe 7 or 8 prints before I need to clean it off with warm water or rubbing alcohol and apply again.
I finaly had time to start playing with the printer again so I took all the steps and followed them to the letter.
Pretty much everything was already good.
The only thing that wasn’t good was the height of the ‘stoppers’ I purposely placed those lower in a tip in my previous topic. That seemed to be the answer to my problem back then, but now when I put them in the place they should be (0.5cm below the belt roll) it doesn’t bring back the problem I had back then.
I cleaned everything, tightened everything and put it back together. (Yes, I calibrated and saved it too)
Now I started a project again and I hope that it finishes like it should.
The start isn’t very good, the problem of the rod snapping of when it’s loading the filament is still there.
The first print finished like it should.
It was a 7 hour print job and the layers didn’t shift or anything so I’m hoping the issue has been resolved.
Started a new printjob last night and unfortunatly that one didn’t go as planned.
For some reason the printing pauses at 20% or so, and when it resumed it shifted a mm to the left causing the project to fail.
I believe this could be a problem with the pausing in general, how do I turn that function off?
#Edit:
I’ve been using Cura to create the gcodes. Cant find any option where I can turn the pause function off. Maybe it’s a setting in the printer itselve?
Could anyone help me out with this?
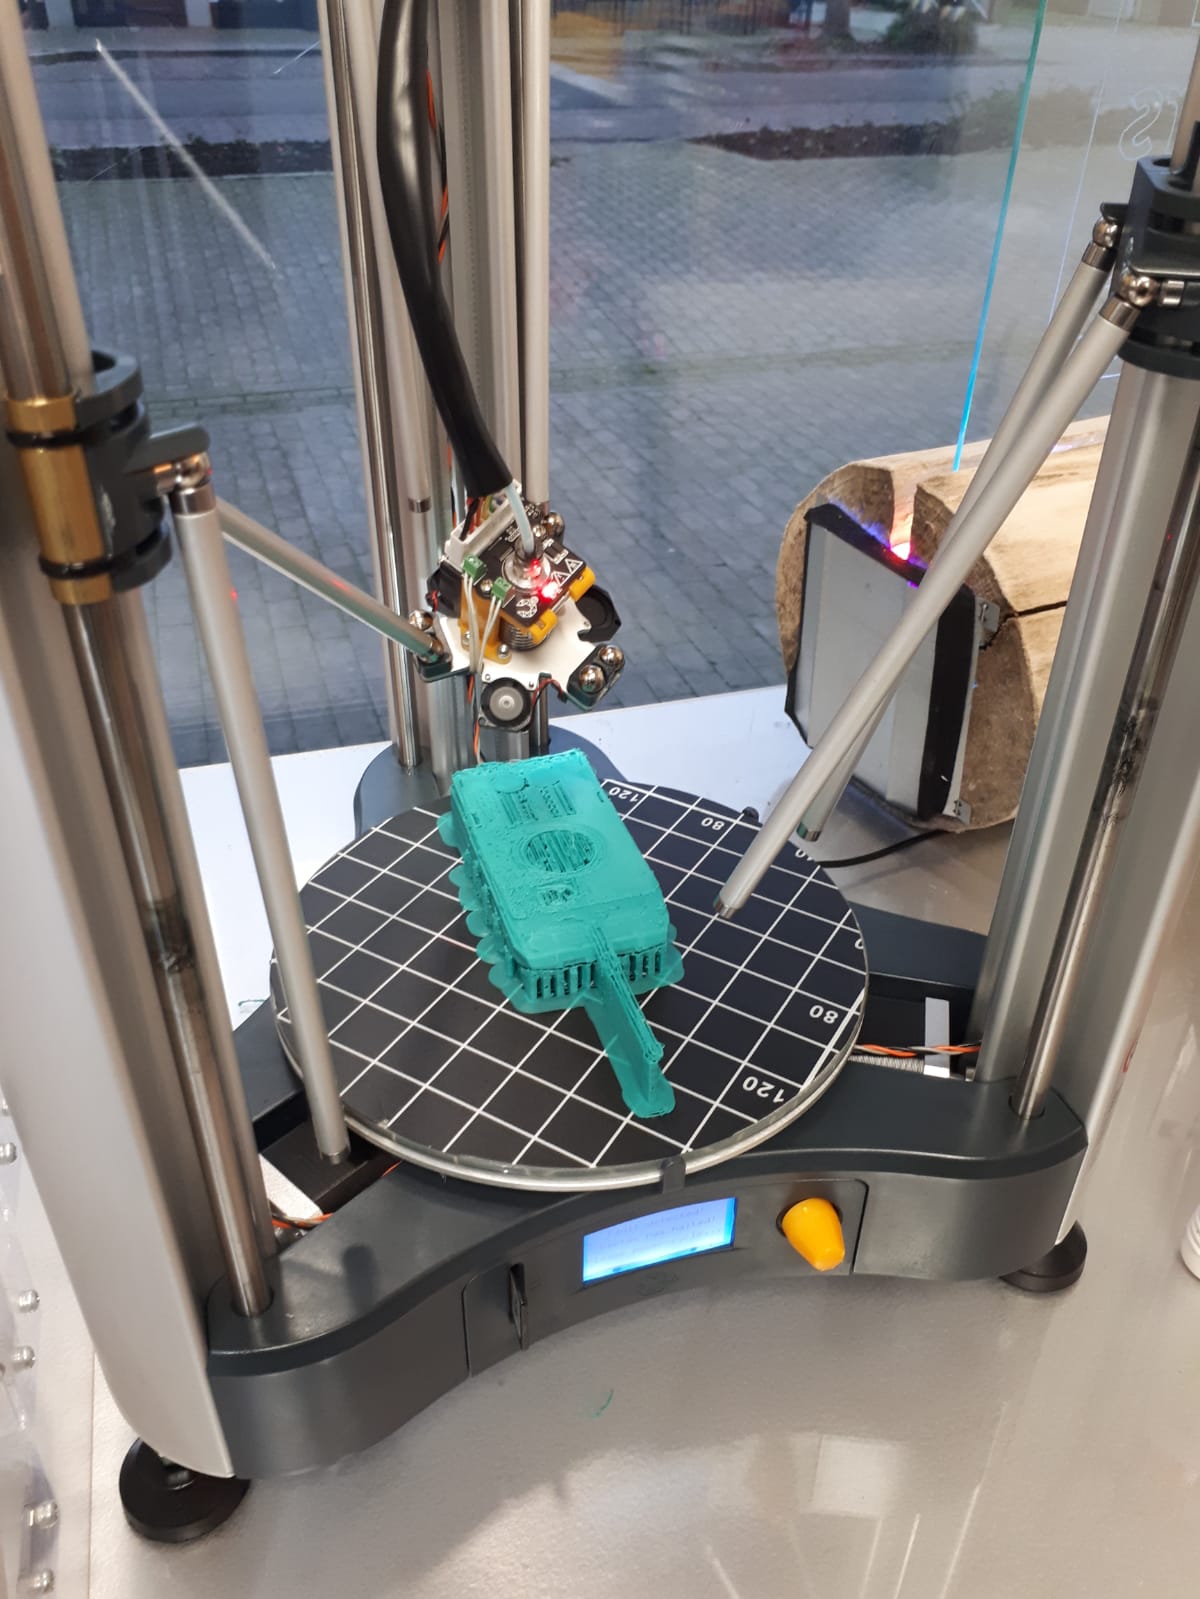
Getting really bummed out by this machine. Printed a little unicorn and a submarine for my kids. Went oke, not the best printing but I keep reading the machine has to settle a little so I accept it.
Now, I started a bigger project yesterday. A birthdaygift for my army-buddy. A leopard tank.
32 hour printjob.
Started yesterday @ 1400hrs. had to restart several times because it wouldn’t stick to the printbed very well, cleaned it with isopropanol and now it worked.
Kept my security cam on it and checked back several times before going to bed.
This morning @7 I checked back and it was fine. But an hour later I check again…
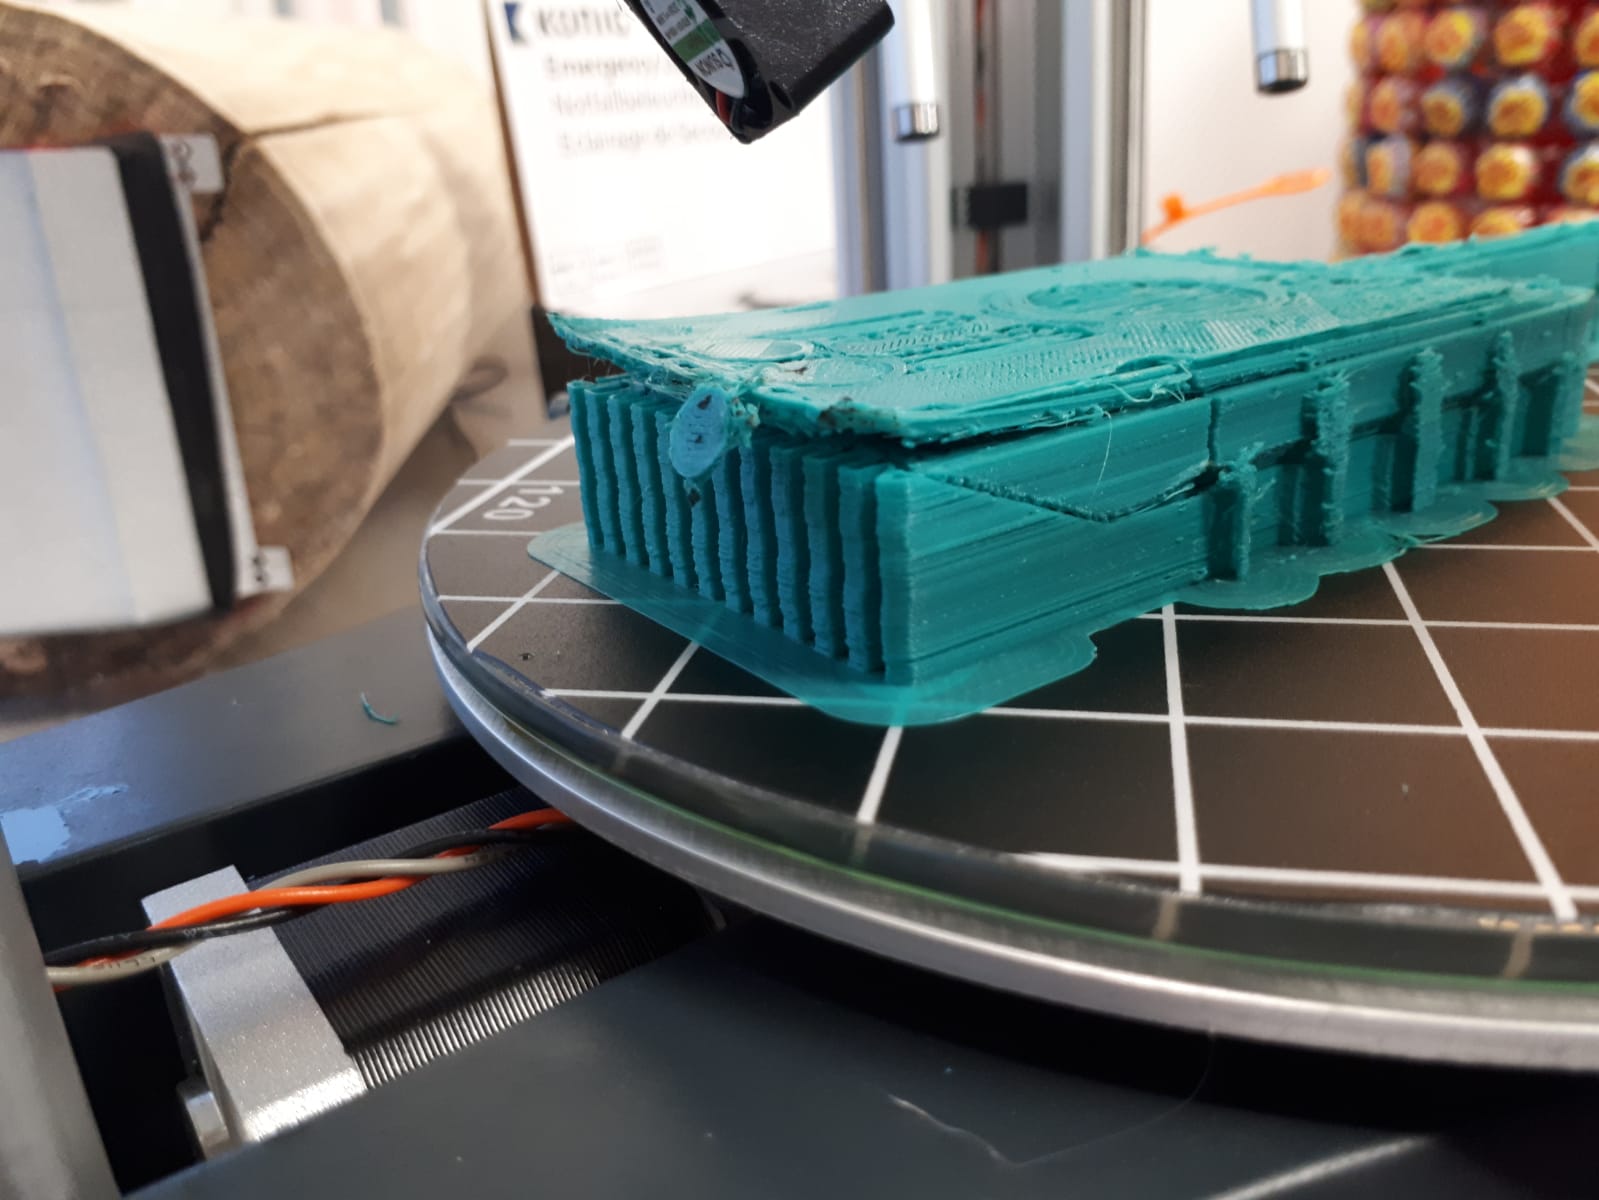
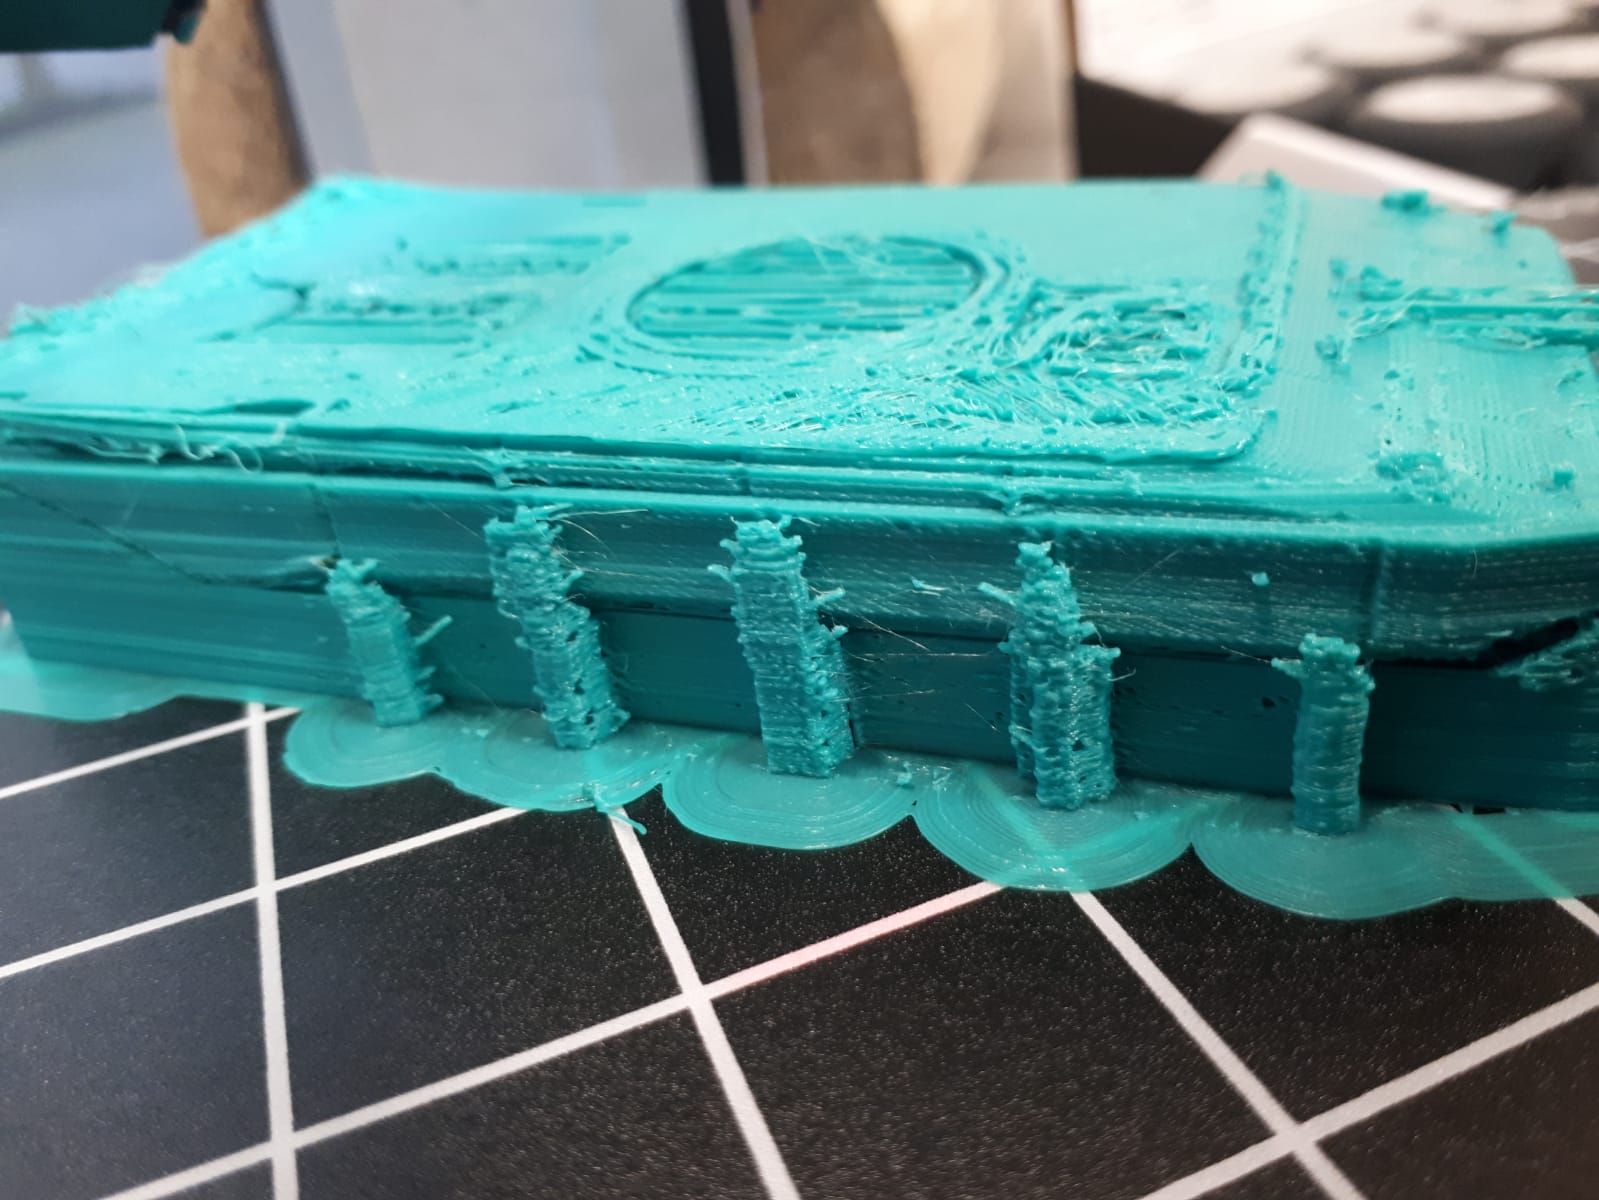
Rods came loose and printing gone to hell.
Hours and hours of time, testing, reassembling and troubleshooting and I can’t say I have even one project printed that I’m happy with. (Not to mention the hundreds of meters filament wasted!)
Really REALLY regret buying this machine
Could someone please tell me what’s going wrong with this machine?
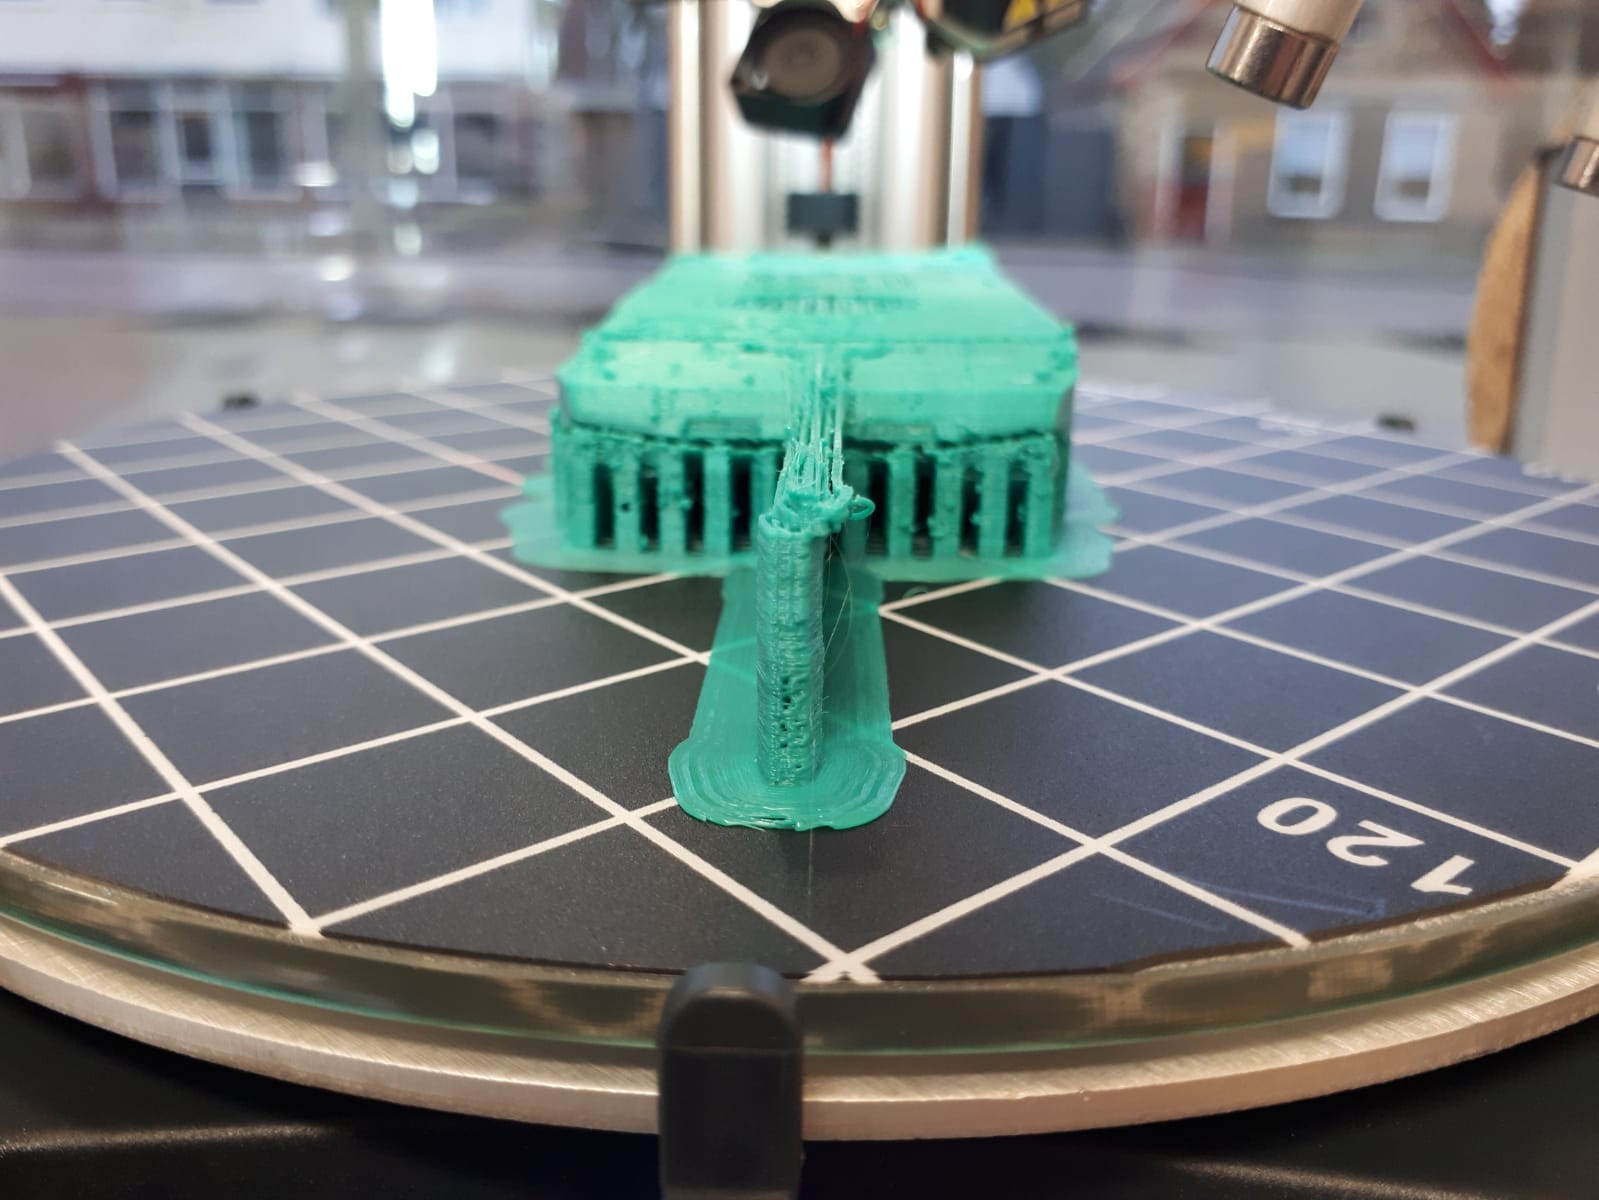
One picture is how I found the machine this morning. Rest is of the result of 17 hours of printing!
#Edit:
Yes, when changing filament I told it to auto home, calibrate height and calibrate. Then I stored the settings.
If it’s user error I dont mind, but I just want to know whát I’m doing wrong if it’s not the machine.
Calibration is not yet okay, so printing will not work either!
So there is no point in making large prints > 15 minutes. This since I see shifts at the first layers, and 1st layer is not printed correctly. Also the top layer is not correct. I also note that no buildtak has been used. We cannot guarantee that this will have good results.
Possibly this problem, since I also see shifts:
Check belt tension.
Check whether the edge of the “Buildtak” sticker (that is glued to the printbed glass) is cut off. This excess edge must be cut off!
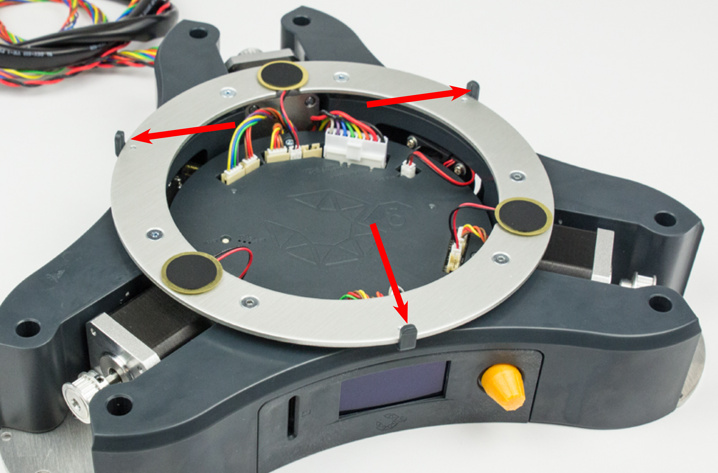
Make sure the bed is not pinched by the 3 grey alignment studs. It should fit with a bit of clearance so the calibration routine can nudge the bed slightly. If however (due to manufacturing tolerances) the bed is pinched tightly between these studs, scrape a small amount of plastic from all of these studs until the bed fits loosely.
Clean all rods (6 pieces) on which the copper bushings are mounted, with a little acetone.
And make sure that all bushings slide over it, without any problems.
So to speak, if you place a bushing from above and have a tap on it, it must fall down.
If this bushing stops halfway, then there’s a faltering. Either a burr on the rod or a burr on the bushing.
The axles (rods) can be smoothed with abrasive fiber. On the part where the bushing falter, smooth there the rod with abrasive fiber. If it does not help, the rod must also be replaced.
You can ask it via our customercare ticket system. link: https://customercare.velleman.eu/ .
After checking all this, make sure that the cable ties are tightened properly.
The cable ties that hold the sleds and bushings together. There must be no play between the sled and bushing. I mean: If you can’t move it up and down, then it’s okay!
Everything you told me so far i’ve done several times over.
The only new thing is the bushing?
Dont know what that is, but deducting from the rest of the text I suppose it’s this coppery thing to where the plastic bracket ties down with cable ties?
I have to use a bit of force to get it to move, You say that I tap it and it should fall down? That’s most definetly not the case.
I am at a point that I would really like to send it to you so you can make sure everything works.
If that costs a bit of money I dont mind, right now i’m done with the machine.
Hi, it’s been a month since my last frustrating post.
My question hasn’t been answered.
I am at a point that I would really like to send it to you so you can make sure everything works.
If that costs a bit of money I dont mind, right now i’m done with the machine.
I guess you had another post about your issue? One thing I’ve noticed with my K8800 is that if you have too much oil or use something like 3-in-1 oil that it doesn’t seem to like that. Even too much of the light oil makes mine suffer a bit. From first look in your video I’d say you have way too much oil or it’s too thick or maybe just dirty. I find with my printer if I use 70% isopropyl alcohol on a cloth and completely clean all 6 rods top to bottom, then apply a light oil cover and find it easier to run the arms to the lowest, a few drops on the rod above the bushing then run it up to the top, a couple drops under the bushing and run it to the bottom and back up again, that’s it.
For the magnets, I use some WD40 Anti Fricton Dry PTFE spray, I spray a little into a small glass and use a small brush to rub it on to every mag ball, doesn’t take much.