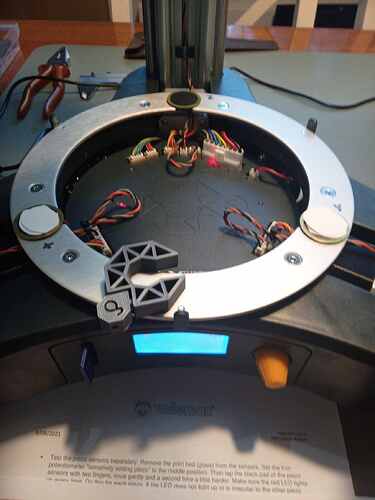
Could you post a picture of the fault?
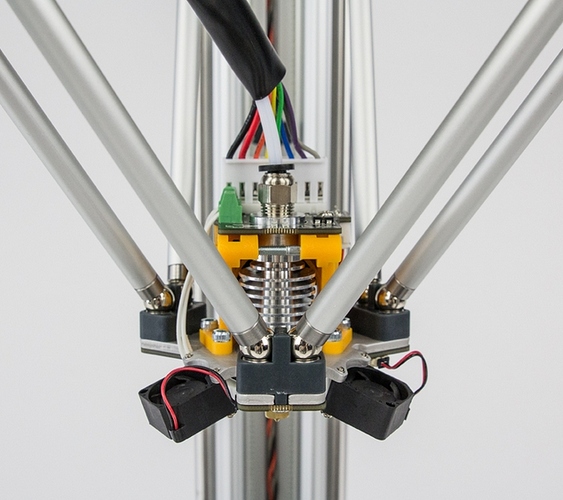
Are the leds blinking on the print head?
fault detected vertex has halted
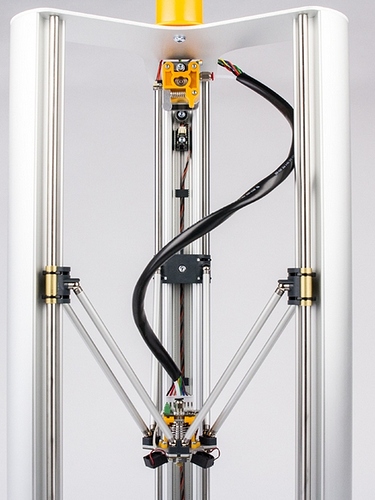
yes the cable has the twist. now i change de copper bushing to a linear beraing
Dear,
If you still have the issue " fault detected vertex has halted" on display: the "KILL” LED on to printhead PCB is blinking fast AND the printhead is flat (0°) not angled 30° or more (perfect calibrated Vertex Delta). ==> then the printhead PCB is defective => More specifically the mems gyroscope sensor on PCB is defective.
This is a very sensitive sensor. Sometimes it can gives false triggers if this happens, replace the printhead PCB.
See here the fault reason => angle sensor: https://manuals.velleman.eu/article.php?id=784
We have this printhead PCB in spare. If needed we can send it to You. Just make a tickect here to get the spare Printhead PCB. https://customercare.velleman.eu/
Regards,
Velleman Support.
Hello
I have the same problem today. I bought K8800 2 months ago and I printed 15-20 little 3D test objects sometime the head crashes on the bed always on the same position.
Today when I tried to perform the autotest the head crashed and I have to power down the printer immediately. I suppose the problem is the bed sensor placed under the area when the head crashes. I tried to tap on the sensor viewing the red led and this sensor had a response a bit different from the other. I have increased the sensitivity but nothing changed.
If I perform the Height test or bed alignments sometimes work fine.
Do you have any advice?
@ubruno1313 i have the same problem for a couple of days now. And strangely i also have my printer aprox 2 months. Tried al the steps above and that also didn’t work. Hope there is somebody here that can help.
Hi @Clasiones
I’m sorry but in this moment I have not solve the issue because I’m waiting a spare parts from the support to replace the piezo sensors. When I’ll receive these and I test it I’ll inform you.
Regards
Hello @ubruno1313
We have already notified Spin Electronics.
We send the spare piezo sensors to your purchase point Spin electronics.
Spin will notify you when you can pick it up there.
Best Regards,
Velleman Support
I had the same problems after a couple of prints. I took the delta apart , degreased al the parts and did a rebuild with the trouble shooting manuel next to it.
Next I did put 1 drop of machine oil on top (right next to the rods) of every copper bushing.
And I did lubricate every magnetic ball bearing and cup with PTFE spray. The printer worked like a charm.
Yesterday, it started crashing into the bed again …In stead of taking it apart again, I degreased the rods, ballbearings and cups en greased them again the same way. And hooray … prints great again.
I checked my log and it it started crashing after around 50 hours of printing. I’ll keep an eye on my logs and I’ll service it next time around 48 hours of service. Let’s see if that prevents it from crashing.
Hi all, I think I know the solution of the most of the calibrate problems. I got my printer yesterday, and the was 1 day in process to get it calibrated, followed all the suggestions here and also the special about it from Velleman. It was crashing on the y side every time, so I did the puss test on the piezo points, this time i also did it a hard way and now the calibration came a little further. So start thinking, why???
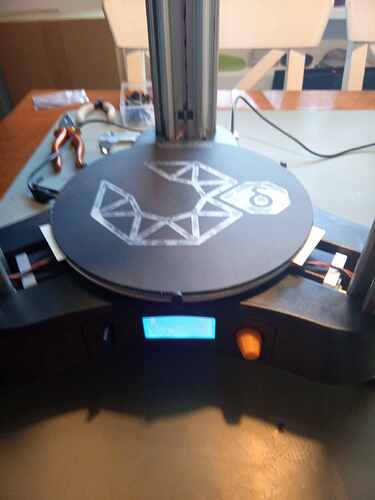
Maybe the bed with the piezo elements is not flat it all, if that is the case it can never work right. so i put on the site where he passed the test on two piezo elements a piece of paper, and yes he past the calibration!!! So now i can try the first print. But I start thinking on a way how you can make the bed adjustable without putting the piezo out of work. Because i think this is no stable bed this way! So technical ideas are welcome!
So start my first print!
Kind regards ,
Tom
Hi All,
test finished! So did my testing and find the following, the bed on the piezo plates is not good on the same level, at the end of the test the calibrating wend well for several times on a row. So on the x piezo and the y piezo i must place 2 paper blades each on the z piezo nothing!!! This is not with all the Printers the same, of course. Then first print test, the print won’t stick. I used a sanding block (fine) to make the bed ok again, clean it with spuritus. Thin the next print and that came out nice and clean. So to do the calibration, crash on X paper on Z and maybe Y, crash on Y paper on Z and maybe X and so on. The paper I use = 0.15 mm. I think possibly it is better to fasten the piezo elements with 0.2 mm double-sided tape instead of the 0.9 mm foam tape what is between it now. Hope someone from Velleman can look into that? Or Velleman can sent me 3 piezo to test this. I send a photo to show what I meant.
Kind regards,
Tom
