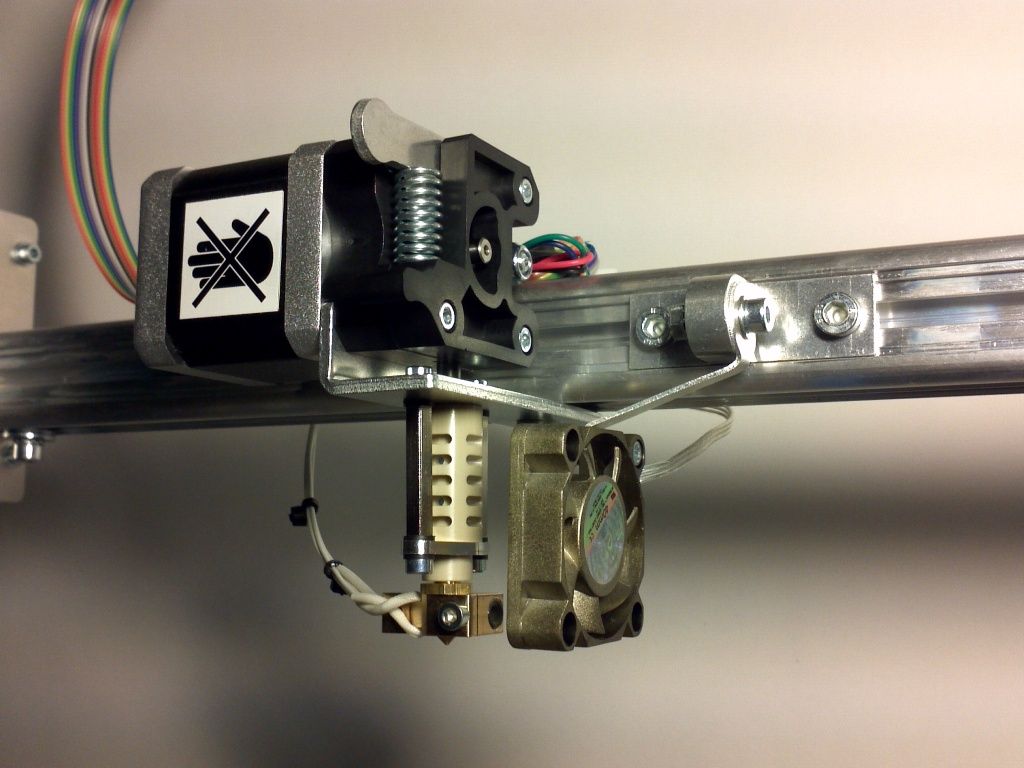
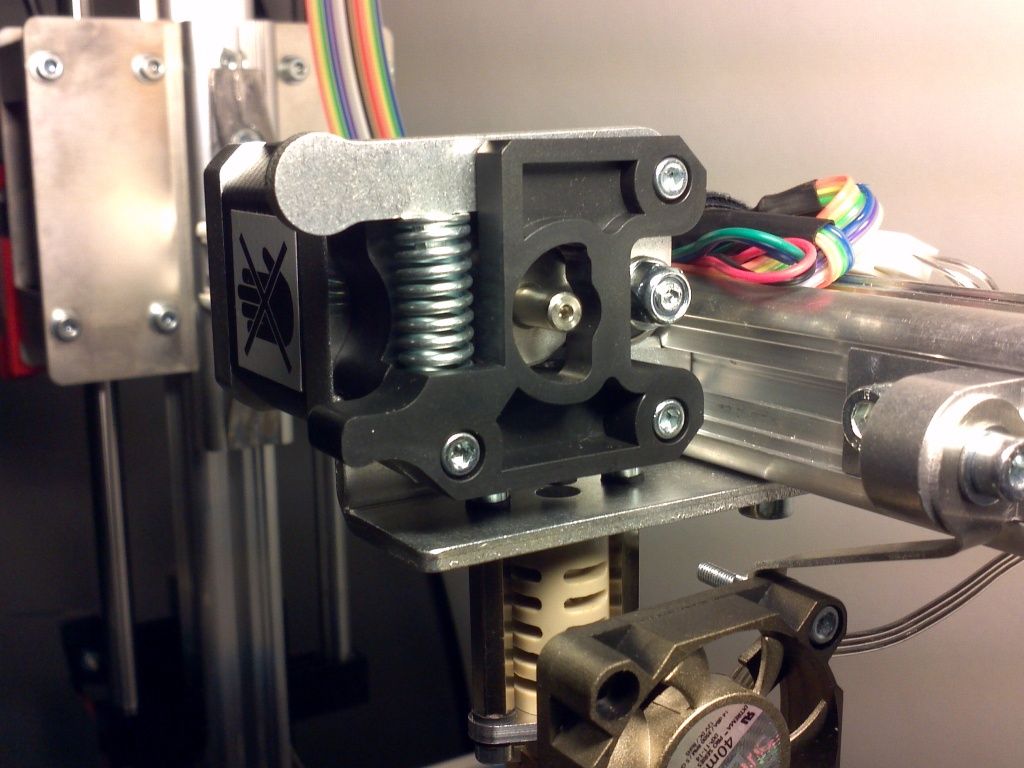
For those of you curious about the K8203 direct drive extruder kit, here’s my experience so far:
Why I did it:
Many forum participants sing the praises of other brand extruders, but I thought I’d start with “the Velleman way” as my first replacement. I figured for the cost, I not only upgrade to a more precise extruder, .35mm vs .5mm, I also switch to the more common 1.75mm filament, and switch to direct drive. I’ve only had my K8200 for 7 months, and don’t know all the pluses and minuses, but direct drive removes some parts. The hobbed bolt, open bearings and gear wear have been well documented. To me a hallmark of reliability is simplicity. Now I have a lot to learn about living with direct drive.
The Good:
I ordered the K8203 from VellemanUSA and it arrived quickly. The kit is very nicely packaged, and the front of the box has the web address for the installation procedures, along with a QR code in case you want to access the instructions that way. The web instructions are quite good, with only a few exceptions. The pictures are very clear. The quality of the parts is very good. The only thing that needed adjustment was lightly filing the inside of the filament pulley to get it to slide on to the stepper motor.
The Challenging:
I built mine with the stepper motor to the left, like the instructions show. When reflashing the firmware I had to modify Configuration.h to reverse the direction of travel like Barnabybear noted. Like he said, ignore the comment after the “//”, it is misleading.
CODE as published:
#define INVERT_E0_DIR true // for direct drive extruder v9 set to true, for geared extruder set to false
CODE fixed:
#define INVERT_E0_DIR false // for direct drive extruder v9 set to true, for geared extruder set to false
Don’t forget, In Repetier Host send GCode M502, then M500 so reset the EEPROM. I would suggest that Velleman issue two firmwares and include in the filename “…Stepper motor mounted LEFT…” or another firmware “…Stepper motor mounted RIGHT…” with the correct changes implemented.
From my measurements, the new extruder sits 15mm closer to the Z gantry than the original extruder. The new extruder is now farther back on the Y axis. Move your entire upper frame 15mm forwards and the extruder should now be centered on the bed. Velleman needs to add that to the instructions.
Another poster mentioned something about bed clearance, I set mine to one piece of paper distance. Since this is my first experience with a smaller extruder, others can chime in, but I am guessing an extremely level bed and proper Z stop is even more critical.
Here’s the dumb part, I broke my resilient Z coupling, so I duct taped it together enough to do a test print. Don’t ask me about quality until I can get another coupling delivered. Duct tape = Z wobble.
As always, thanks to the other posters, this forum has been tremendous help!
My machine: K8200 with Glass plate, better z mount and stops, trapezoidal rod, GT2 belts with 16 tooth pulleys, K8203 extruder and other bits.

