Add me to the list of very satisfied owners of the K8200. I just made my first few successful prints this evening.
I am very impressed with this kit. The design is very good and the quality of the hardware is excellent.
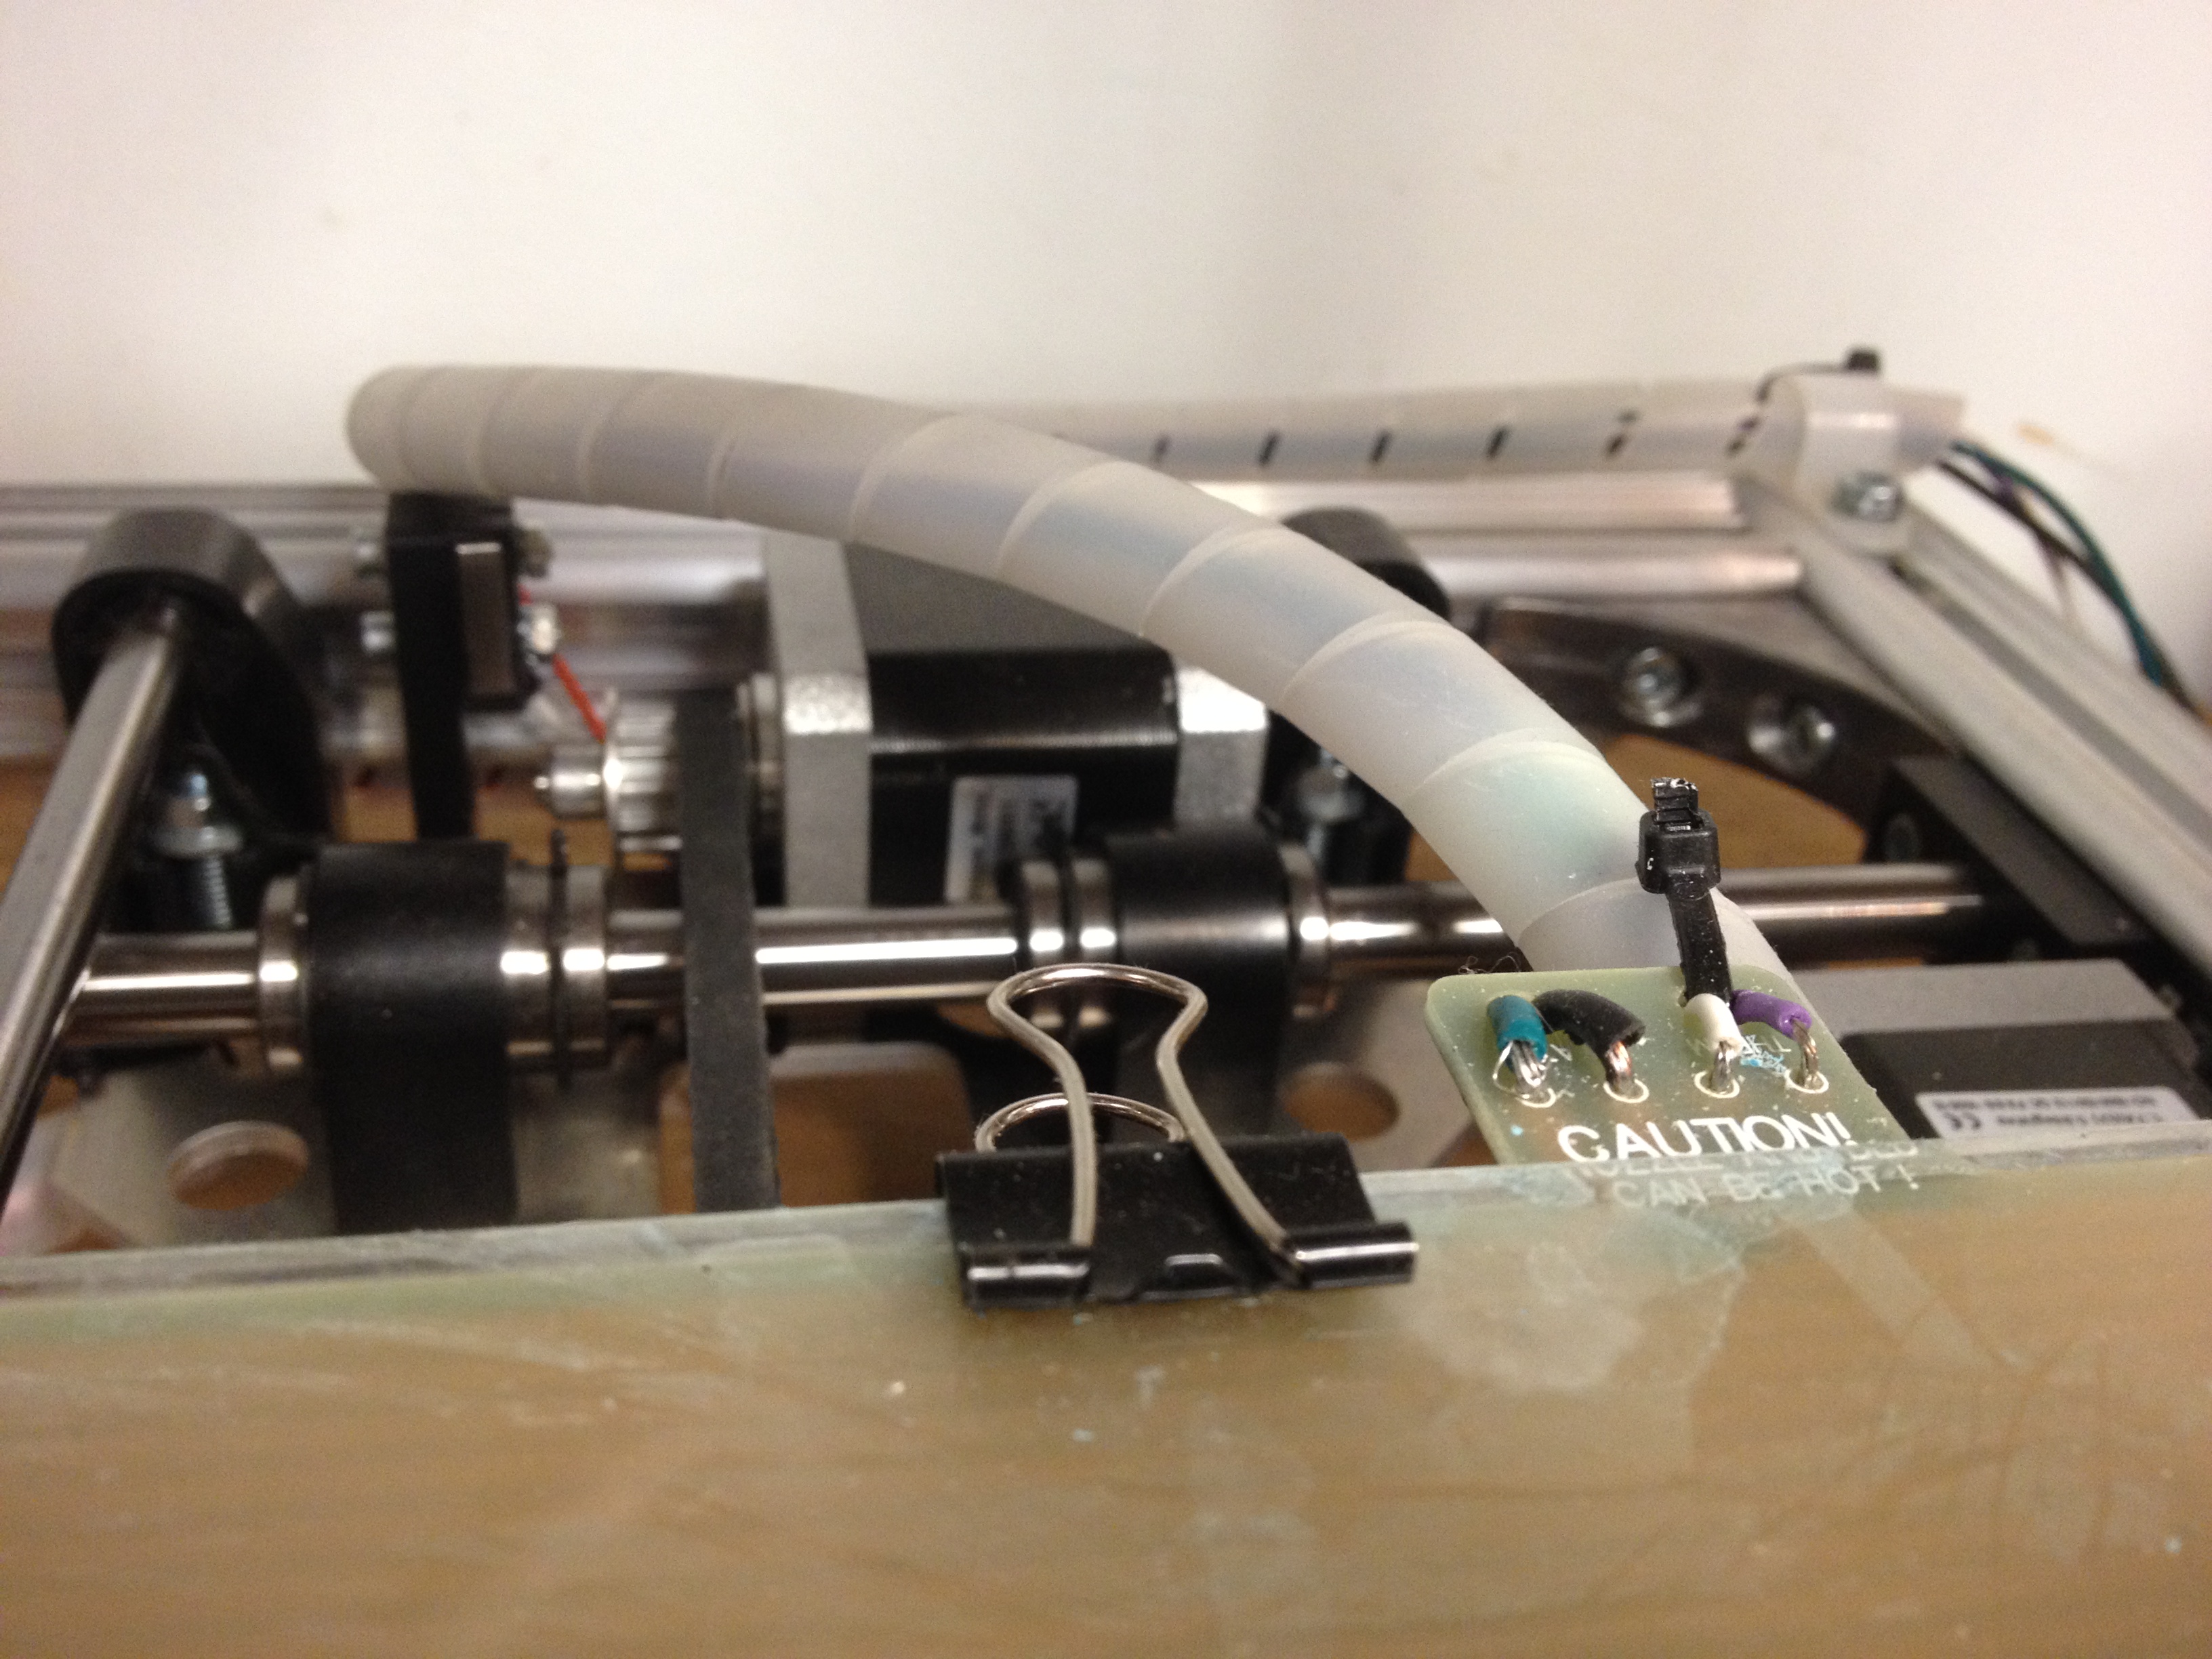
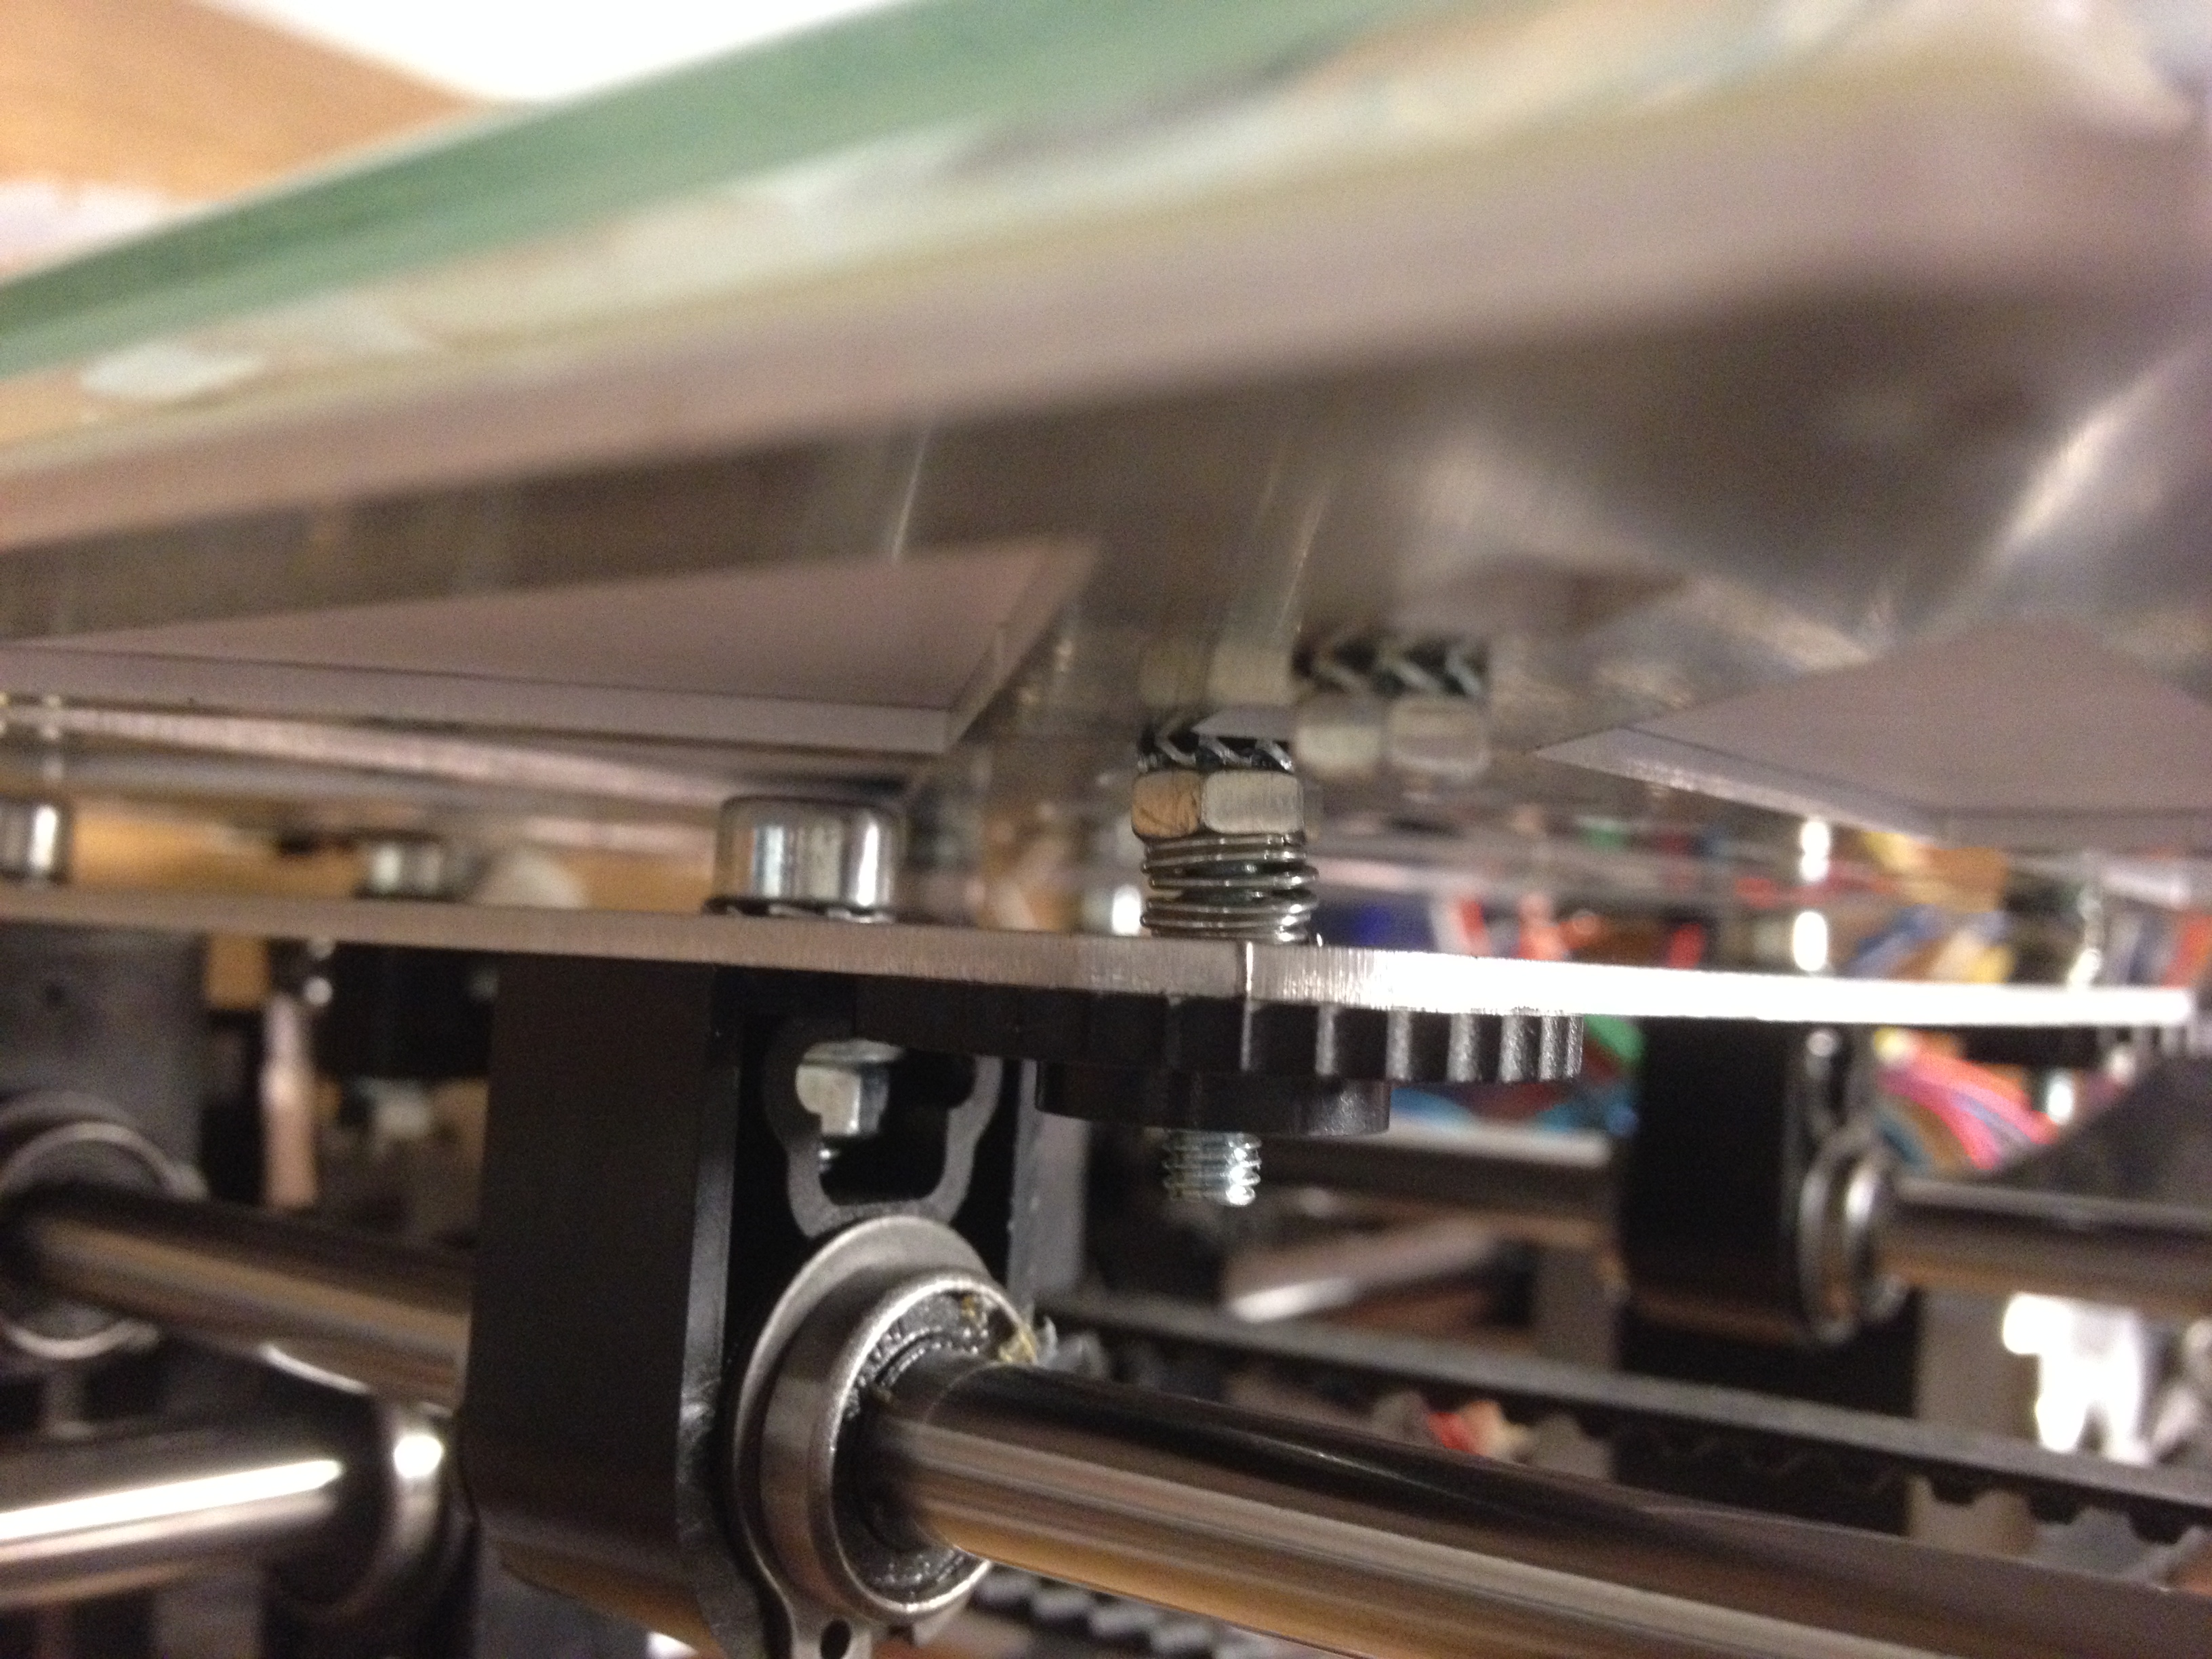
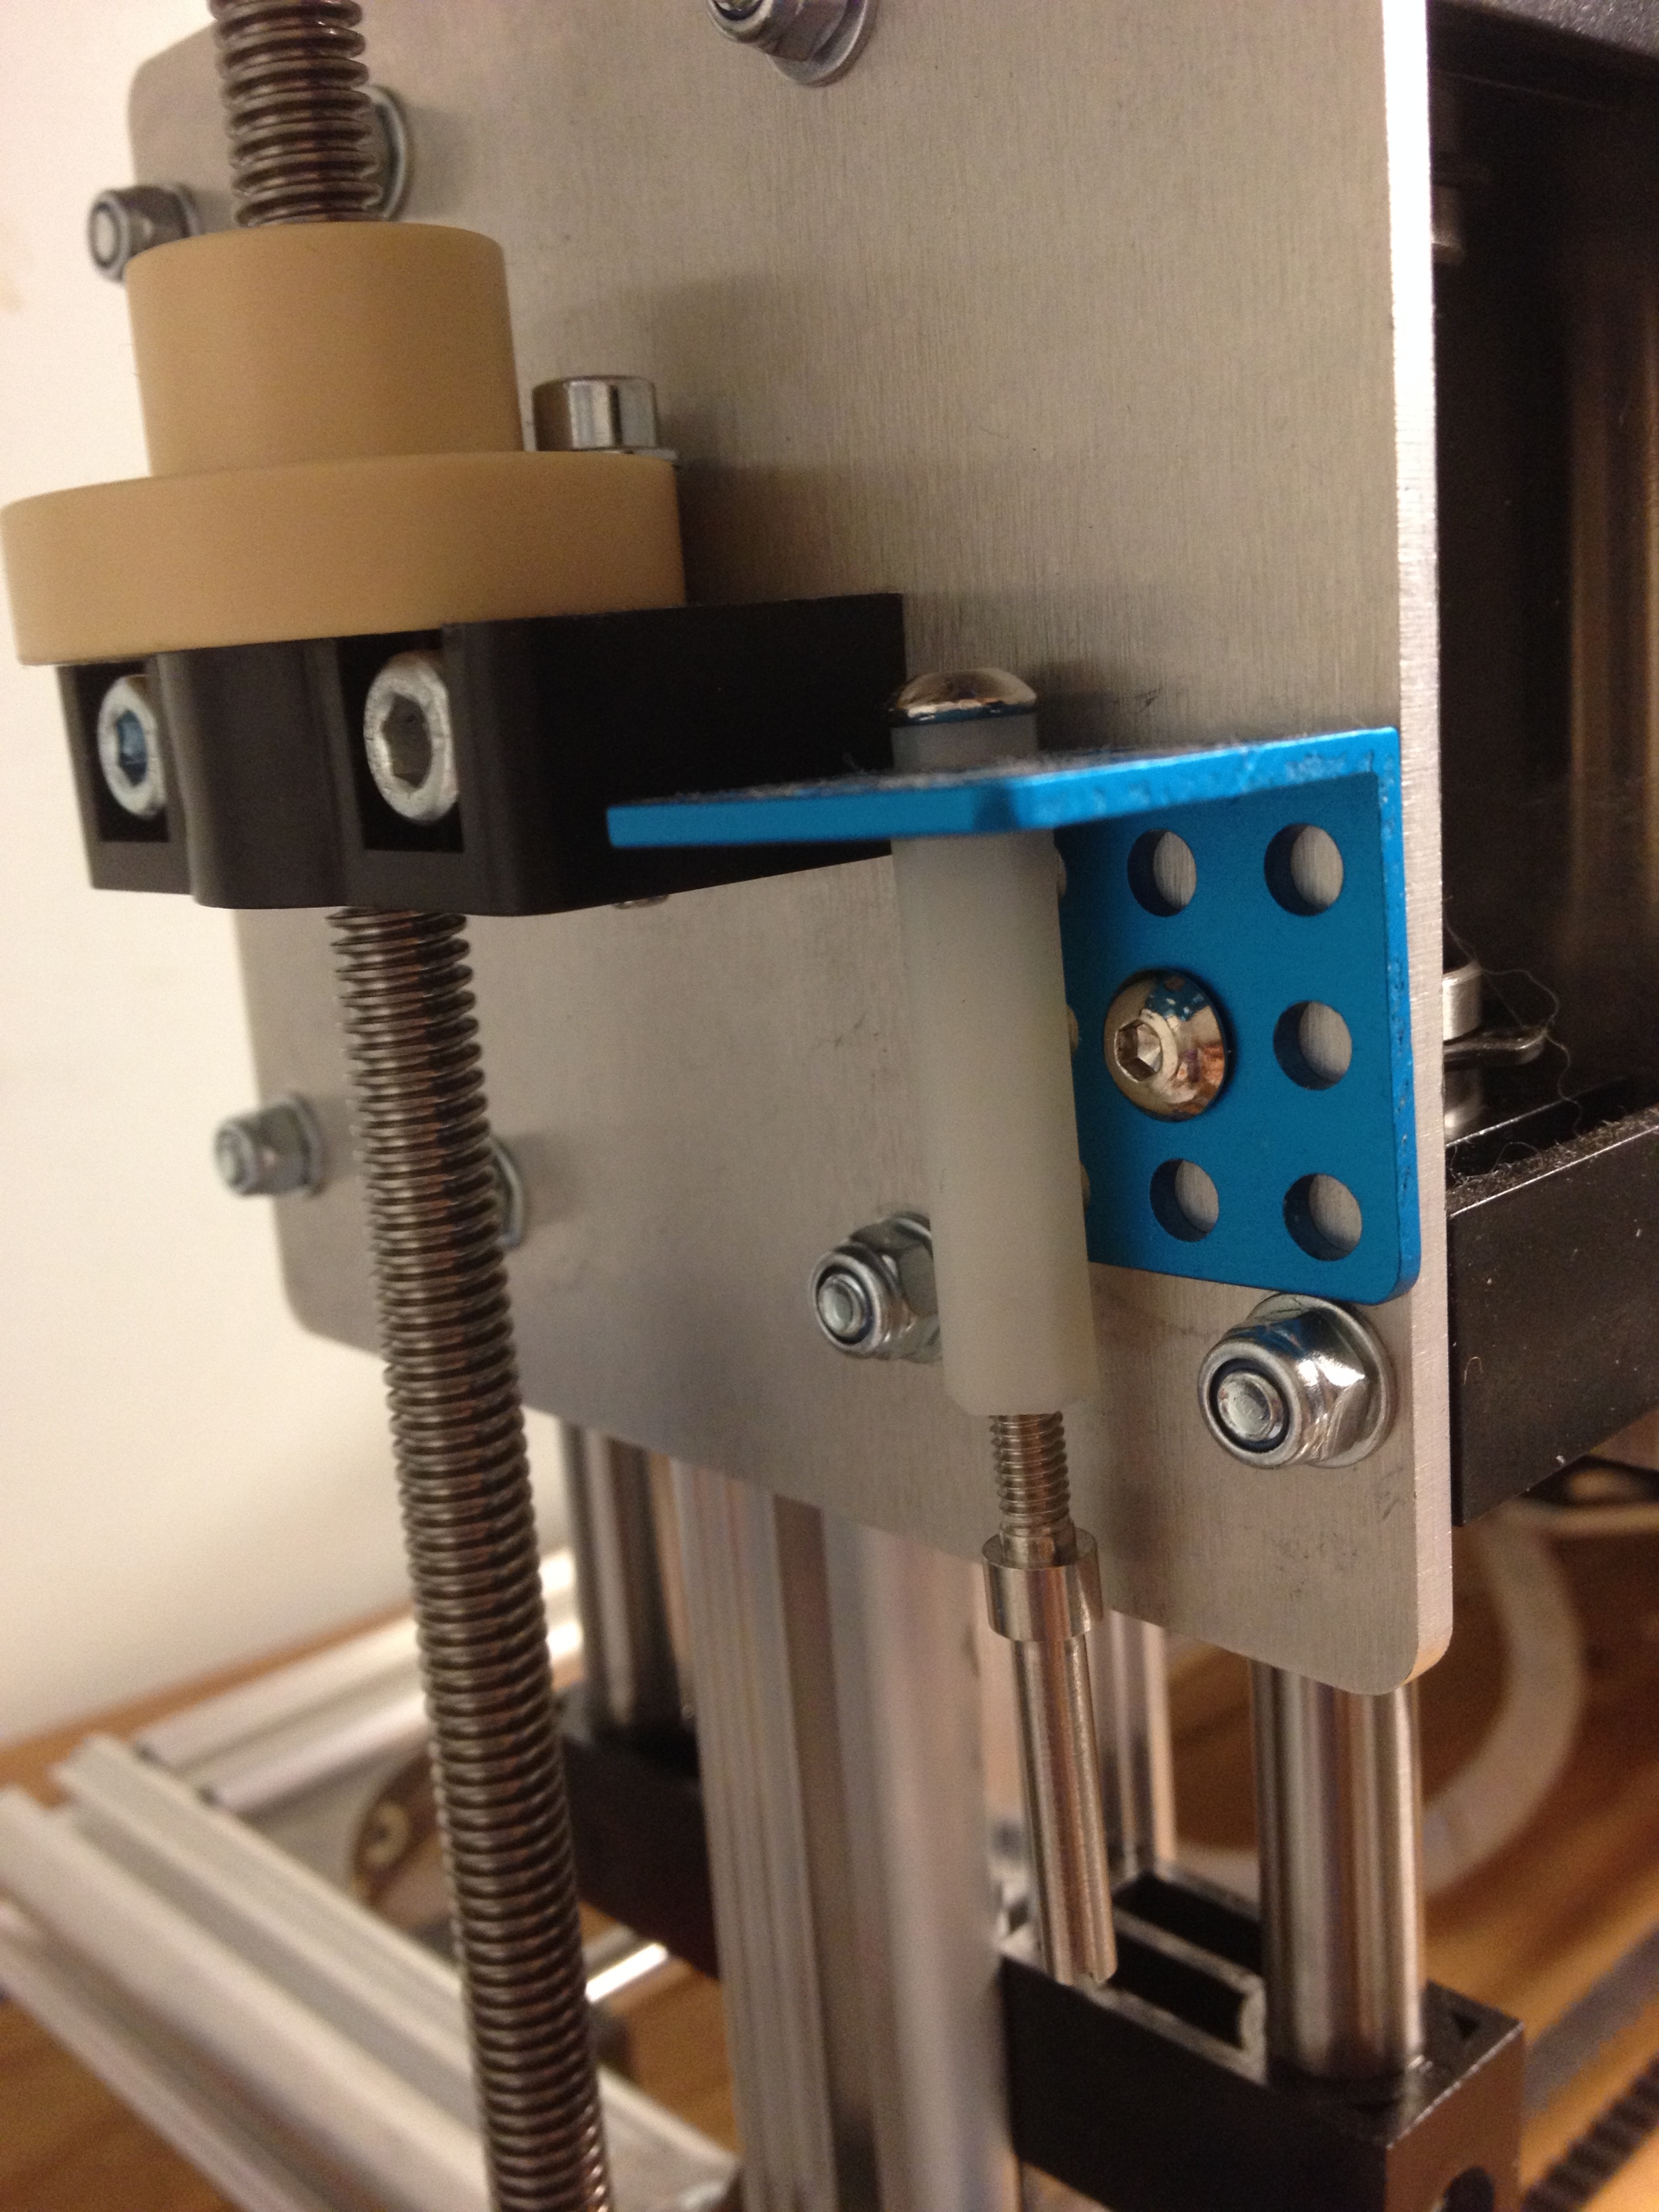
I did make a few customizations while I was building it, mostly based on suggestions I read in this forum. I made a correct-gauge wiring harness rather than using the supplied ribbon cable, and I mounted the controller in an enclosure to give it some protection. I only used 4 of the 8 thumbwheels under the table but added compression springs to make leveling easier. I also replaced the z-axis limit switch trigger because there was too much play in the screw in the stock design. For this, I used some hardware from a MakeBlock robotics kit. The new actuator is more rigid and makes contact near the switch button instead of further down the lever.
I splurged and got the Velleman glass plate for the bed which made a HUGE difference in how flat the table was, but also lengthened the bed heating time. The Velleman bed is a substantial sheet of tempered glass with a nicely ground edge and I am much happier with it than I would have been with the thin pane of window glass that I got from the hardware store. I’ve been printing straight onto the clean glass without any glue, tape, or hairspray needed.
I leveled the bed by placing a sheet of paper on the table and adjusting the height at each corner so that it wouldn’t pinch the paper. I think this actually got me too close to the table, so I backed off the limit screw a bit from there. This was a really easy way to find level.
I was able to build the firmware using the 1.6.4 Arduino IDE/SDK and it seems to be working reliably. But (as I mentioned in another post) I had to drop the baud rate from 250000 down to 115200 before my Mac could talk to the printer. Other than that I am using default settings for everything and it is working very well already.
Next I am going to add the stand-alone controller and I will probably print a stronger z-axis motor mount, as I can see the side-to-side motion of the motor when it turns.
Note to Velleman: This is a great kit, and the instructions were almost perfect. If I could make just one suggestion, it would be to ask you to please include a small bag of spare hardware for the common nuts and bolts. The extra brackets and plastic parts were a very welcome surprise, but I was derailed any time I dropped a simple lock washer on the floor. Just a few spares for these tiny parts would have been wonderful.