K8800: My heated bed works!

I was gonna report here when I’m done altogether but here is my progress report since you’re asking for it :wink:
The easiest question first:

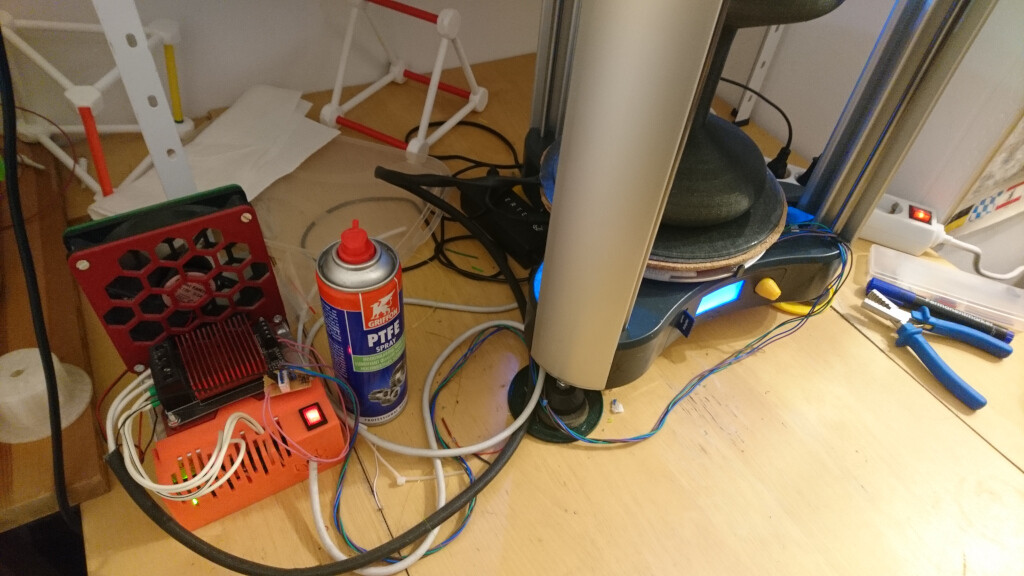
Does that green connector really survive 10A of current

They are rated for 12A, the bed draws around 8 at room temp, probably more at full temp. I don’t feel like I’m pushing them in any way.

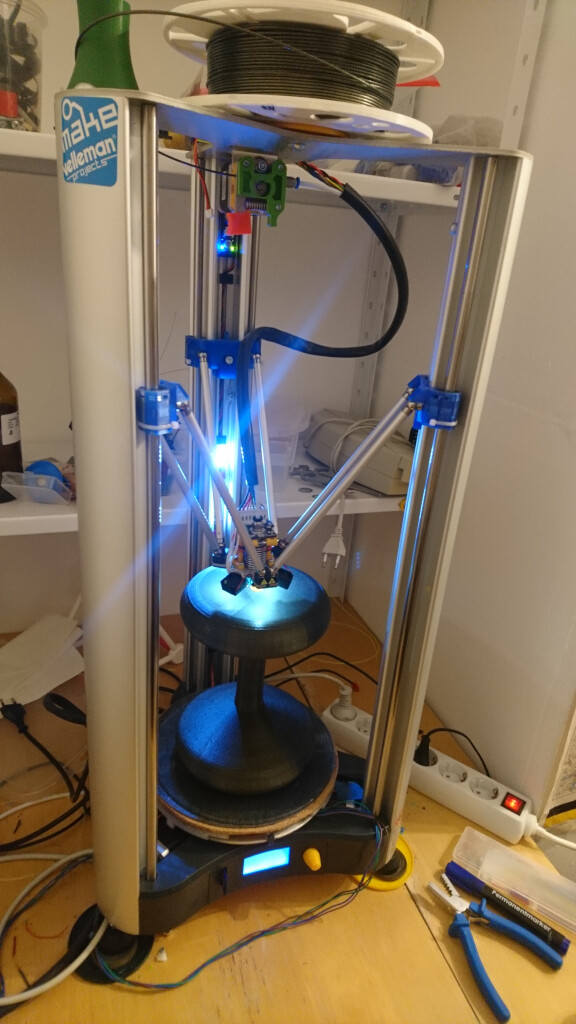
The bed itself can reach 100°C and I feel it can easily go higher, probably to about 110. I’m not insulating the underside in anyway. The bed is fixed to a set of three risers that support it over the original glass bed in 9 places, those risers are what remains to be prototyped and finished, this version here is probably the 8th (or so) iteration. I’m nearing completion I think because I’m quite happy with the design and I have alredy printed succesfully using the latest version of the prototype:

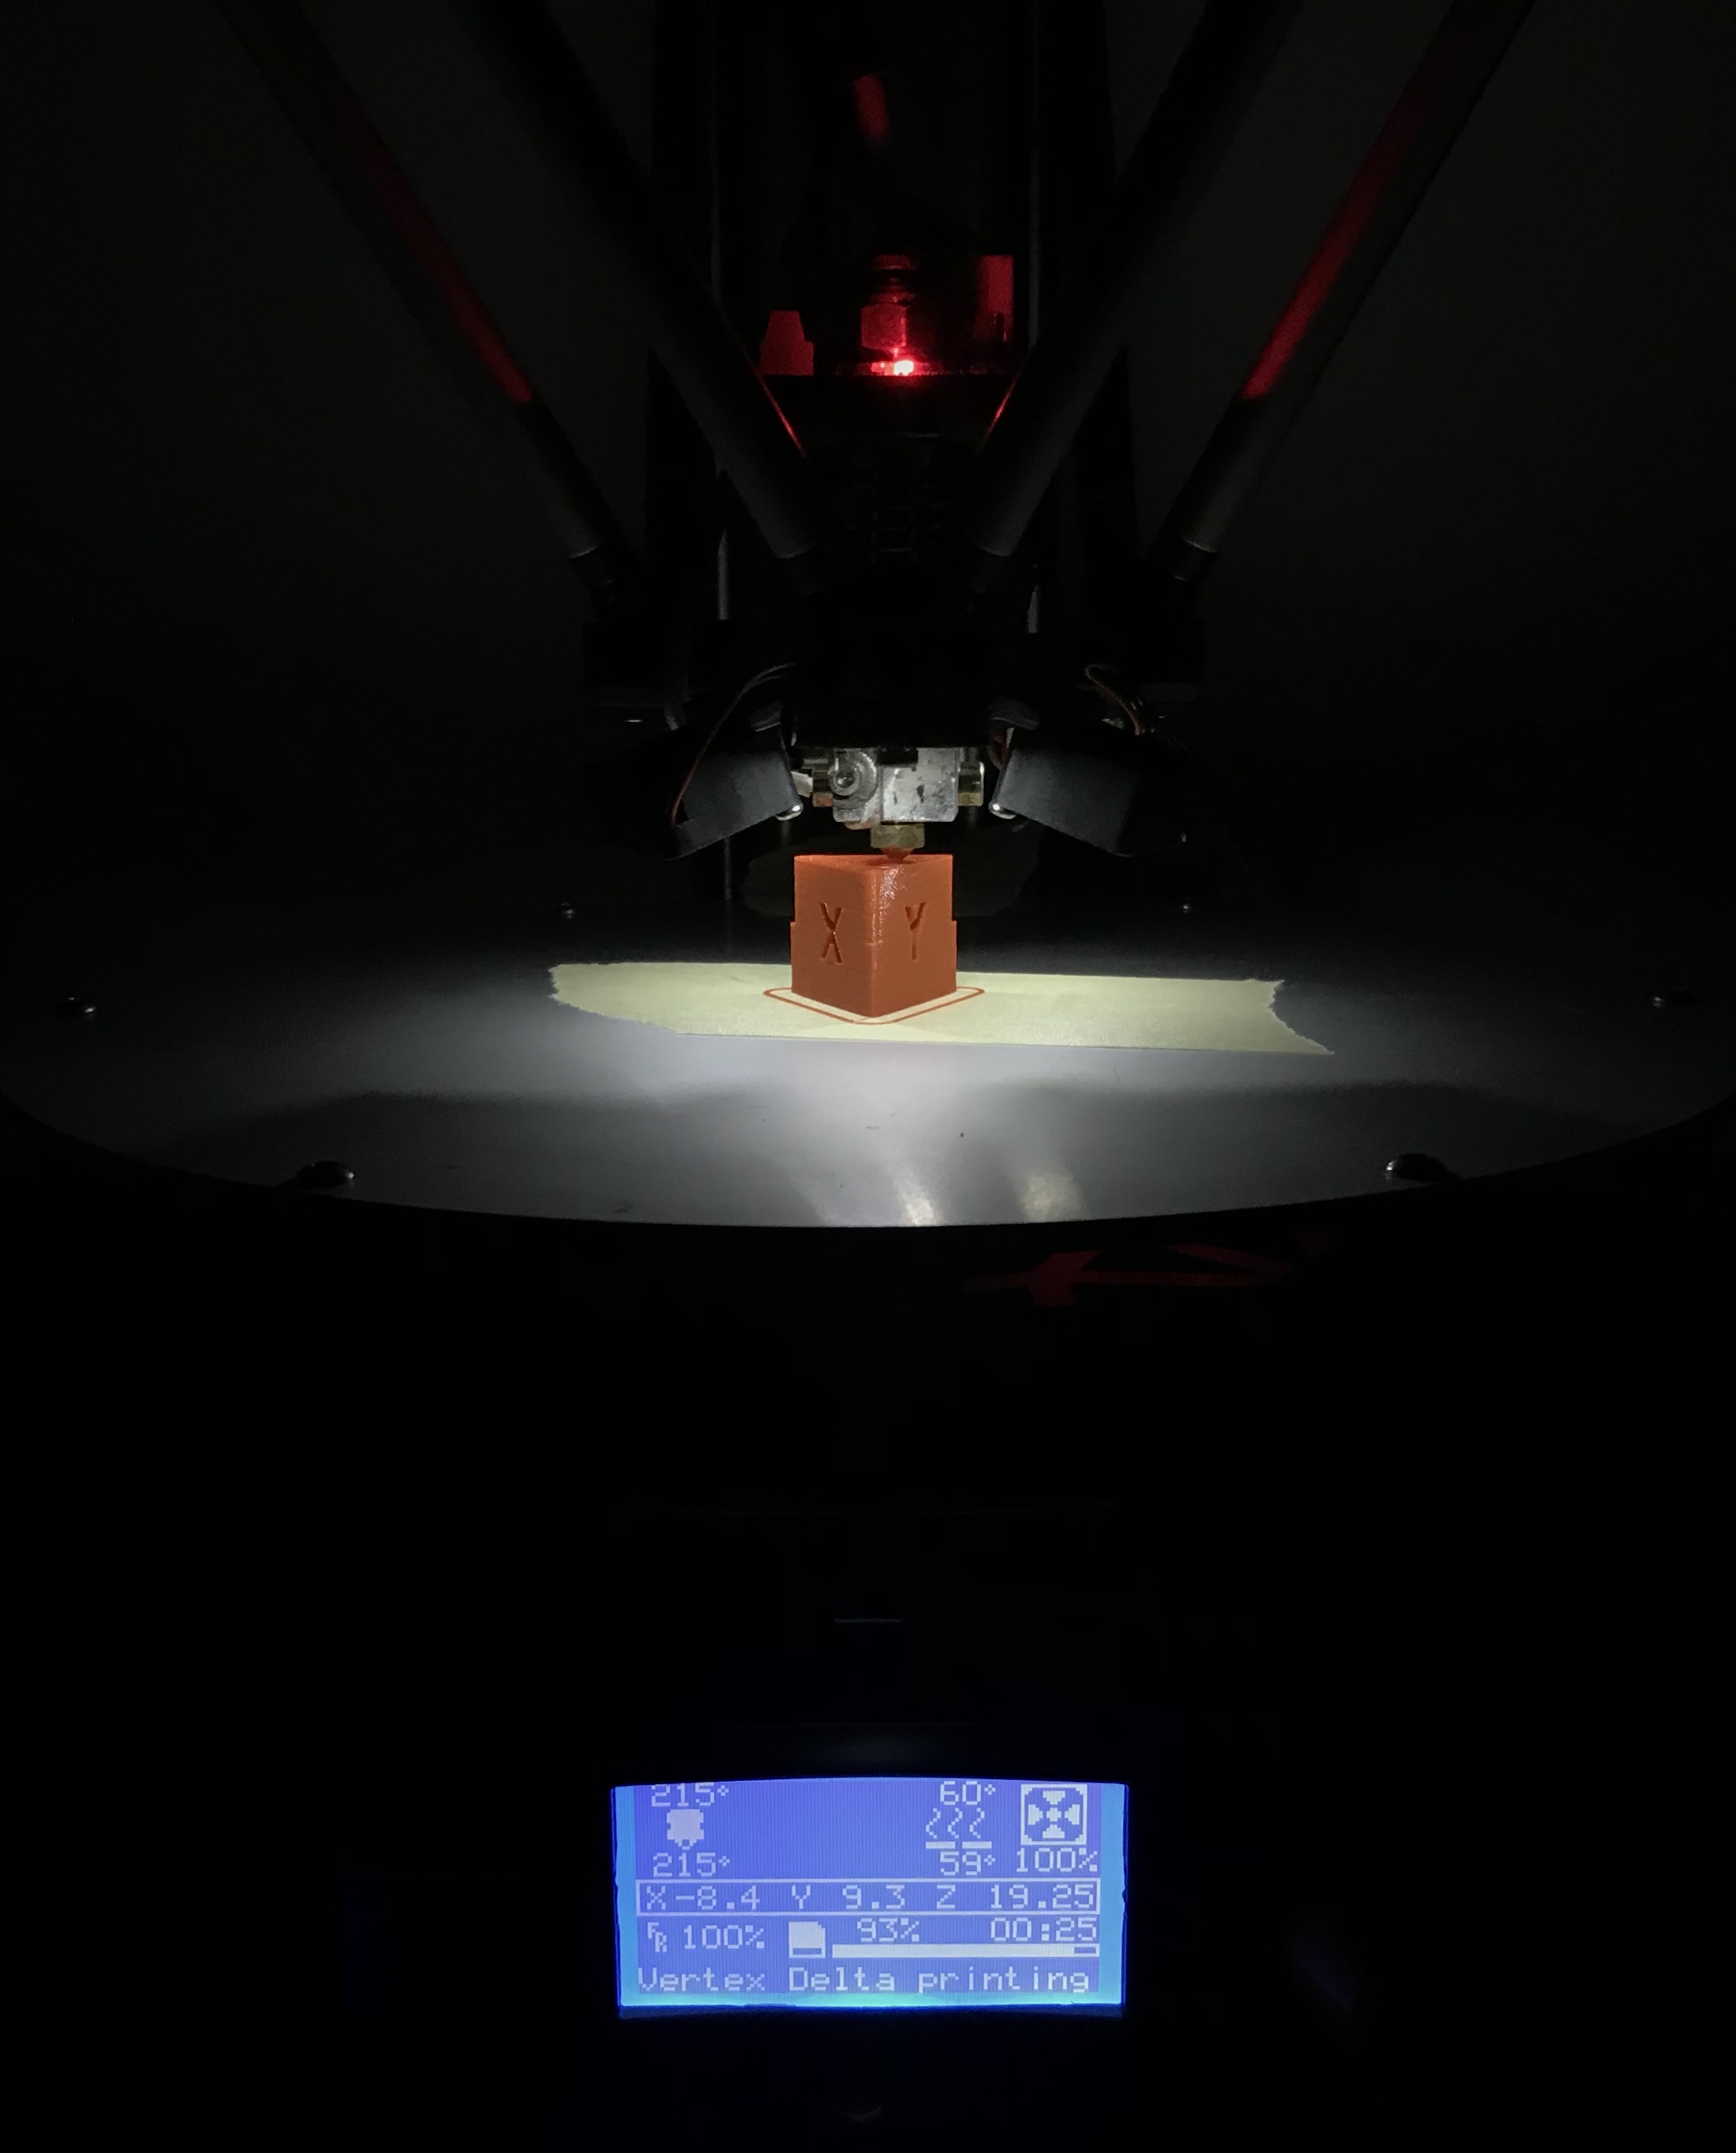
This is the first view, on the printer, you can get the idea of how it’s all arranged.

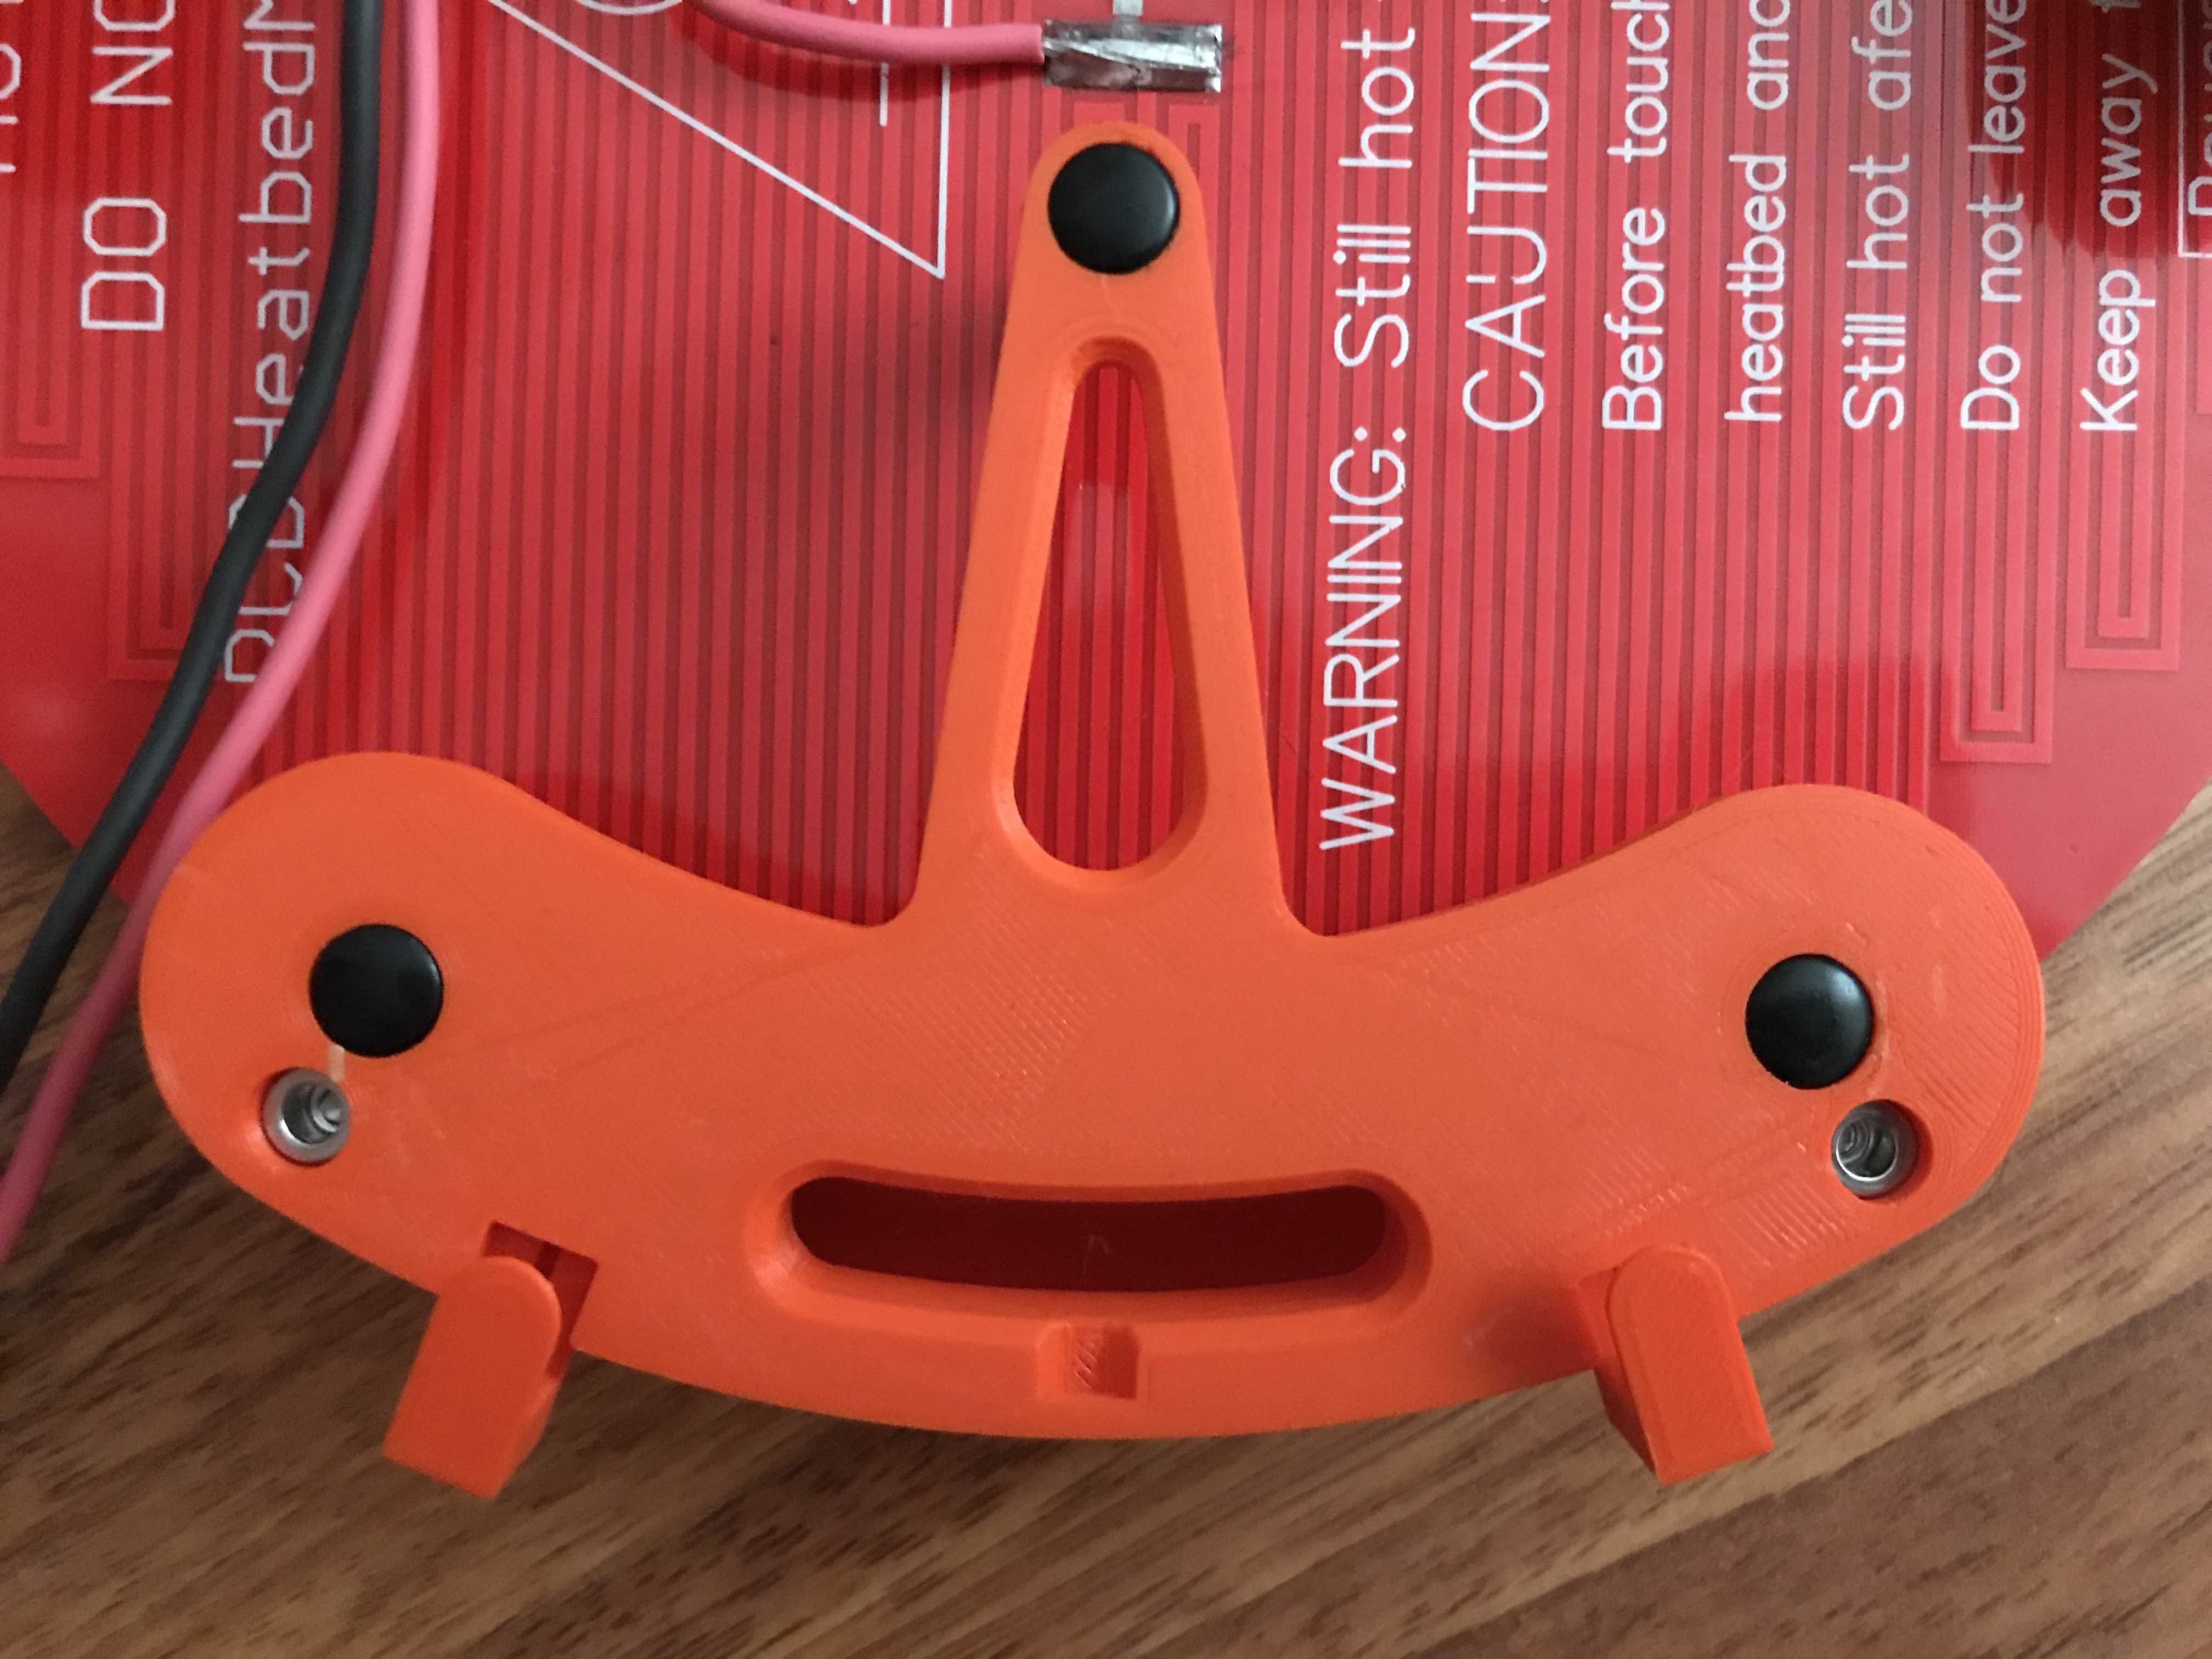
This is the underside without the glass bed attached, the clips hold the glass tight against the rubber feet and are retained in the riser because I know I’d loose them immediately.

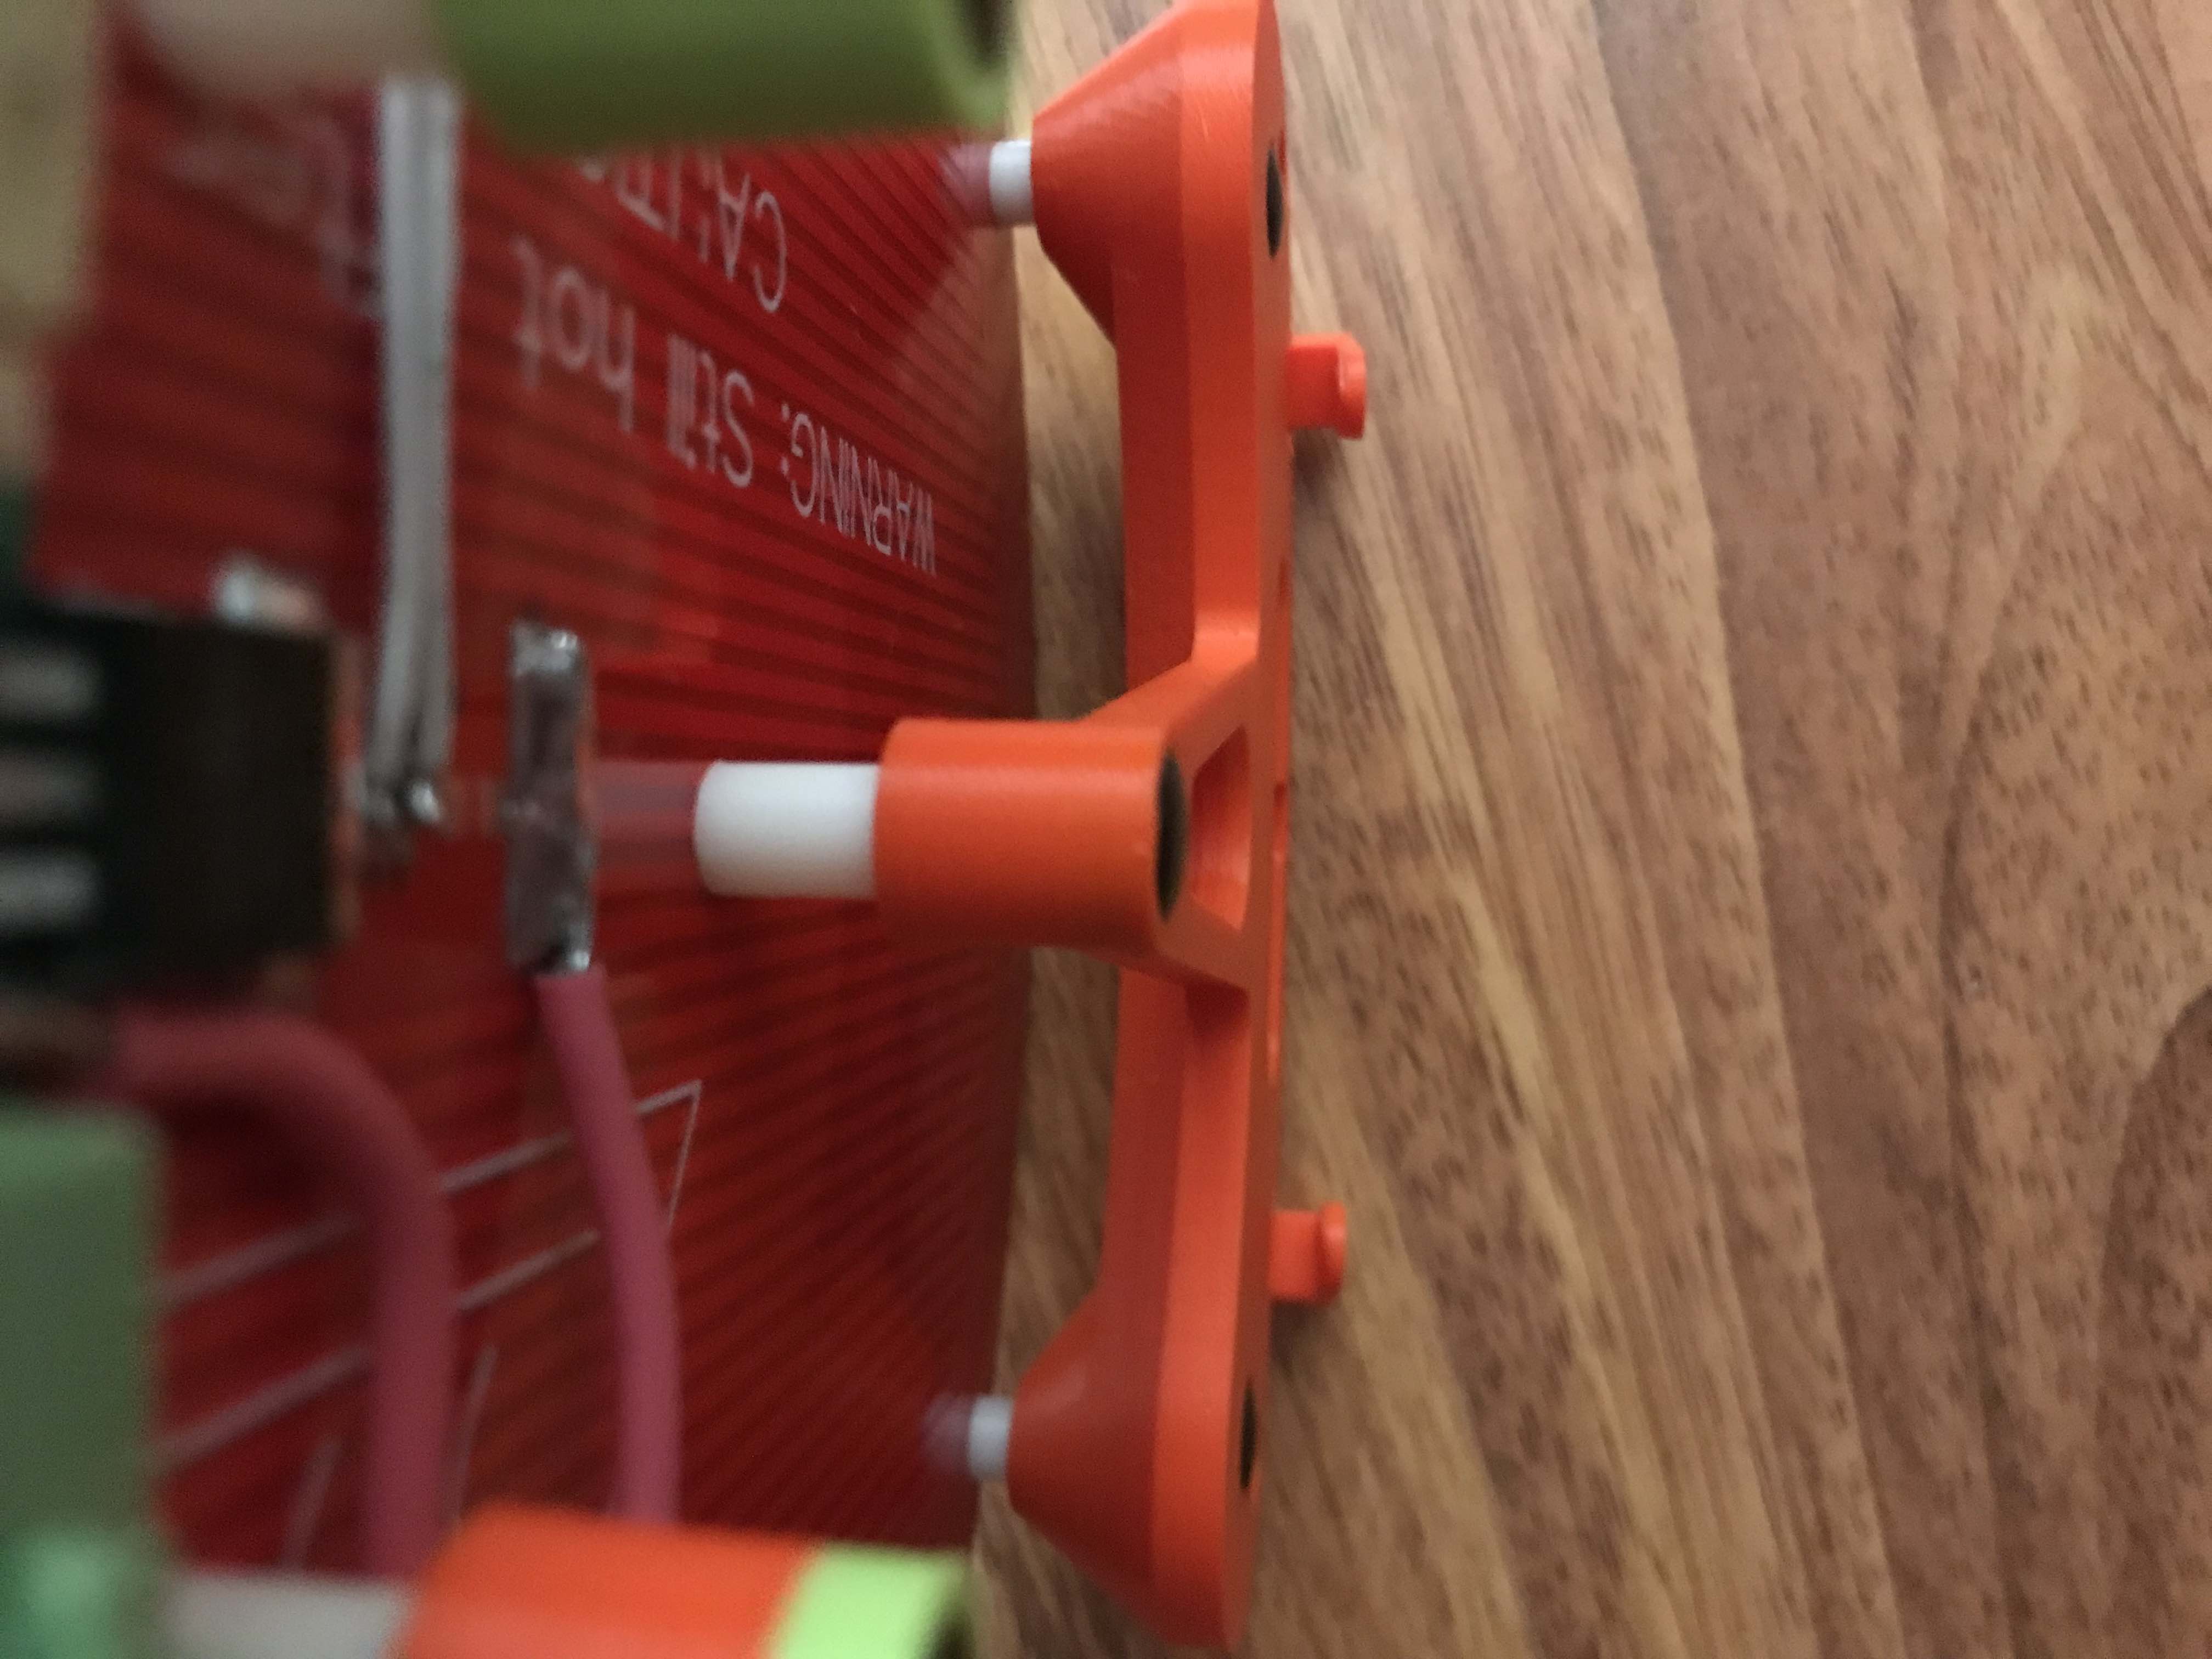
Here you can see how the riser is insulated from the bed, I used nylon standoffs that are embedded 2mm into the plastic and through them the bed is fastened using an M3 screw and an embedded rivet nut, I like using rivet nuts for 3D pinted parts because they are like embedding a regular M3 nut and a washer at once. Currently I use 6mm and 12mm standoffs but I will increase their length because nylon conducts heat a little too well, the current risers are PLA which makes them easily squish and loosen when hot, I plan to finally print them in PETG.

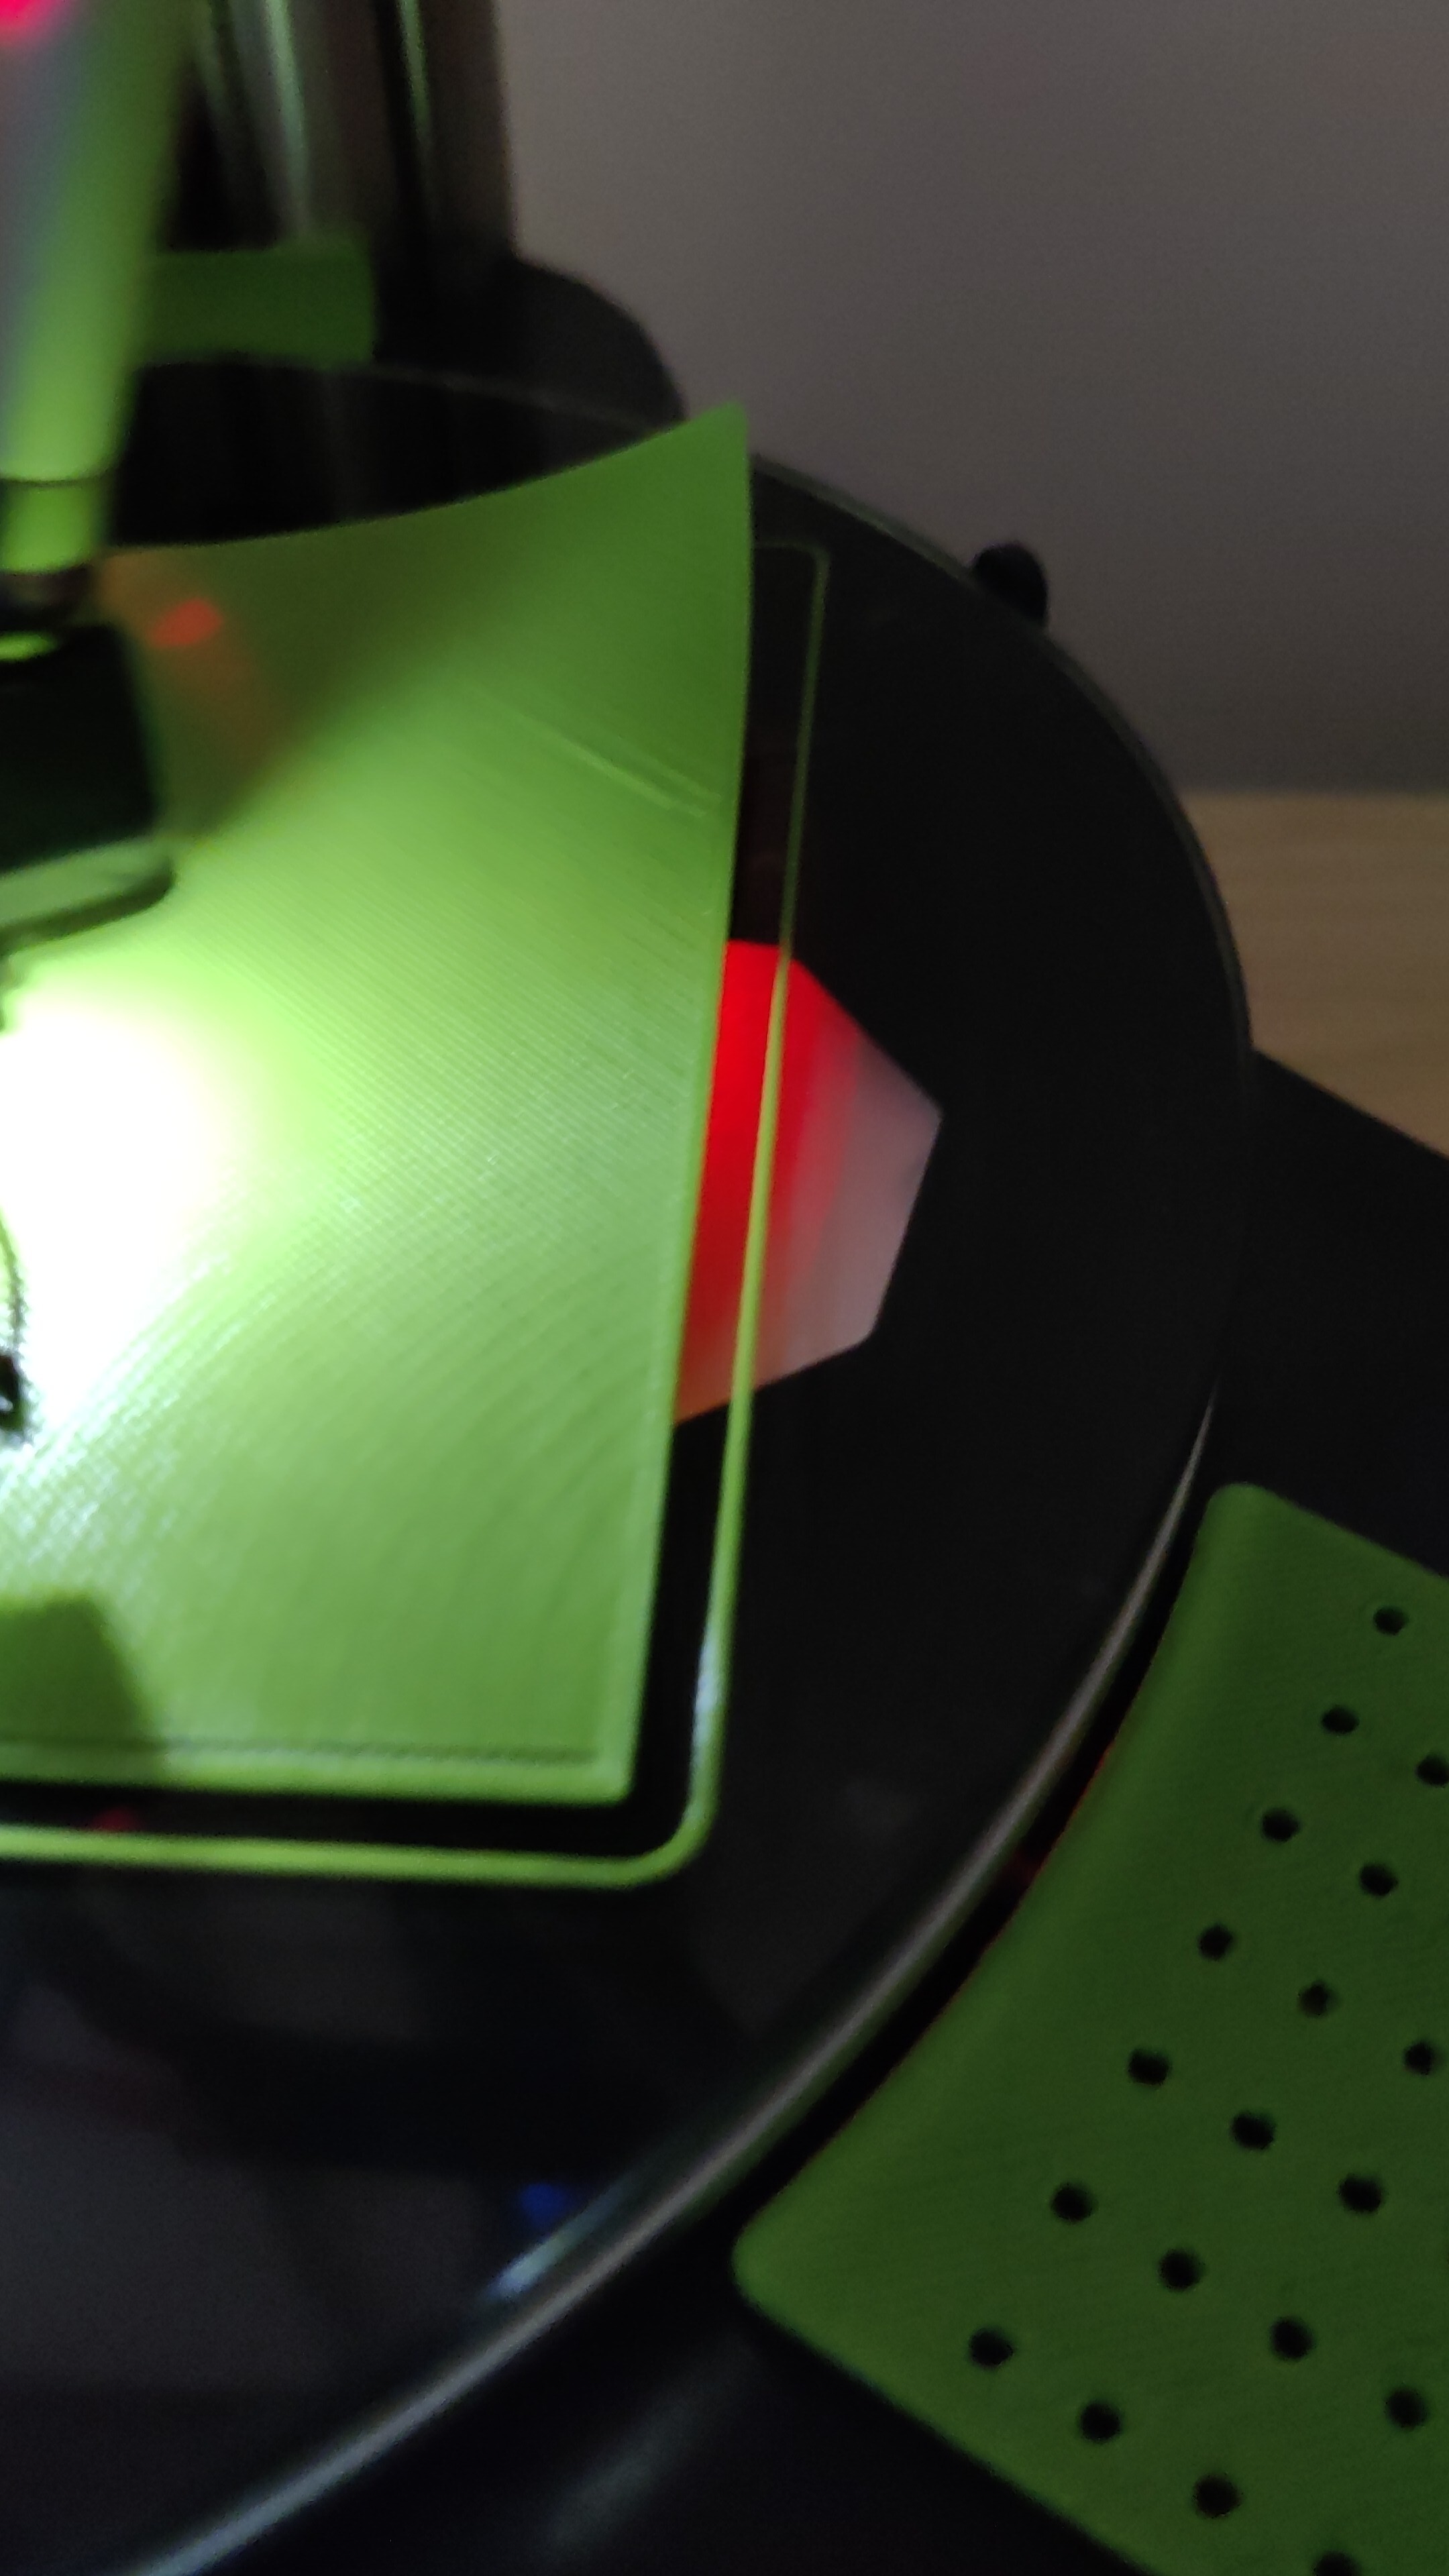
And this is the underside with the glass clipped in place, ignore the different colors, I’m printing with whatever scraps of oddly colored filaments I’ve got :wink:

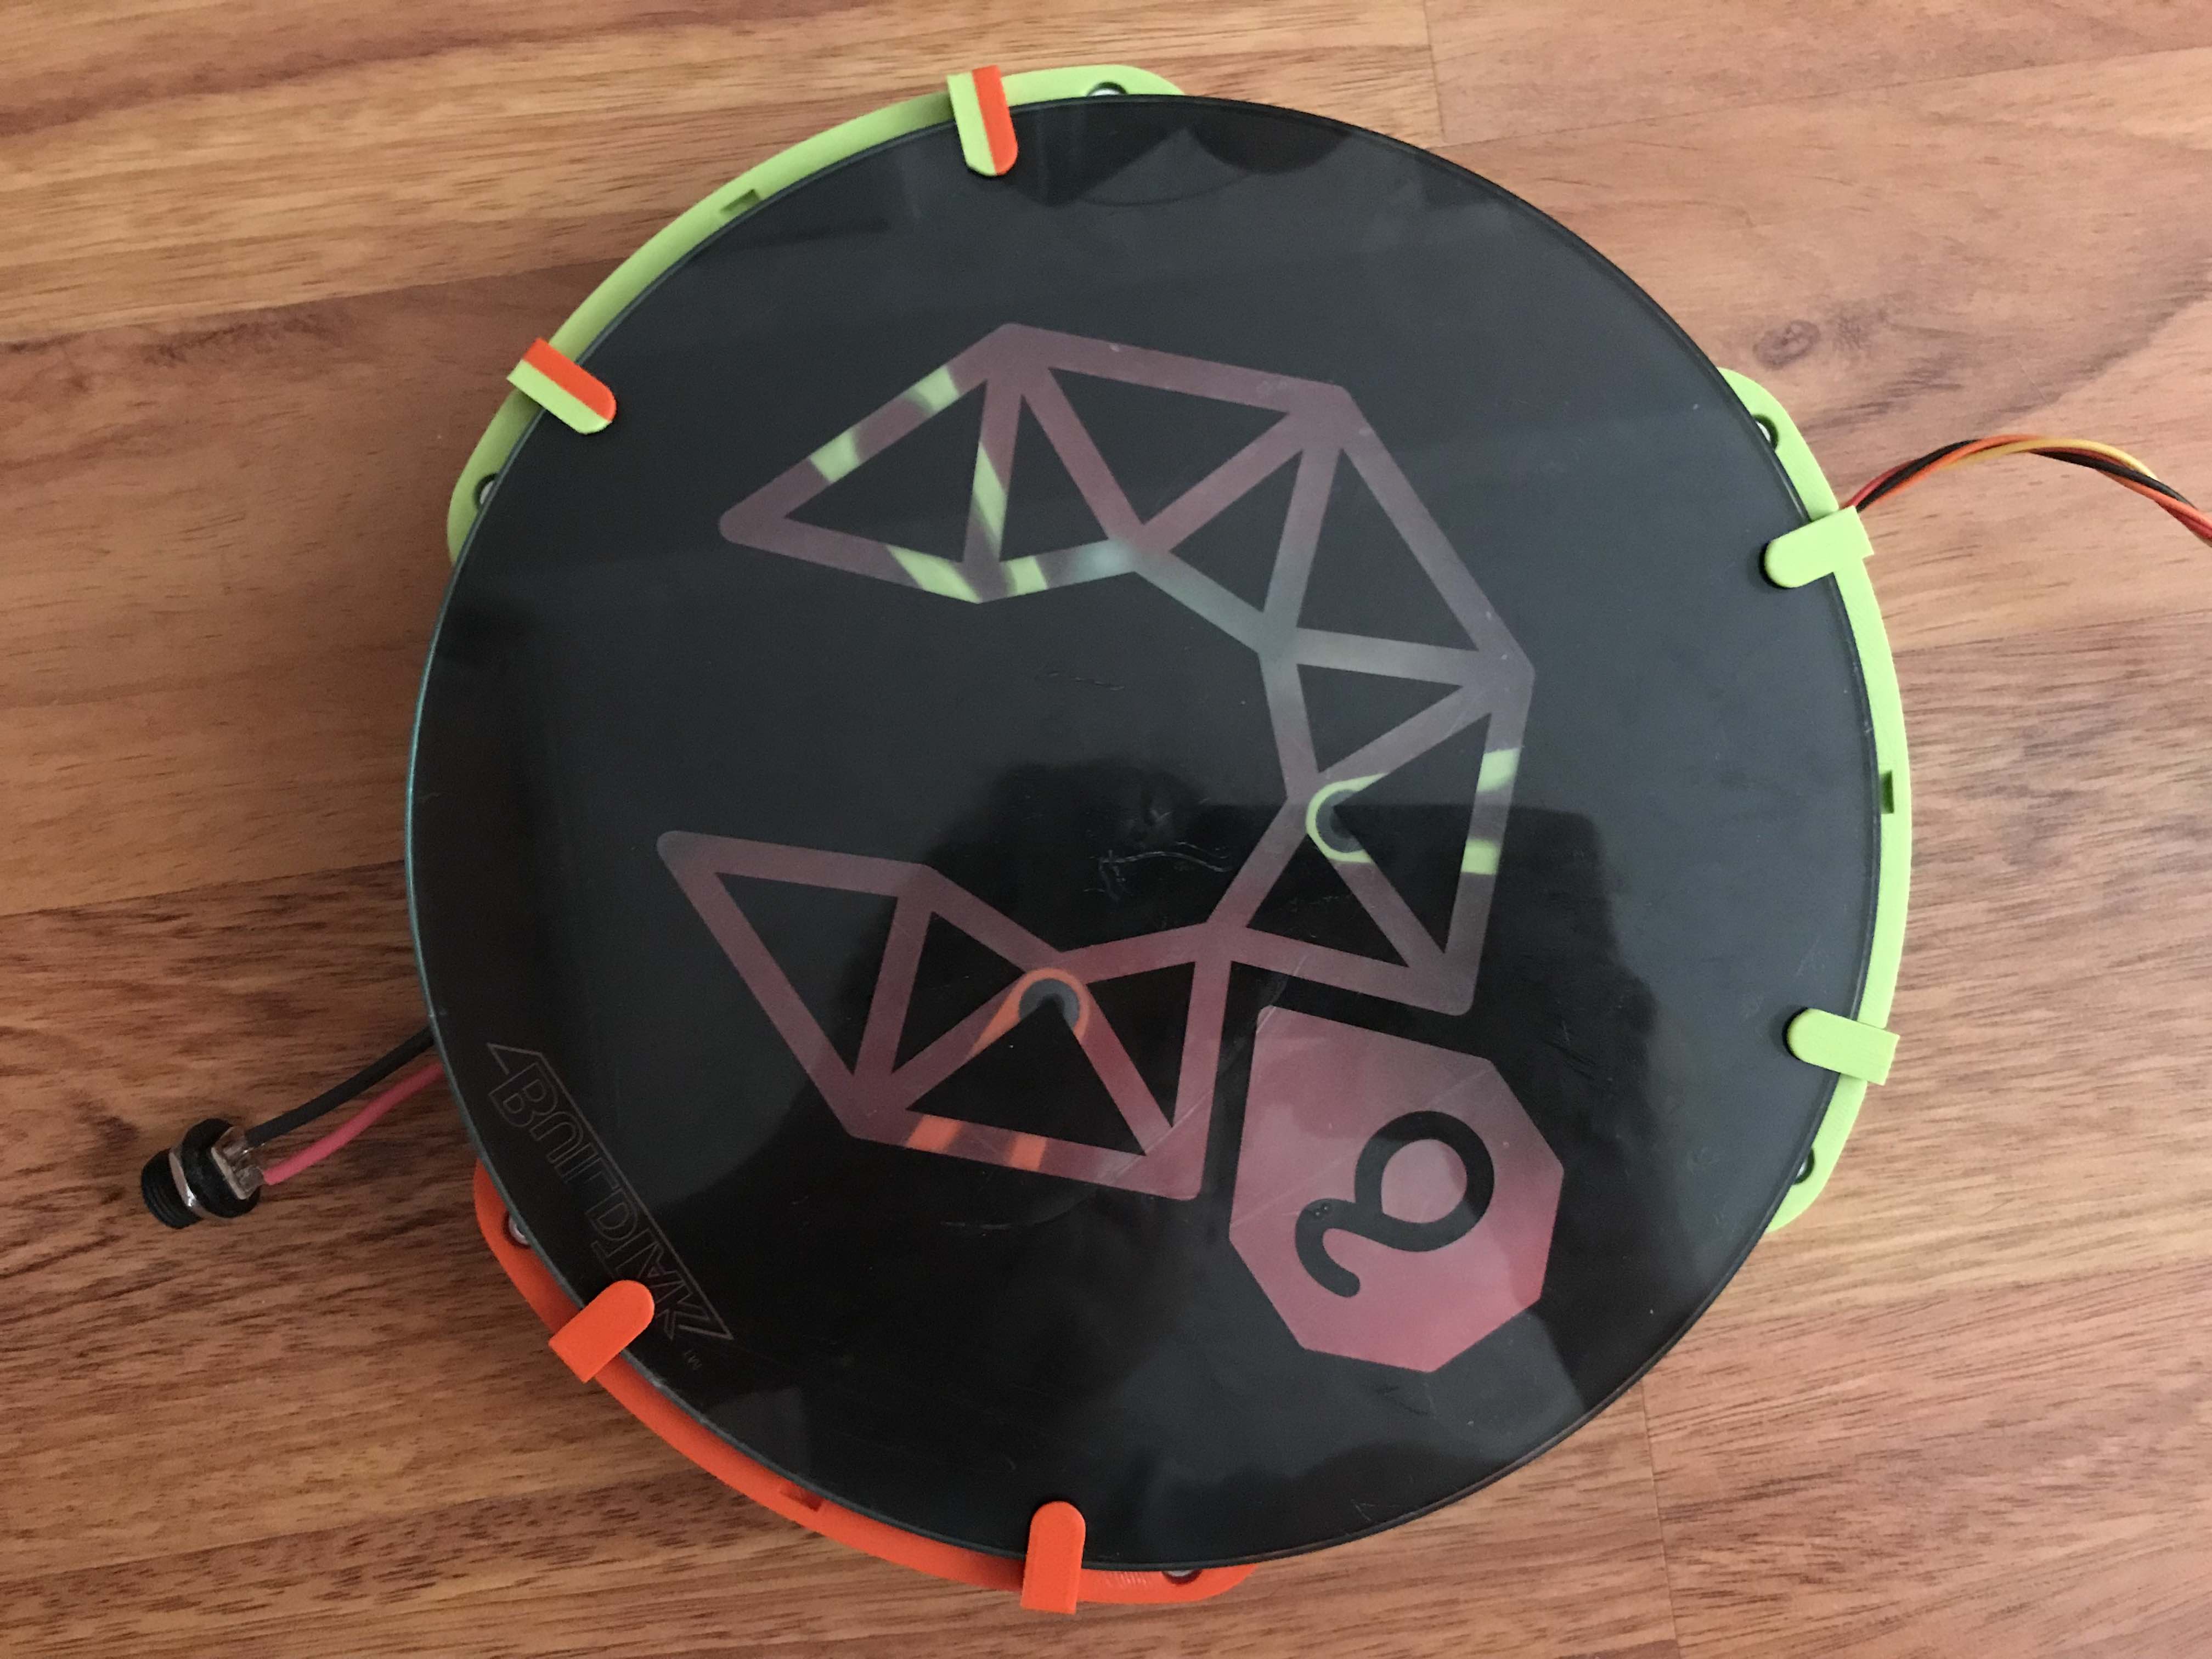
This whole assembly simply rests where the original would and the piezos work fine with it, I needed to increse the sensitivity slightly but that might be because the clips where touching the aluminum ring. I made them thin enough (there’s about 1.75mm between the glass bed and aluminum ring for the clip) but the way they are designed means they print with supports and the overhang made the parts too thick. I love the limitations of FDM…

Anyway, I will post more pictures and my CAD models when I’m finally done fiddling with the design :wink:

2 Likes

Really love the work you all are doing!

2 Likes

@riodoro1 from what I can see from your photos, I think your design is already ready to go for production. Looks very professional to me, good job!

May I ask you for a small test? Can you measure the time it takes from 20-23C to 90 degrees Celsius? My setup needs 210 seconds (I thought it is quicker)

Interesting to see that there are now many solutions for a heated bed for K8800 even outside of this forum:

I’m now printing the final version of the bed risers in PETG and when I verify everything is ok with them I’ll post my files to thingiverse. I’ll check how fast mine heats up when I get home :wink:

Ok, it took almost exactly 4 minutes for my bed to reach 90 degrees starting from around 25. Yours is a bit quicker then :wink: That’s not bad considering that the bed on my previous printer (diy) barely reached 90 degrees at all and the fans had to be off to not trigger thermal runaway protection :slight_smile:

Finished printing the risers in PET so I think I’m done with this project.
Here are the files and parts I used.

Changes that I’ve made to the design since my last update include using all same height risers because that’s easier to deal with, making the rubber feet stick out a little bit more and most importantly moving the clips closer to where the outer rubber feet are, I’ve noticed that after a while the risers bent a little because a lot of the pressure from the clips tried to push the center of the riser to the bed. Also, I’ve widened the slots for those little hooks (for lack of a better word) that hold the glass bed because every problem with levelling resulted from poor clearance and the bed resting on something else then the sensors. The heated bed is now as sensitive to the touch as the glass one.

I added a profile in Cura with a different start G code that includes G33 P1 before levelling to set the height with the bed, that is all that’s required to be done after plugging the bed to the printer.

Thank you guys for your solutions and ideas on this topic which made it much easier for me to go through with this upgrade. Nice to see that other people tinker with this printer too :slight_smile: I’m back to printing PLA for now :wink: If you have any questions feel free to ask.

2 Likes

I’m seeing this thread now since i finally got to a point where i think I’m up for building this myself.
Are you still using it, still working fine or did you step away from this project?

I’m really a fan of what you guys accomplished in this topic!

Hi 11to3,

yes I’m still using the K8800 with Dr Vegetables sleds and my heated bed. Works like a charm! I moved to a new flat and it is still alive. I will post some photos soon.

1 Like

I promised recent pictures.
Here:


The dumbbell was printed in a day and a few hours.

1 Like

wauw this looks truly amazing.
I’m going to buy everything for the heated bed, looking forward to making it work. I’m not so advanced, so I hope i don’t burn my printer down :sweat_smile:

I got a few practical questions.
I have bought the MOSFET, power supply, mk3 heated bed (220mm, while the glass plate is only 210) and a NTC.
while the assembly is pretty nicely explained here, I do have a few questions.

where do you install the NTC?
and for the print surface, I see that @shelxle is using cork between the class plate and the heated bed. why would you insulate there? would the heat from the heated bed directly to the glass be too strong? risk of scattering the glass?

I’m really looking forward to it because it is now a tad too cold in my bureau and I can’t get a proper print anymore (lots of wrapping…)

I think in this picture of @riodoro1 https://forumtest.whadda.com/uploads/default/original/2X/b/be6972aabb9971e486180098f8095bfebca6e7da.jpeg
you can se a thin pair of white cable there is a good place for the NTC.

The heated bed is in close contact to the upper glass plate.
I used the cork to insulate the head bed from the main board below.

So the layers from up to down are:
glass
heat bed
(ntc)
cork
spacer
piezos
main board

Printing directly on the warm glass works fine if the spaces are not too hot. In this case the piezos sometimes fail while bed leveling. Stop and repeat it later helps.

Thanks
The insulation at the bottom totally makes sense, i must have misinterpreted some pictures.
I’m also thinking of printing directly on the glass.
The temp dropped a bit in my bureau and now I got this

So I’m definitely looking forward to my bed arriving. But it will take a few weeks still…

Hello @11to3
To avoid warping use a “brim” instead of a “skirt”. Cleaning the bed with window cleaner or isopropyl alcohol also seems essential.
The use of certain hairspray can also help the adhesion.
Have a nice day !

Yeah you are right. Now I’m using hairspray but i have been printing with a skirt instead of a brim for months now. The changing of the season and my heating that is turned off is what I think is causing the wrapping
I like to avoid a brim at most times, but it would definitely help.

1 Like