Hi Steffen,
Thanks to your extended help I finally found the upload button
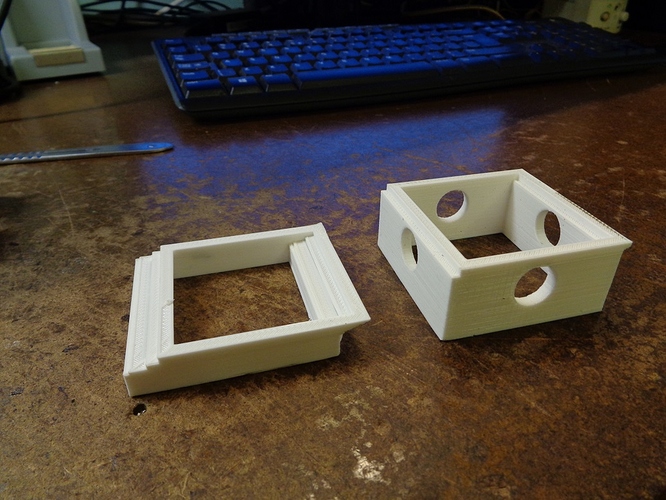
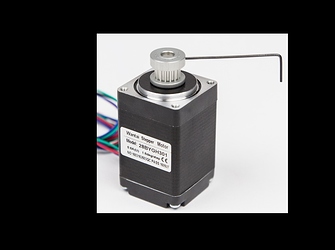
and I hope the photo clarifies what I meant.
Kind regards,
Pierre
Hi Pierre,
Yes, I assume that the timing gear of the axis is not really fixed. Re-tightening and try it again.
And please check the tension of the timing belt.
Good evening
Steffen
Hi Steffen,
I have checked all the points you mentioned but that is not the problem.
It is the friction with the rods. I used, as shown on the build instruction, a very light oil but that is not good enough.
Now I have replaced it with gear oil SAE 90W (which I had a little) and up to now I have no hiccups.
Maybe there is a better oil. What type of oil are you using?
Kind Regards,
Pierre
Hi Pierre,
Good that you have found the problem. But I afraid the false oil is not the sole reason. If it is only the oil you will not have a so clear misalignment with steps. It can be the combination of all.
I use a very simple oil. A cutting oil or alternative an adhesive oil. I didn’t have any problems yet.
Greetings!
Steffen
Hi Steffen,
My problem is solved.
It was indeed the oil that caused the problem.
Now I am using another type of oil and have no problems at all.
I have been trying to make the names of my grandchildren in 3D.
I am using Thinkercad for that purpose.
Making the names is ok but I can’t find the stl files after saving them.
Maybe you know anything about that program and can give me a hint.
Thank you for all the help you have given me.
Kind regards,
Pierre
Hi Pierre!
I afraid I can’t help you with TinkerCAD. I don’t use it. But maybe the follow youtube video can help you: https://www.youtube.com/watch?v=U7ihYeD3Mug
After export to .stl please take a look to the lower left side. There can be a button for the download the stl-file.
Good luck!
Steffen
Hi Steffen,
Thanks for coming back on my problem with Tinkercad.
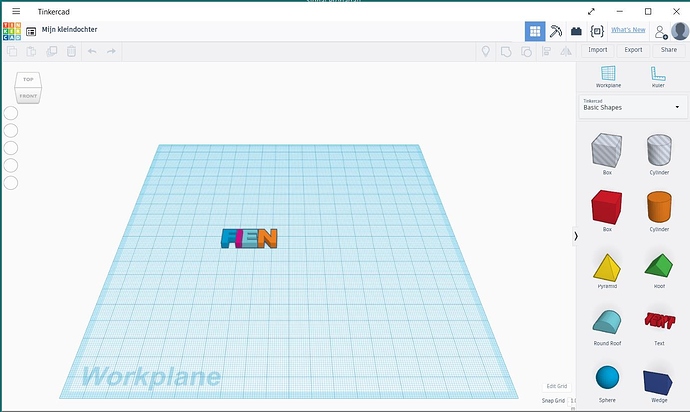
I looked in the YouTube video you pointed out but then I see quite another screen then the screen I get when I start Tinkercad. To make it clear I included a screenshot of what I see when I start Tinkercad. Maybe there is another program that allows me to do what I want. Any idea?
Kind regards,
Pierre
Hi Pierre,
it seem the YouToube video is old.  But…
But…
Take a look on the right upper side. Here you have a button “Export”. If you click him, a window with export format options will open. Then you should choose the “stl” option. The next step is depended from your browser settings. If there no window is opening, the “stl”-file will save in the standard download folder otherwise it will be opening the download dialog.
- Please check the download option in the browser settings.
- Please ensure that a popup-blocker is disable for this web site.
A alternative program for 3D construction is the freeware “FreeCAD”. But it is not so simple as TinkerCAD…
Greetings from Berlin!
Steffen
Hi Steffen,
Your remarks did not help my Tinkercad problem.
I have Tinkercad removed from my PC.
I am unable to download the file I made so I must forget Tinkercad.
However I have a new K8600 printer question.
Levelling the print board I find that the corner left front need be lowered for 0.2mm
Only then can I move a piece of paper properly between the print board and the nozzle.
But with a piece of paper I only can higher the print board not lower it!
So what to do. Can you give me a hint!
Kind regards,
Pierre
Hi Pierre,
I’m sorry that was not the solution.
For the board leveling: Maybe you can increase the backside and the corner right front. But then you must repeate the complete leveling procedure.
Currently I have no other idea.
If you a hobbyists, maybe you can make a leveling board by yourself. I had no time to think about it yet. A plate and three srcews should be the base elements therefor.
Kind regards,
Steffen
Hi Steffen,
The board is level that is no problem anymore.
I have another question though.
I am trying to print a bold and nut but I can’t print the object solid.
Probably for saving material there are air squares in the object.
Can I instruct the program repetier somewhere that the object must be in a solid form?
I have been looking for that instruction but I can’t find it.
Do you have a hint pse.
Kind regards,
Pierre
You will need to change the infill.
Under the slicer tab.
Change it to 100%

Hi Steffen,
Now I have made the bolt in solid form it is thicker then with not in solid form.
The nuts I made don’t fit any more.
Another experience is that when I apply cooling, by means of a little fan blowing on the object, the side away from the fan get wrinkled. If I don’t apply cooling all side are nice and neat. What does cooling do to the object? When do I need it?
Another question is do you also have a bigger 3D printer. Is there a “make it yourself type” you recommend? You know so much about the Velleman Nano it seems you are a Velleman employee!. Sorry for all these questions but it makes me wonder.
By the way I am pretty old but like to learn for as long as I am clear enough in my head.
Kind regards from Maasland,
Pierre
Hello Pierre,
Many Thanks! I’m definitely not a Velleman employee. 
Nobody is too old to learn and it keeps you young. 
The “Nano” is my first and so far only 3D printer. Through the assembly, through a lot of testing and through each troubleshooting I learned the basics about 3D printing / the printer. The “make it yourself” devices are good for learning, understanding and changing.
Unfortunately I can not recommend a “make it yourself” printer for you at the moment. The printer market is too big. I think the NANO is quite good for getting started and understanding. If I buy a printer again, then I have to start searching again. I would also look for a device with more options.
Now to your questions:
How strong is the difference between solid form and reduced density form? In which direction (XYZ axis)? It should not be much.
In no case cool the object while printing! The filament at the nozzle is very soft during printing, almost liquid. With the air flow you push the material from the printing position. The heat is also needed to connect the layers. If the last layer is too cold, there may be problems with inter-layer strength. With normal use of this printer you need no cooling for the object.
Many greetings from Berlin
Steffen
Hello Steffen,
Thanks for anwering me on my questions.
Your anwer on the cooling I dont understand as they all say that coolong at the nozzle is a must for proper printing.
With the nano there is no nozzle cooling.
I have been loading some testfiles from the internet to see how the nano does.
I found a file which I even can load in the repetier.
Loading is ok but it cant make anything of it.
I wonder if things would go better with you.
However I cant load a stl file here to send it to you!!
The name is 0.5mm thin wall.stl
Maybe you can try if you can print it.
Kind regards,
Pierre
Hello Pierre,
I think it is an little missunderstanding.  The heatsink (from the temperaure unit) need the active cooling. This ist very important. The nozzel himself should not be cooled. The nozzle need the temperature for printing.
It is possible to tune the printing and the printer a little bit with a low air flow direct to the nozzle. Background: With the low air flow it is possible to improve the temperature stability at the nozzle. But the air flow should not have the direction to your model.
Maybe a good heatsink cooling and good PID parameters a better than a nozzle cooling.
Can you write here the link to the stl file?
The 0,5mm is very thin. The opening in the nozzle ist 0,4mm.
Greetings and good night!
Steffen
Hi Steffen,
I stil dont understand the extra nozzle cooling.
Maybe I should further look at internet.
The link to the part with the thin walls is :
By the way the nozzle of the Nano is 0.35 mm.
Kind regards,
Pierre
hi Pierre
where is it that the nozzle is 0.35 mm.
Lutz
Hi Steffen,
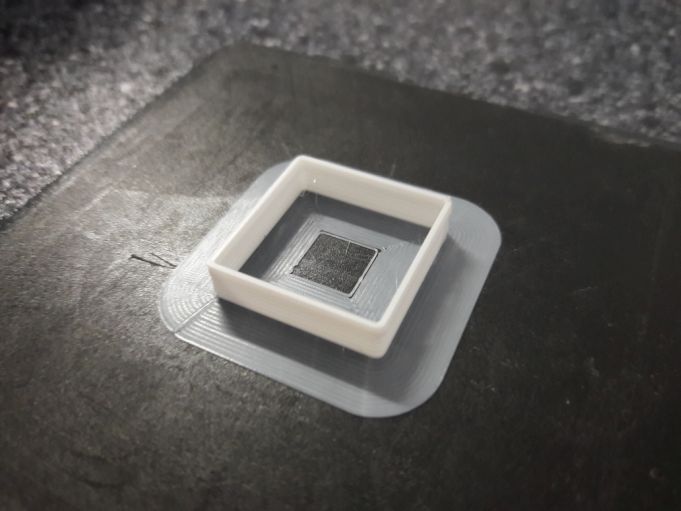
I see that you made the wall!! Very good.
I can load the wall in the Nano repetier but when I select “Slice with CuraEngine”
Then nothing happened.
The message “Print time = 1m8s appears,
134 print lines and filament needed is 20mm”.
Probably I do something wrong. Do you have a tip?
By the way somewhere in the Vellement manual on the Nano they mentioned 0.35m as their nozzle opening.
I am very curious to your answer on the wall solution.
Kind regards from Maasland,
Pierre


